Unboxing the Sneakbox Disarray 70% keyboard
Sunday, June 20, 2021
Click here to go to all posts.
A keyboard with the aesthetic of FM radios of the past? What’s not to love? The Disarray is a 70% keyboard from Sneakbox with a unique form factor.

The Disarray group buy ran from August 1, 2020 to September 5, 2020 via the Sneakbox website. For folks who already had Discipline65 PCB, a retrofit option was also available via the Sneakbox website. The original interest check was on geekhack.
Includes:
- Case: Anodized aluminum
- Mount: Top mount
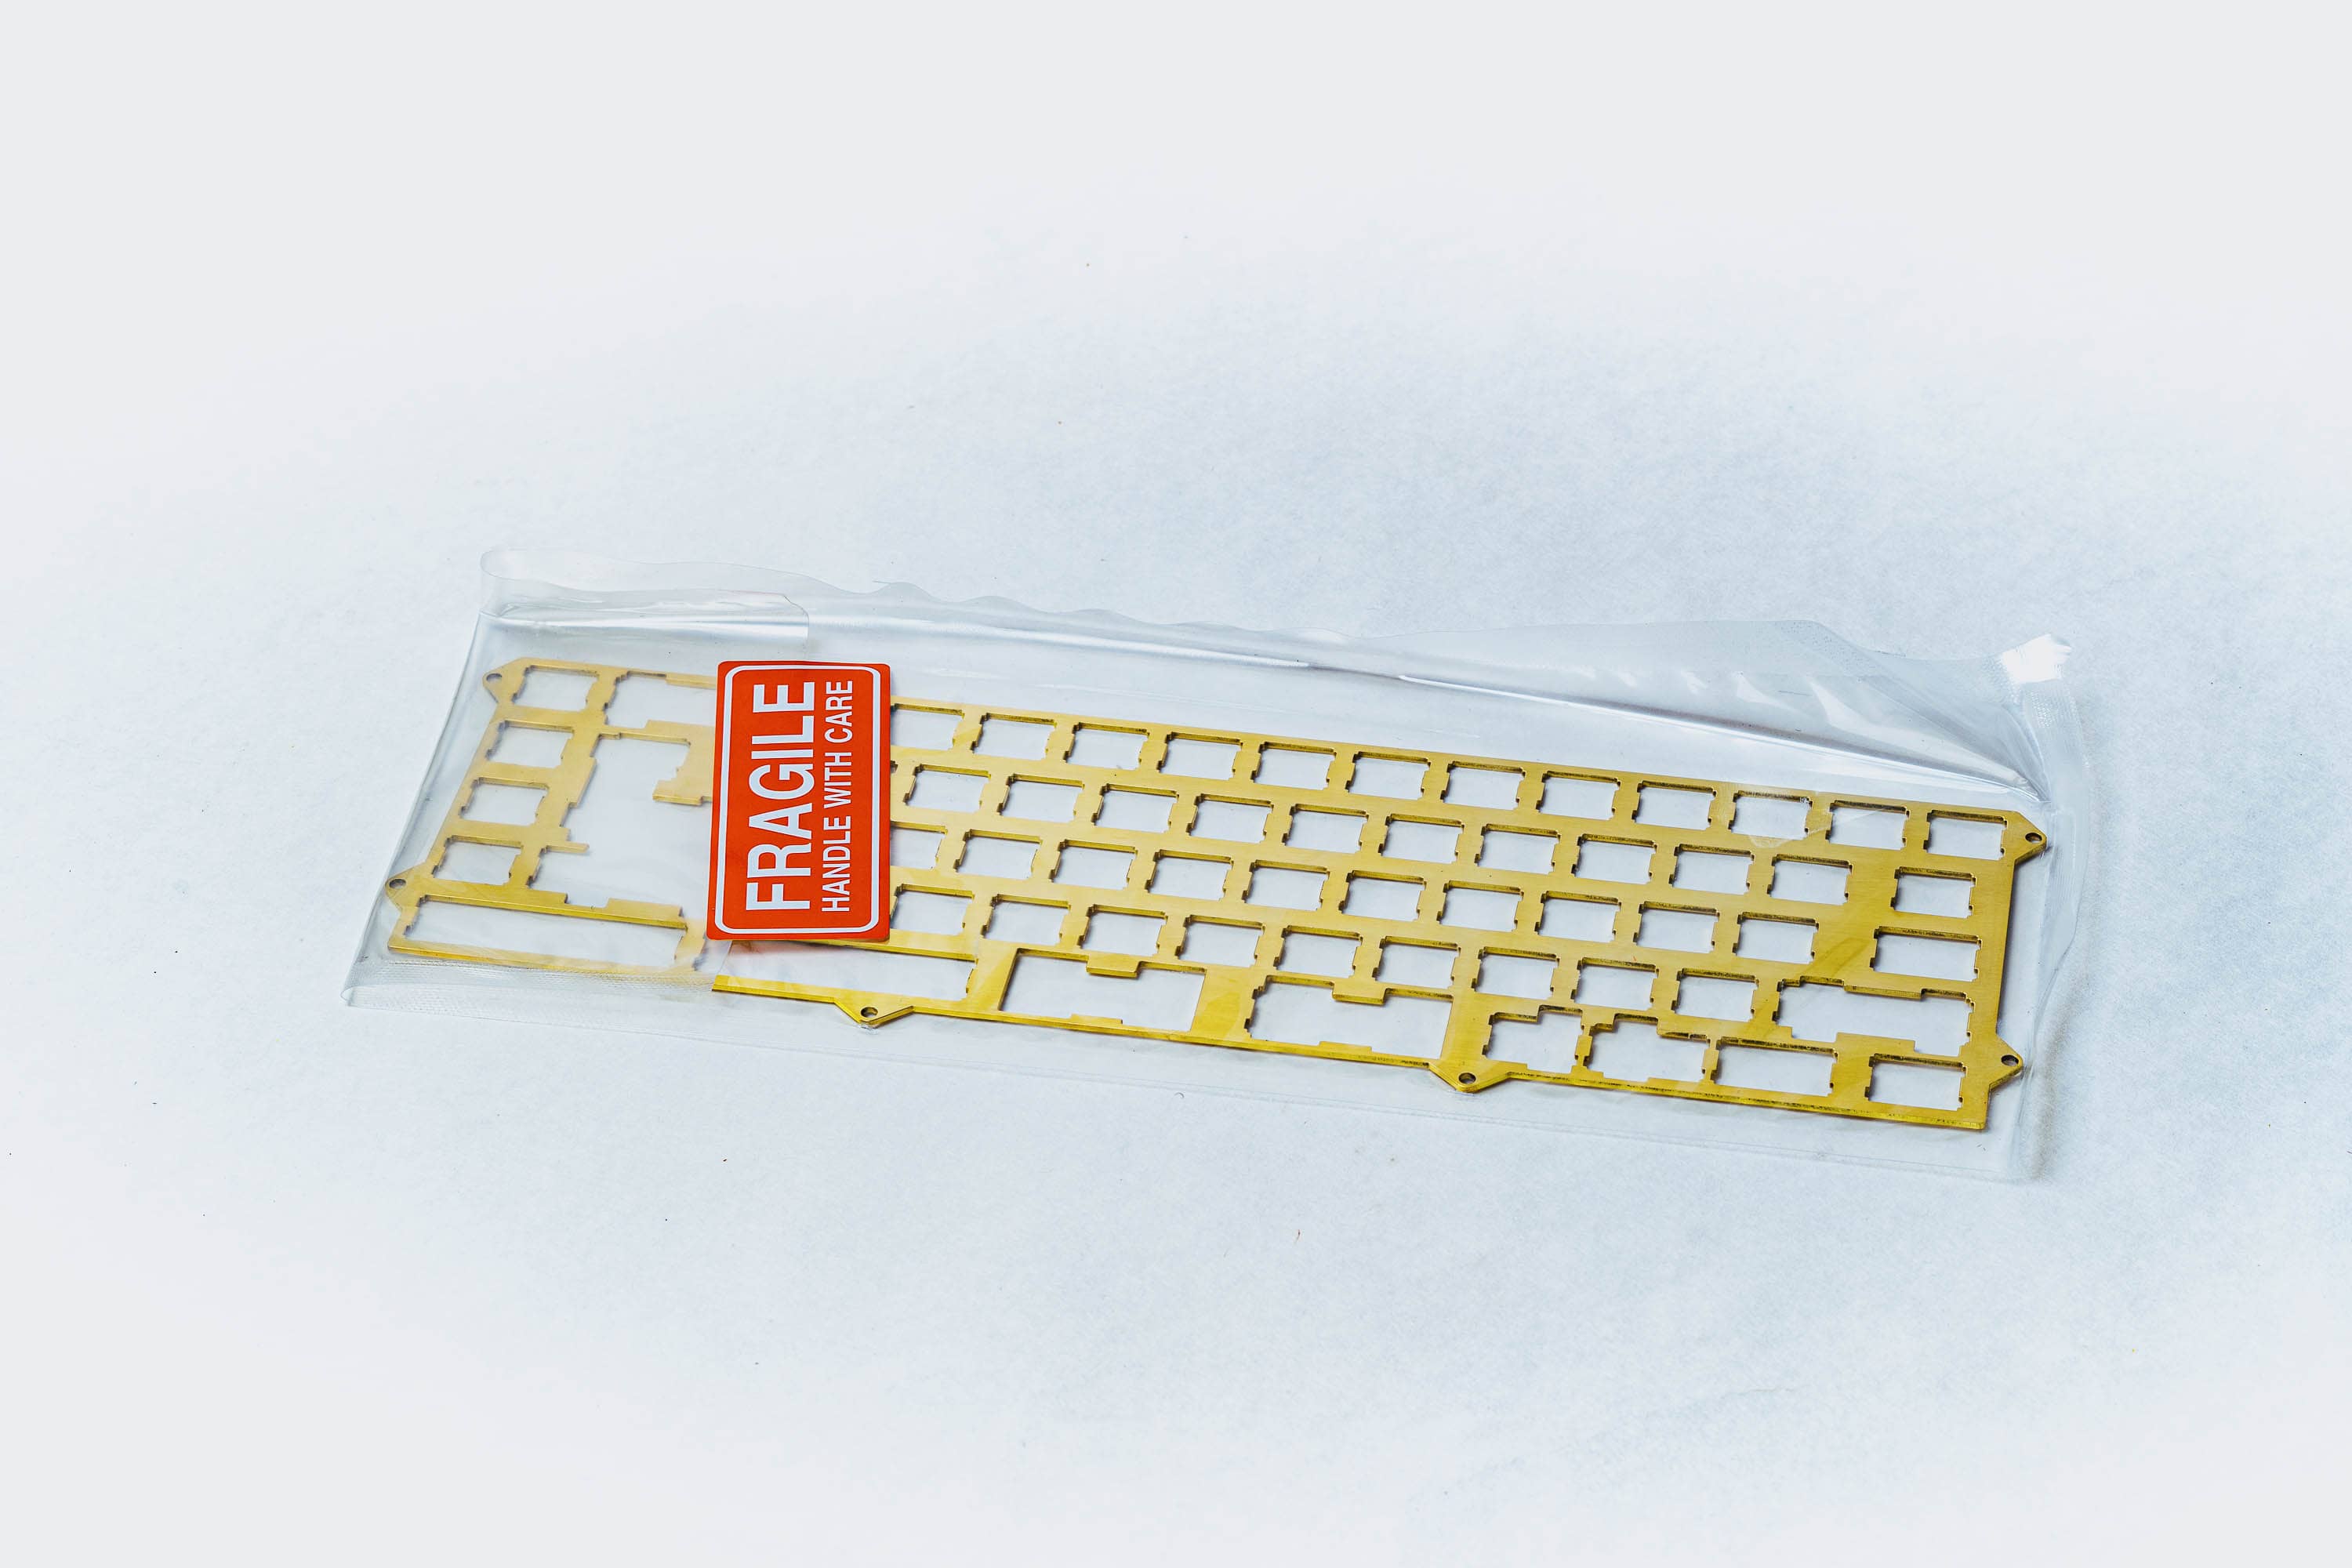
- Plate: Brass (custom)
- PCB: Disarray PCB (solder only, see options below). Can also be used with Discipline65 PCB via retrofit option. Disarray PCB options:
- Staggered: Black with White details
- Staggered: White with Black details
- Staggered: Special Edition FR4 - uses a black FR4 substrate with clear solder mask, which enables the you to see the real copper traces
- Ortho: Black with White Details
- Ortho: White with Black Details
- Also includes:
- Polycarbonate window
- EVA case foam (under PCB)
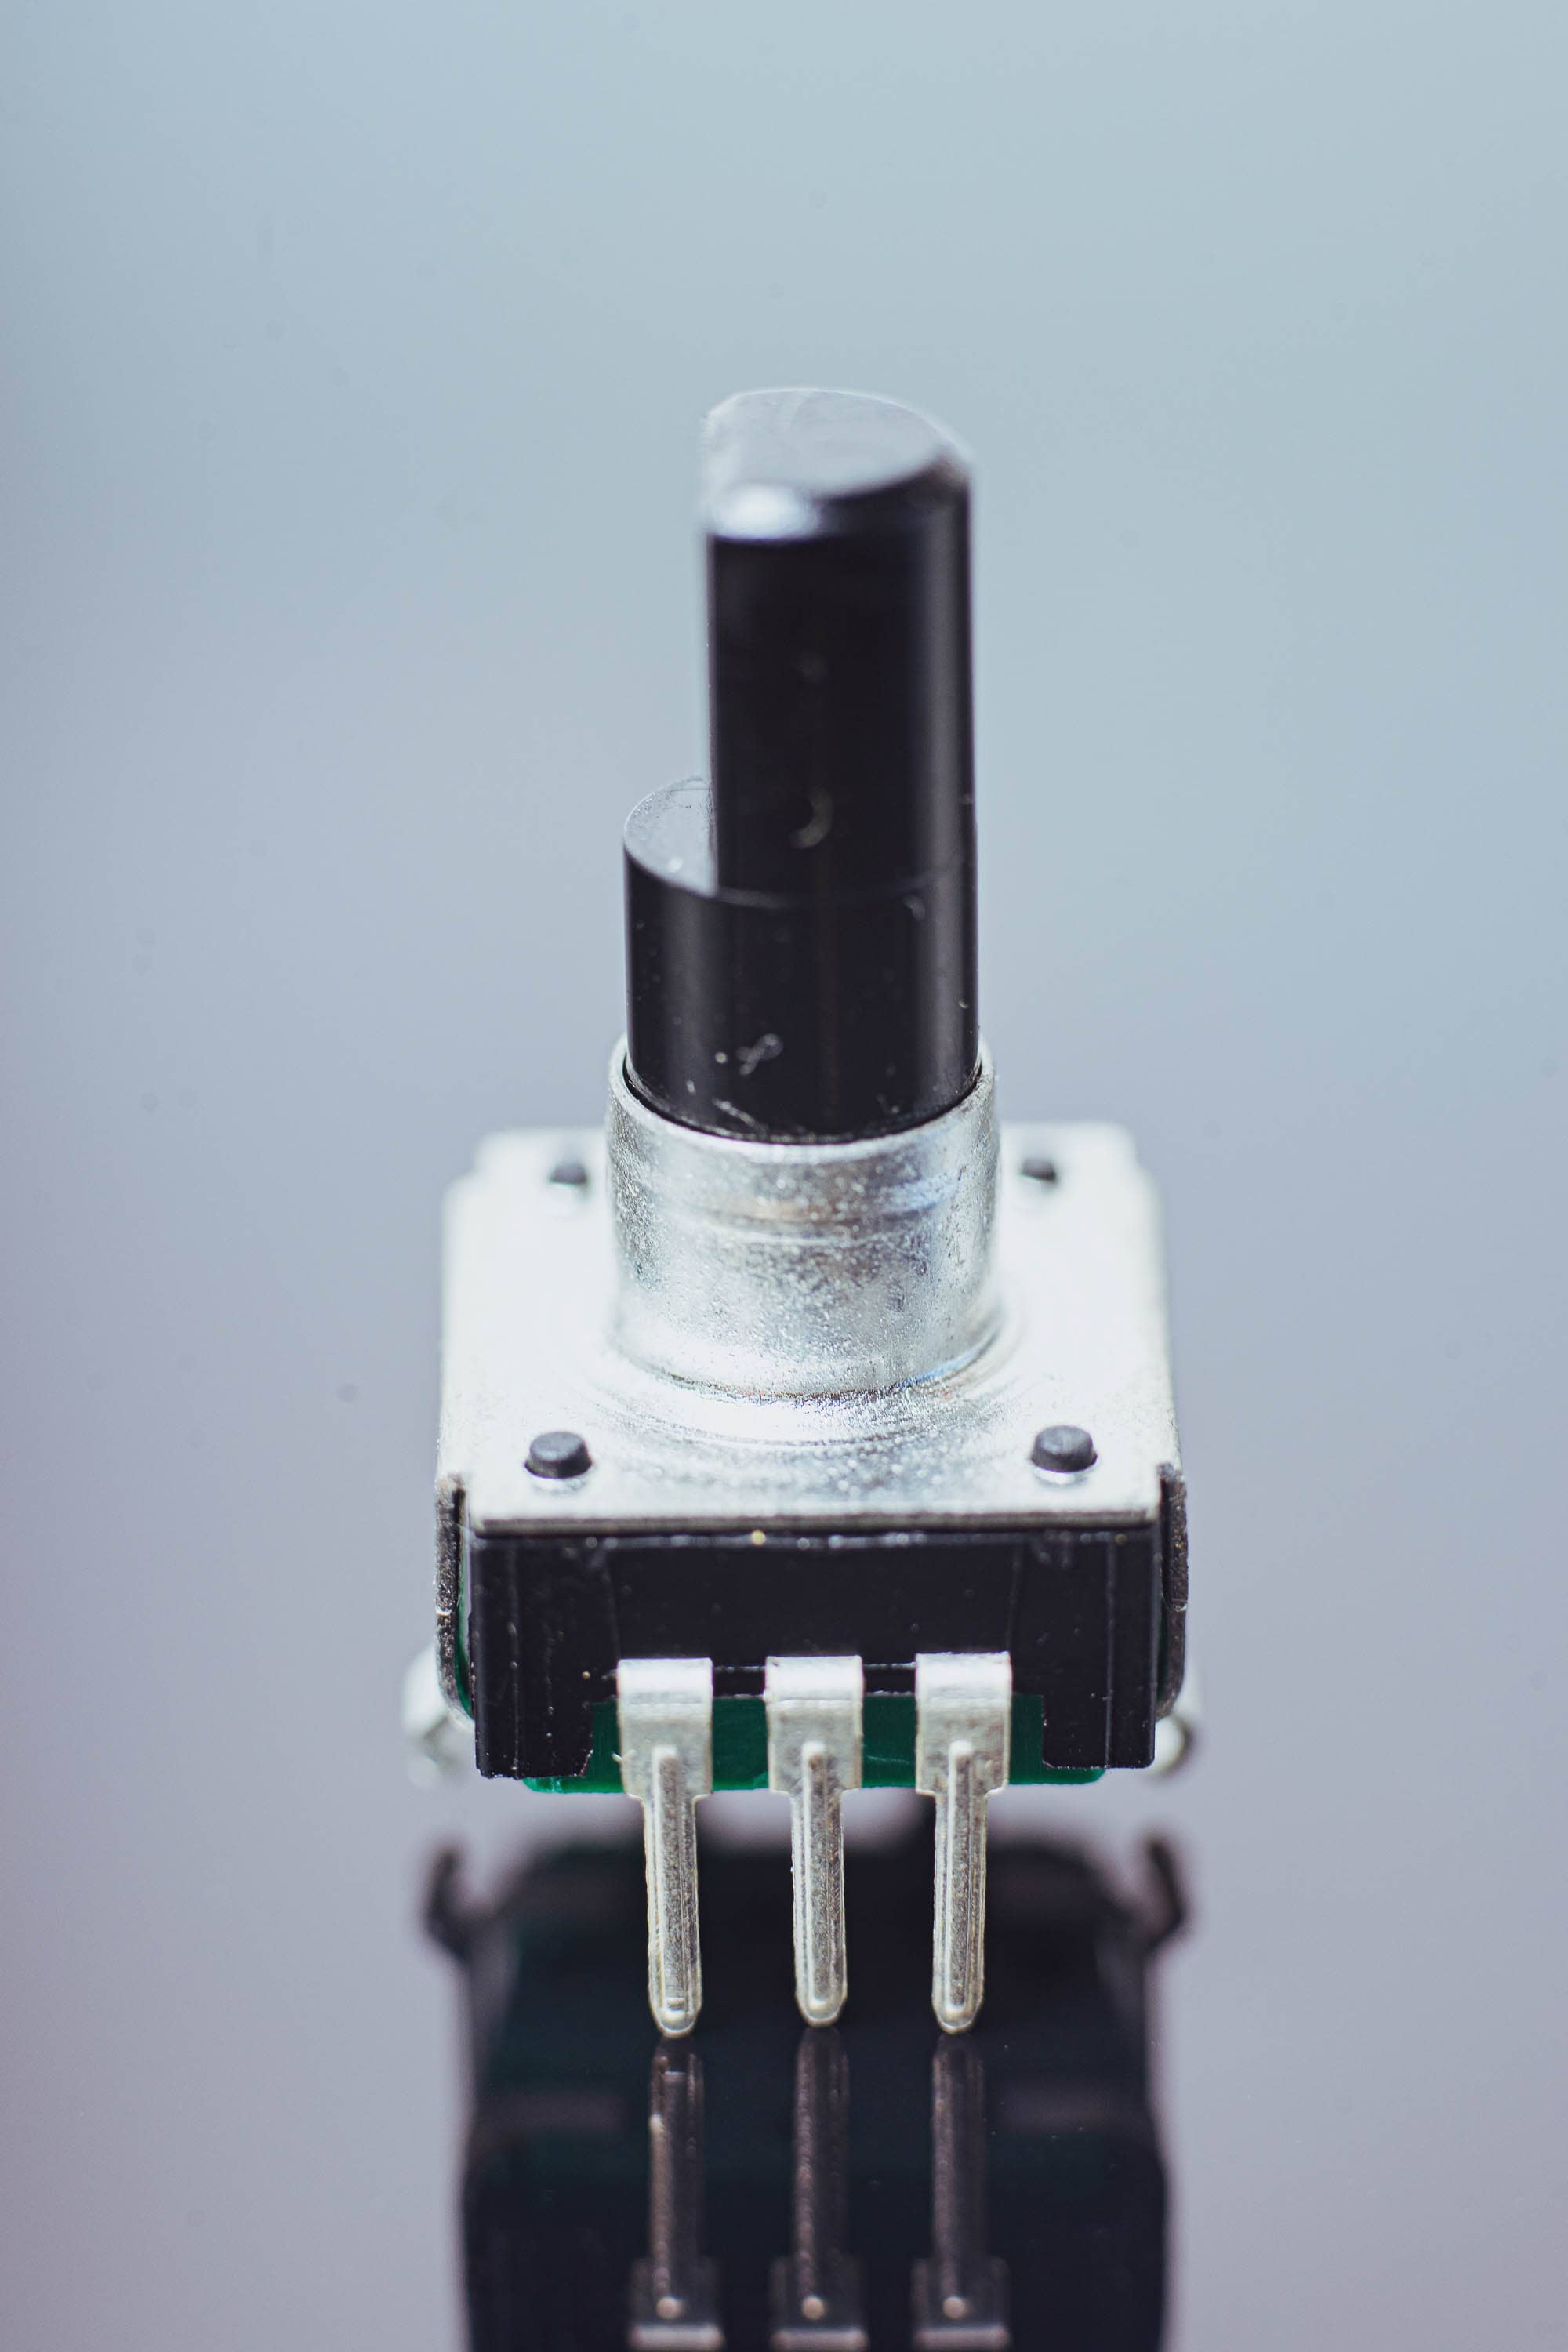
- Rotary encoder
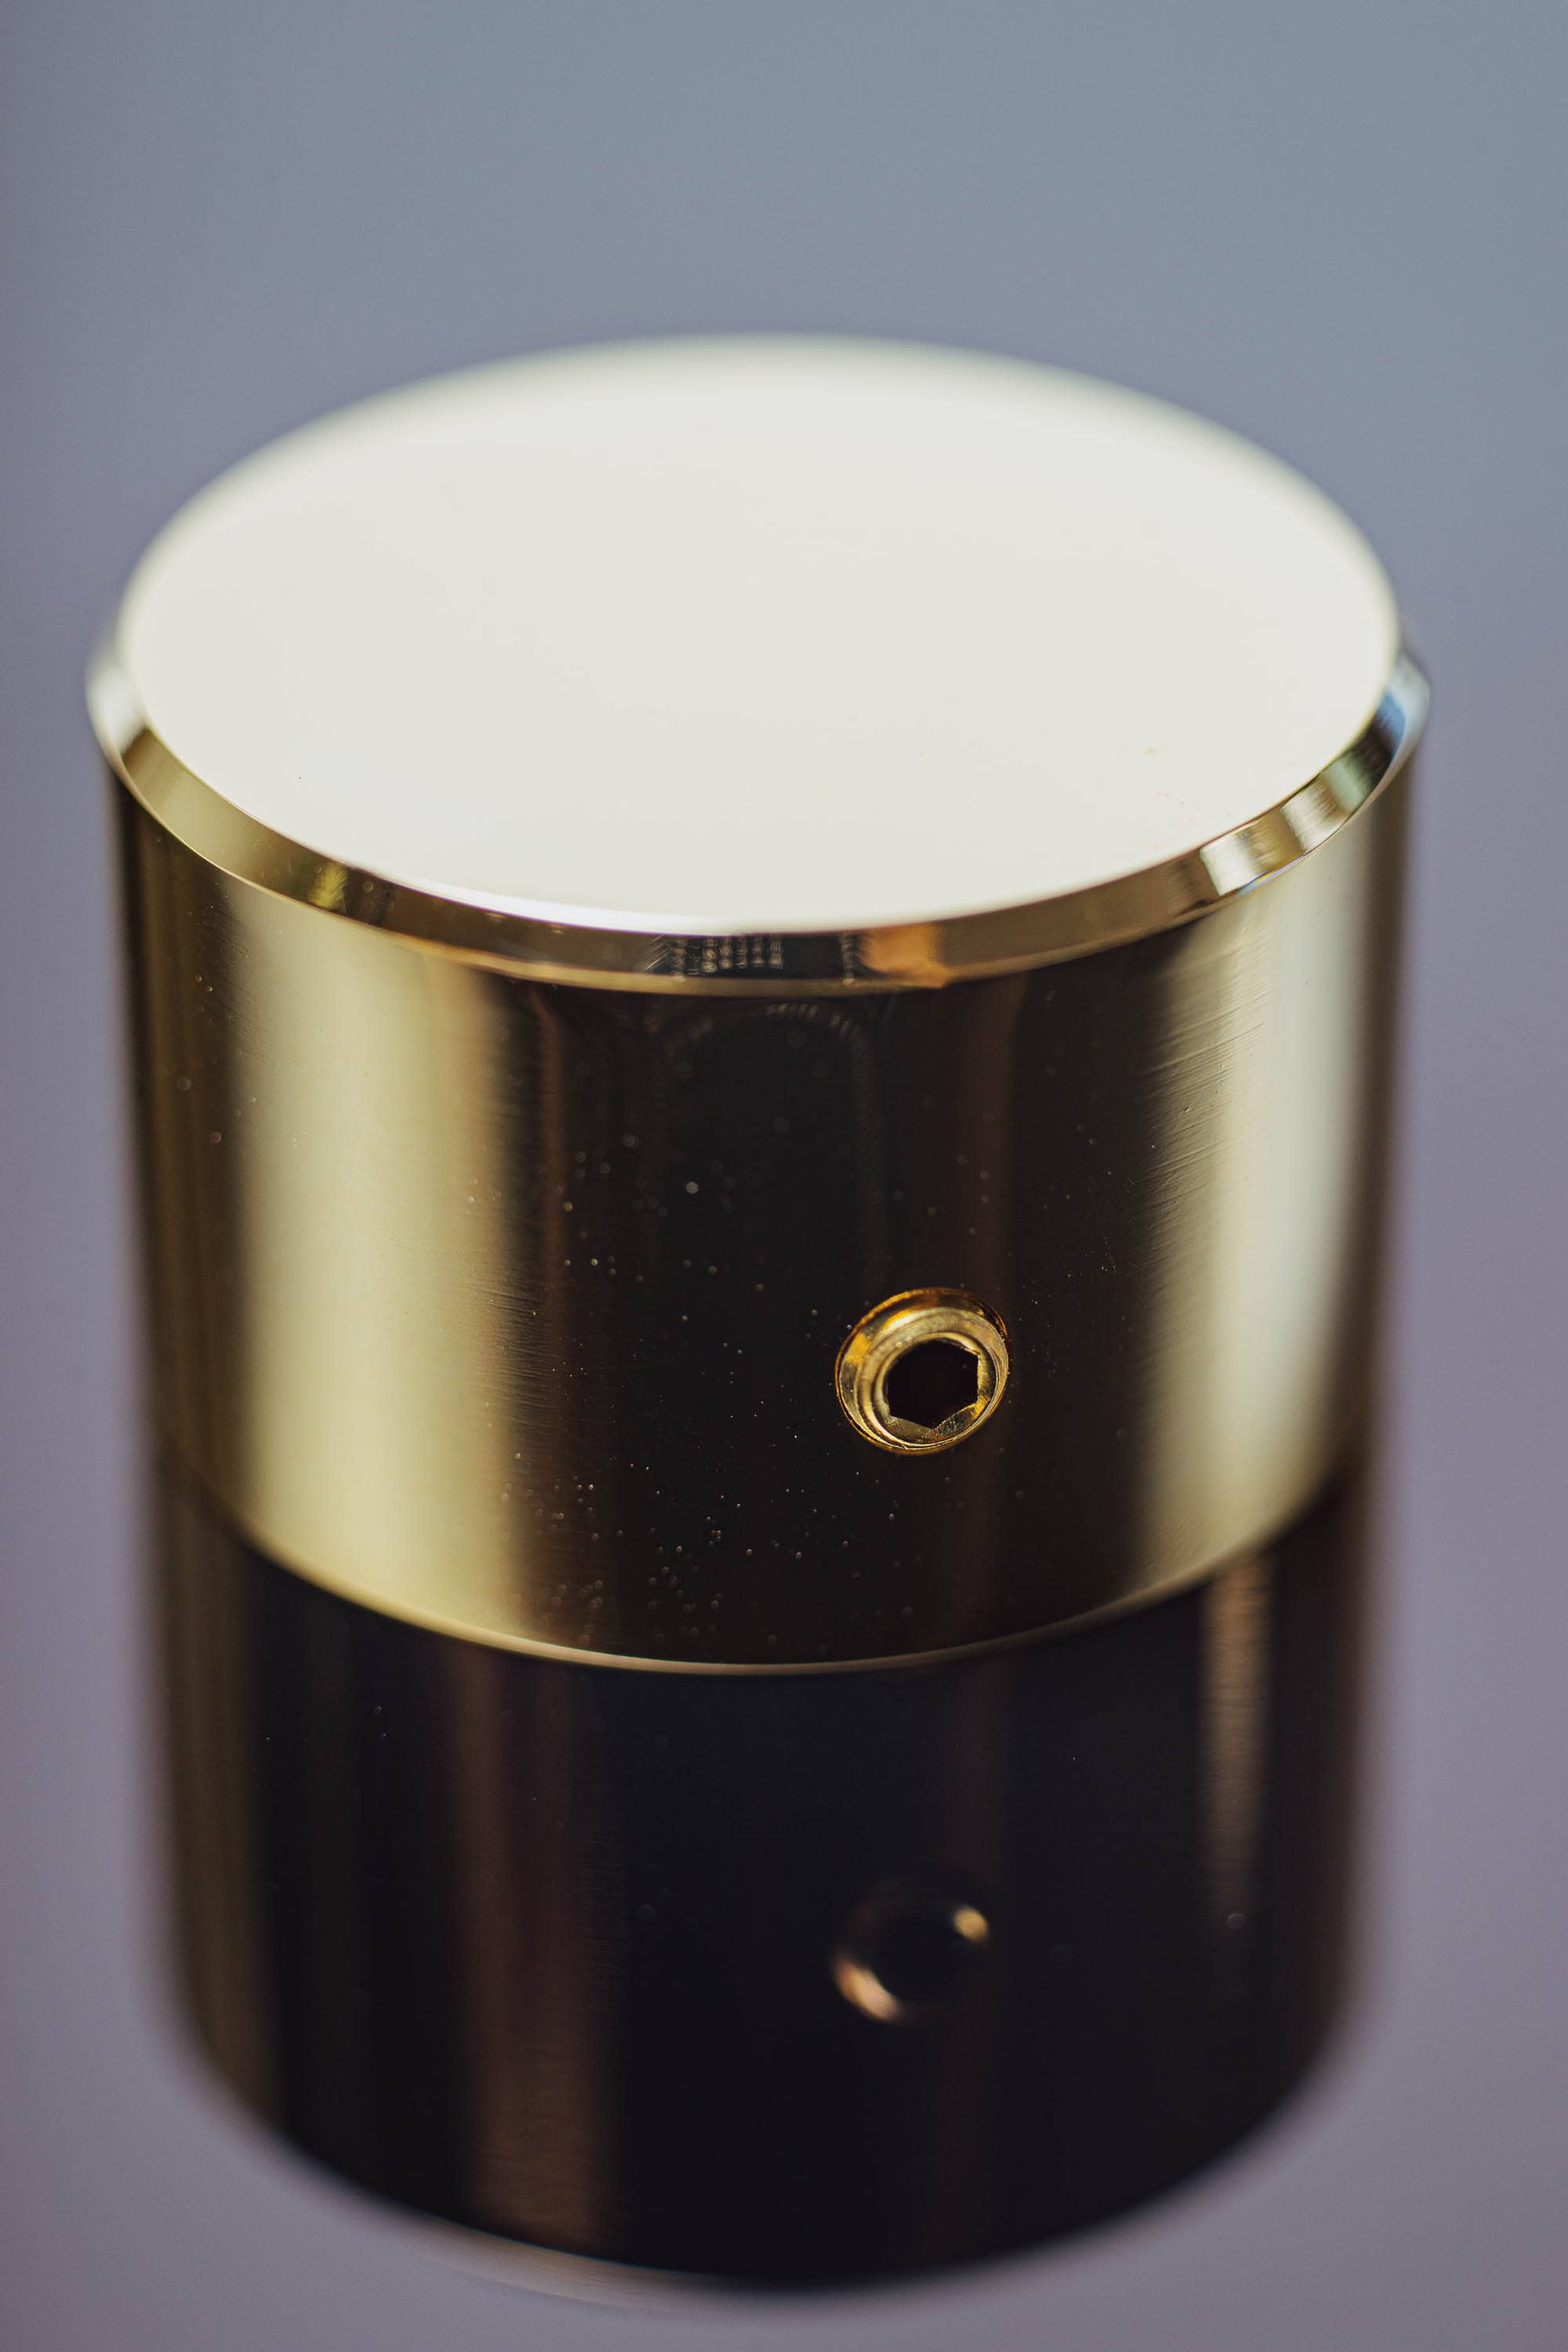
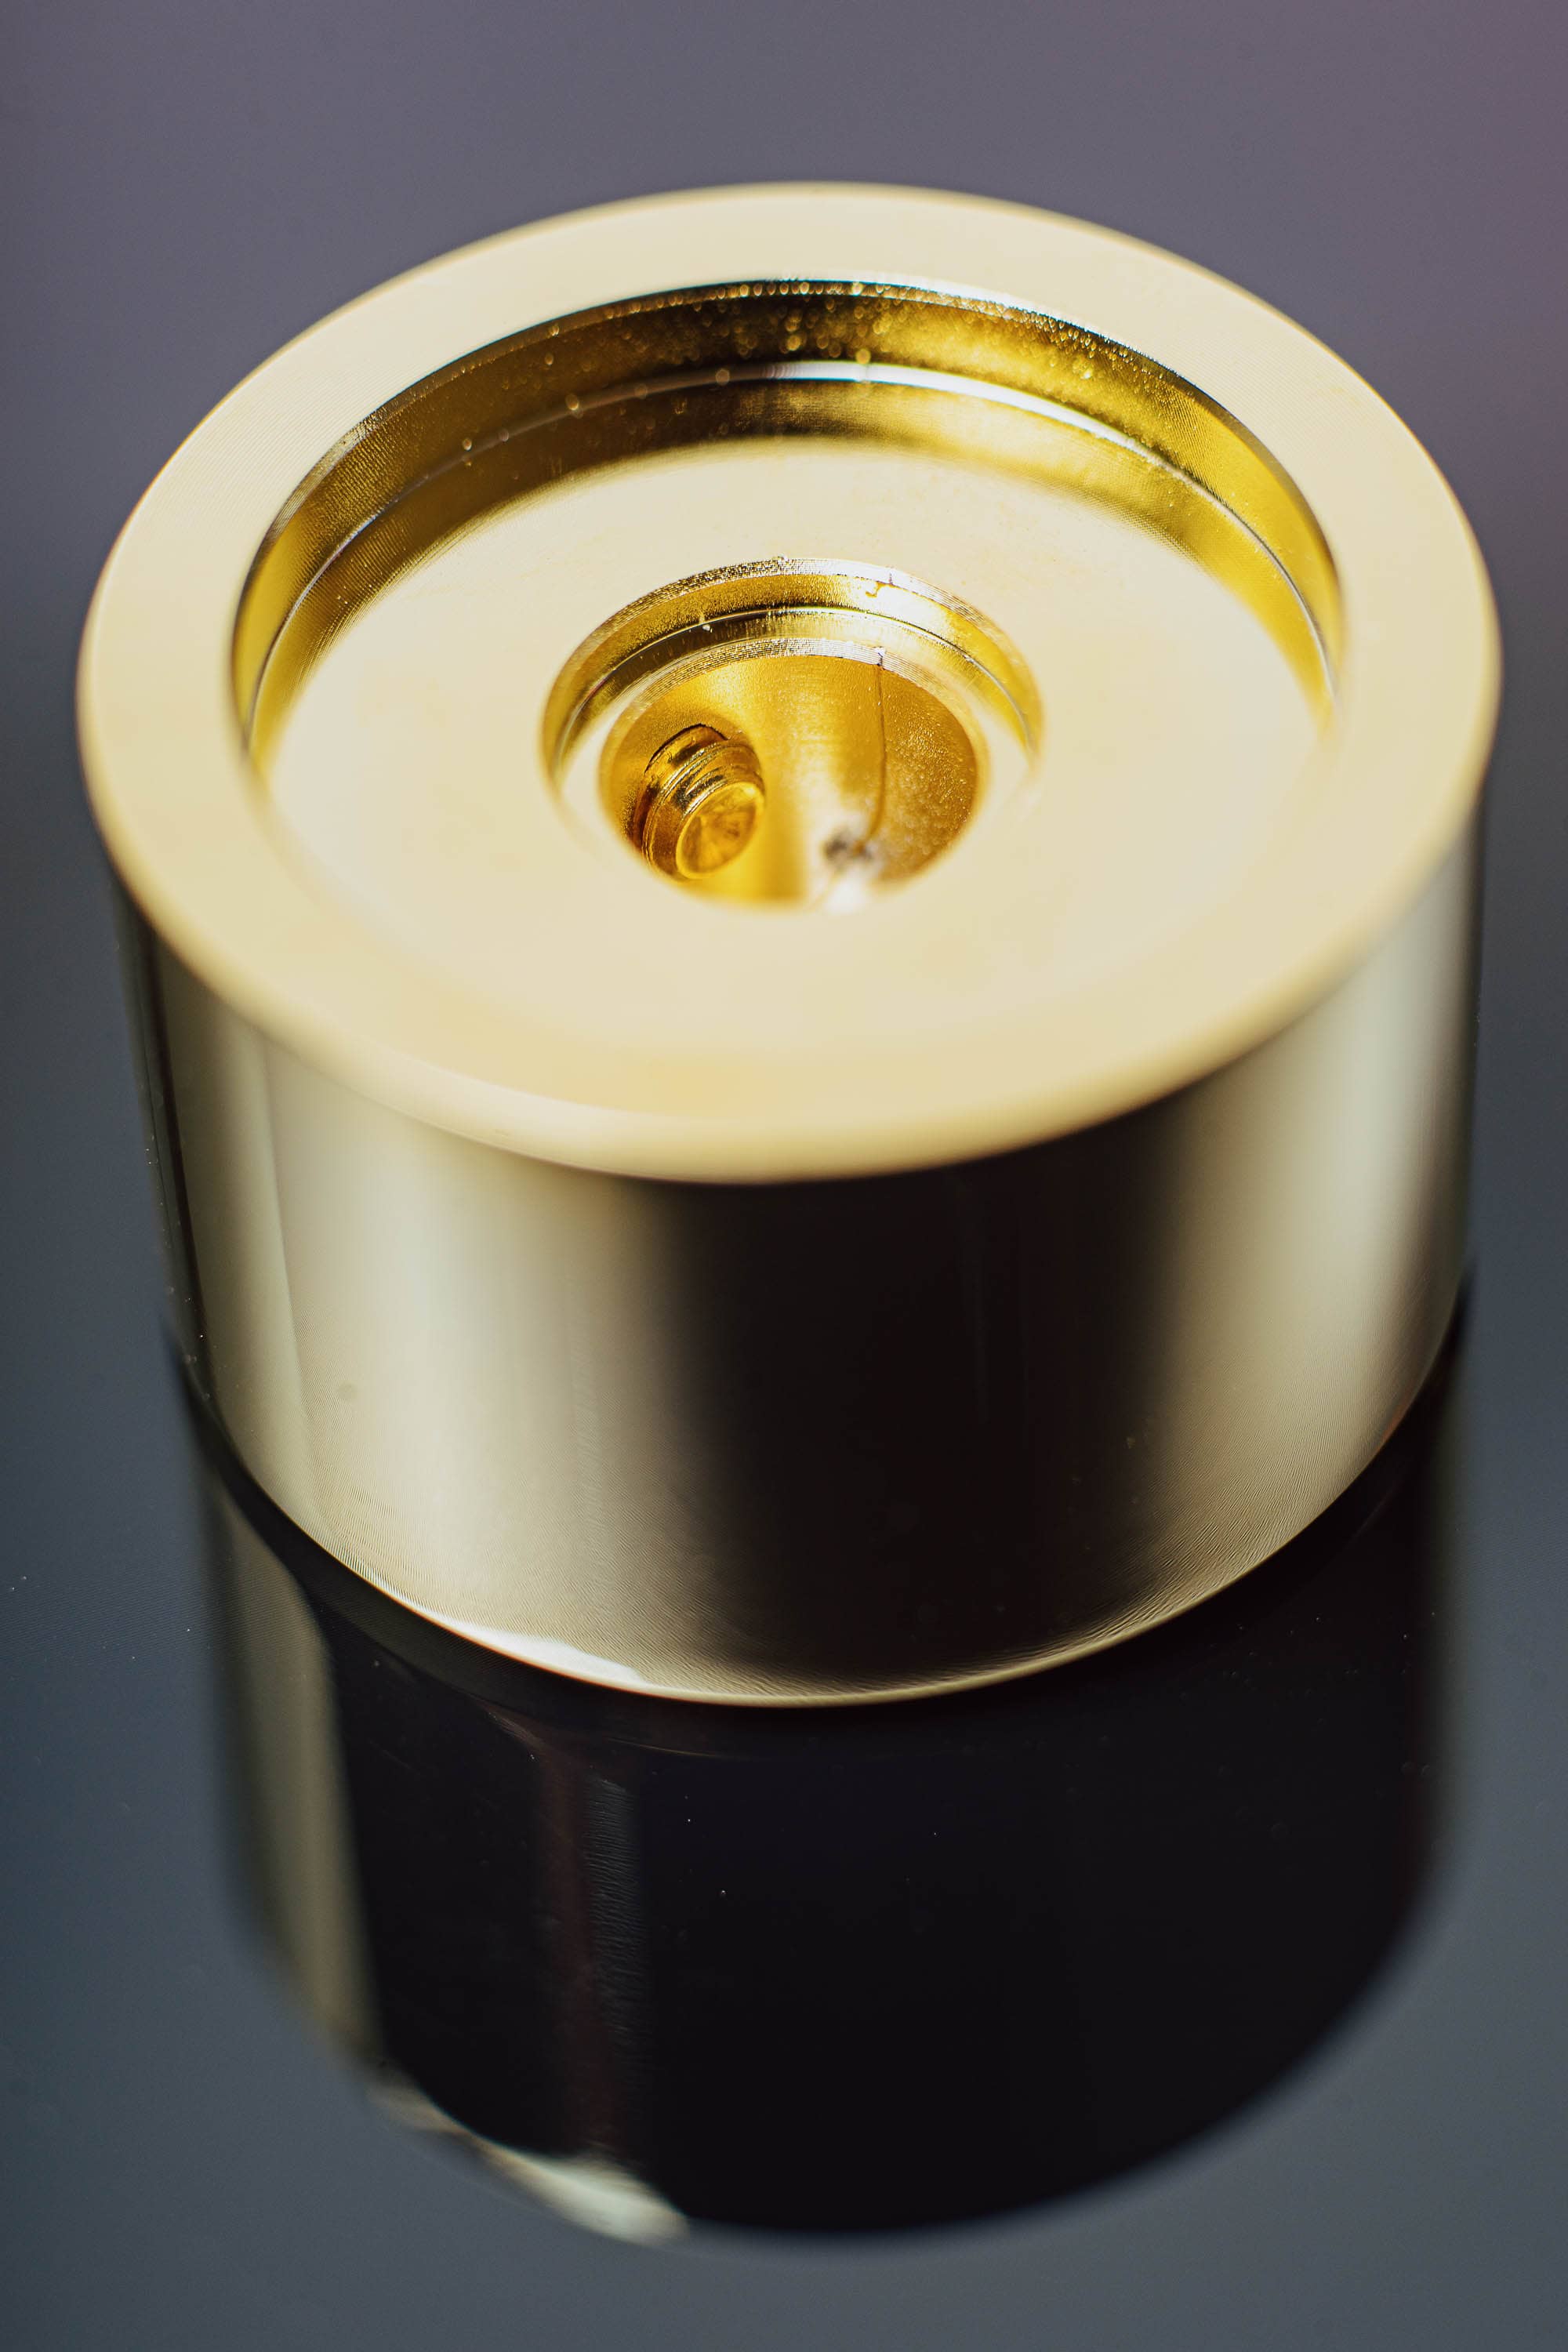
- Brass knob
- Screws, LEDs, and rubber strips for feet
I selected the black case and two PCBs: one black with white details, and one special edition FR4. Real copper traces? Sign me up.
Let’s open up this box!
Packaging and box
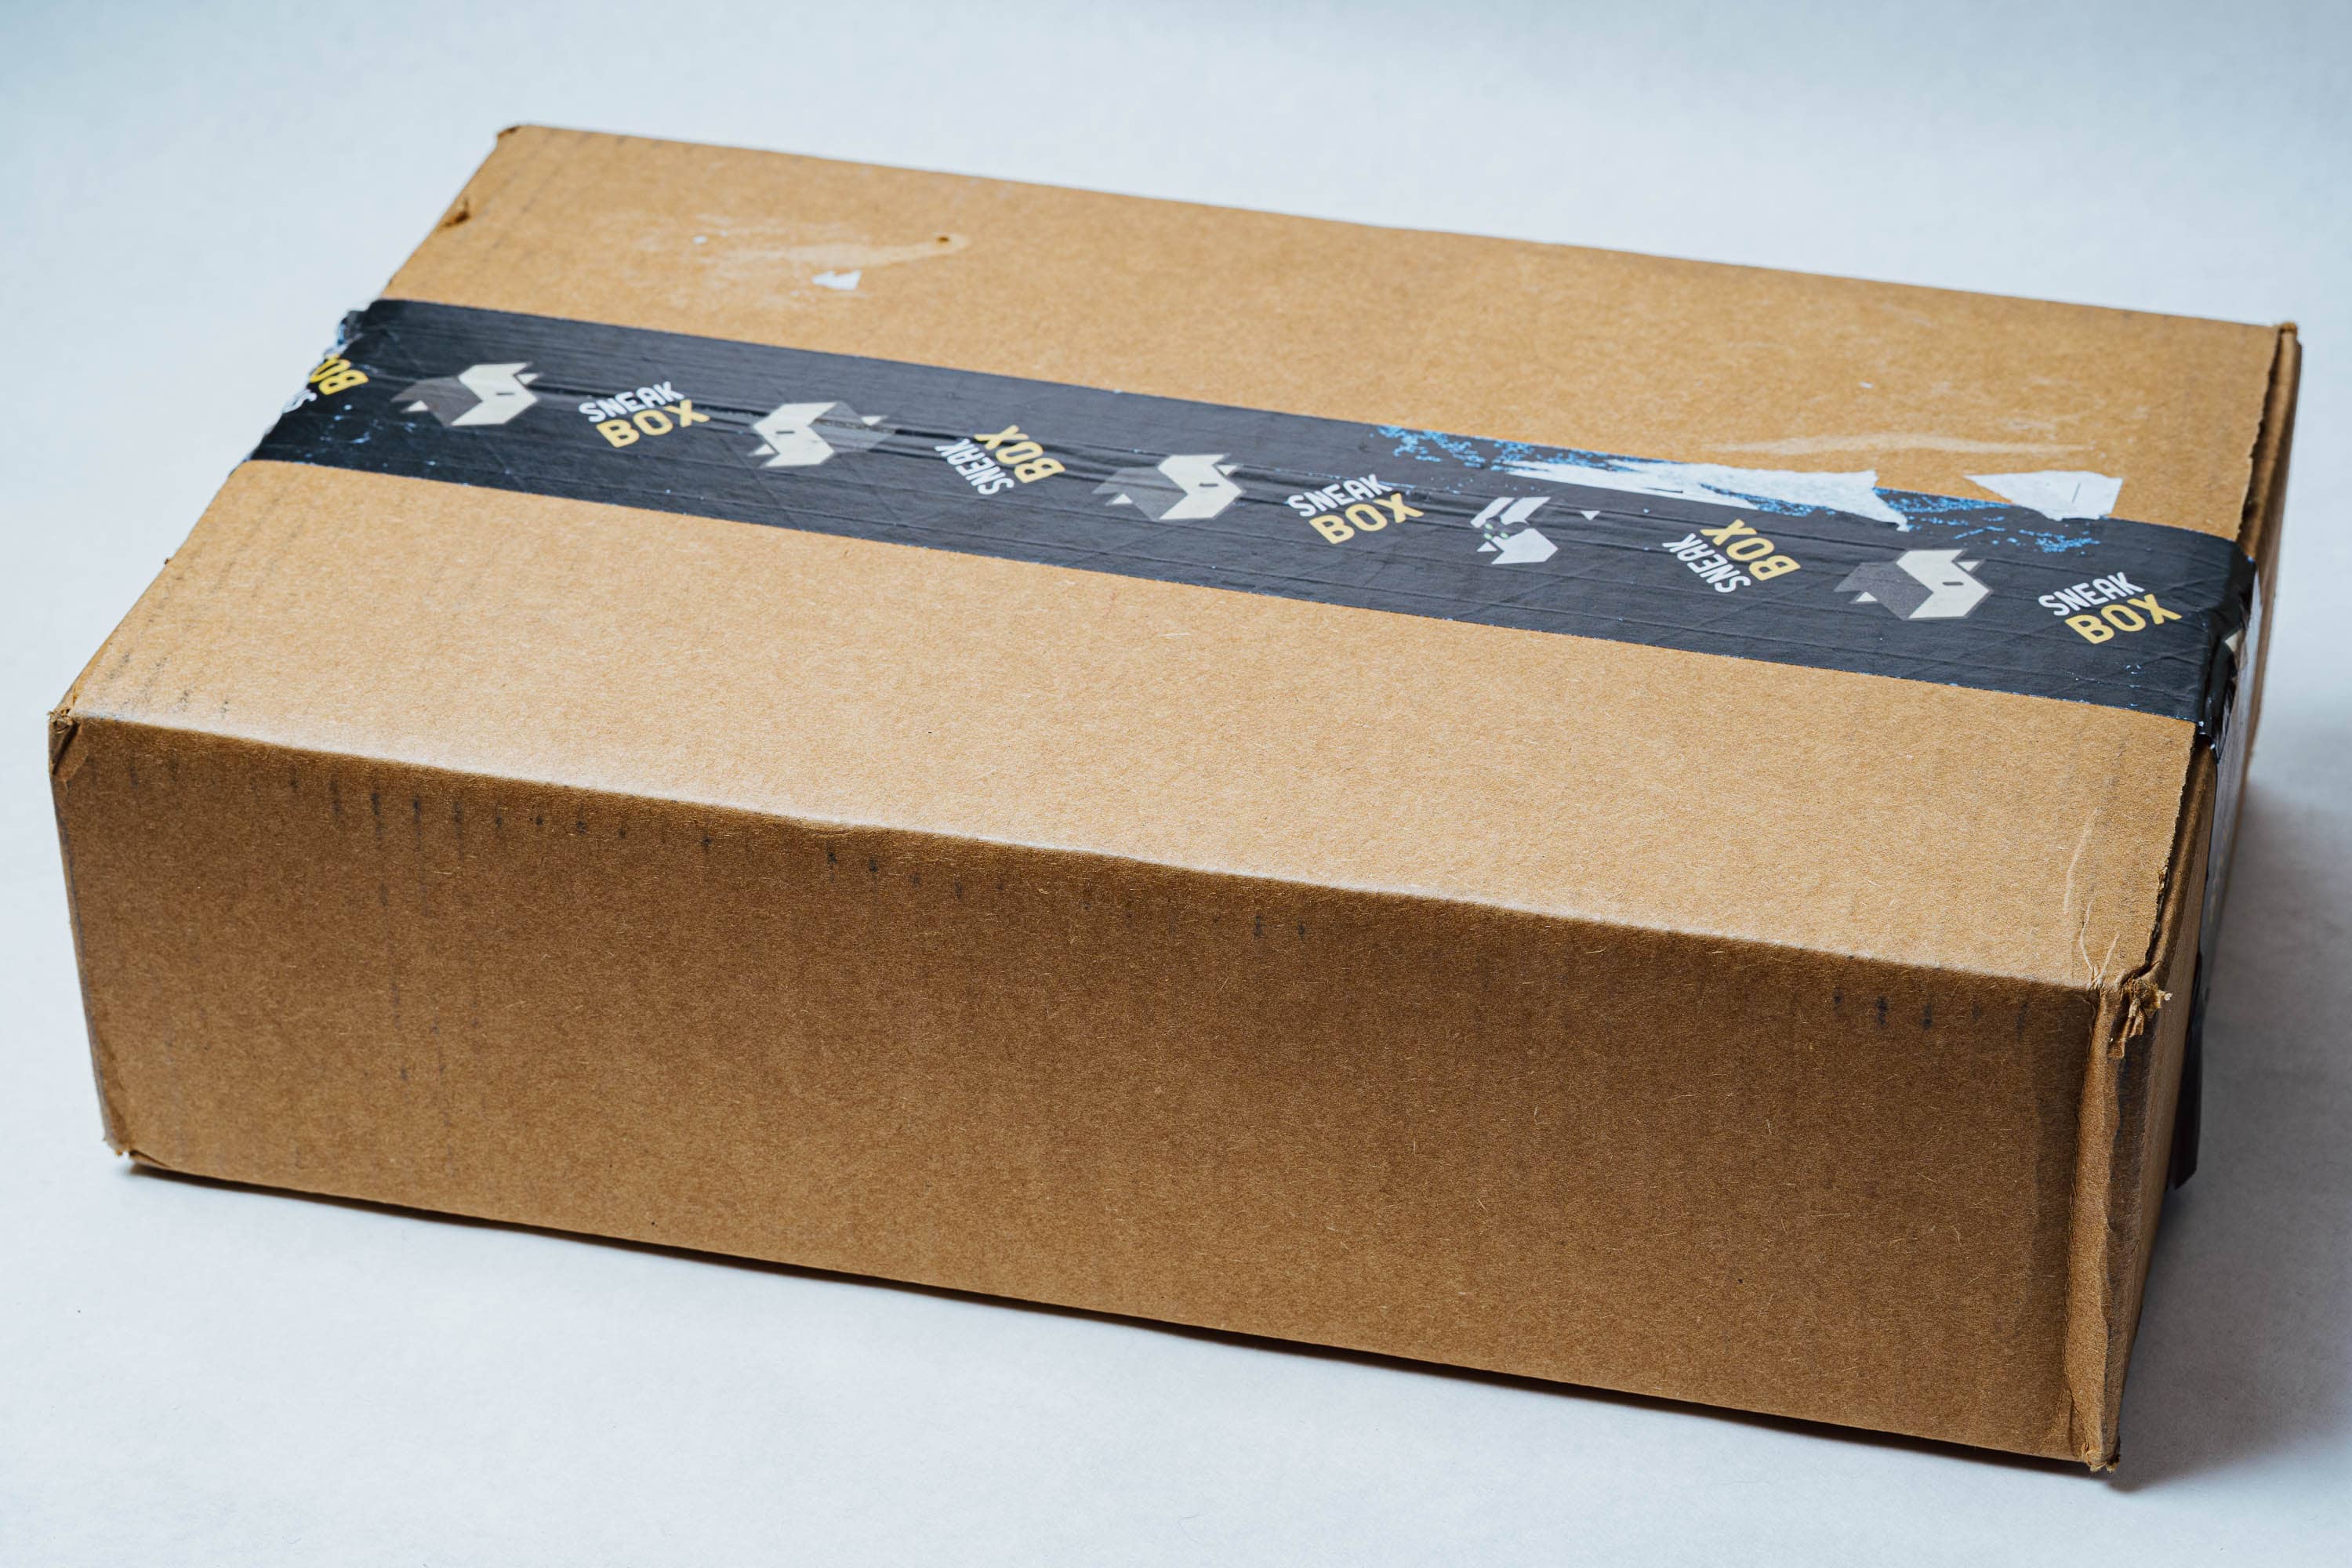
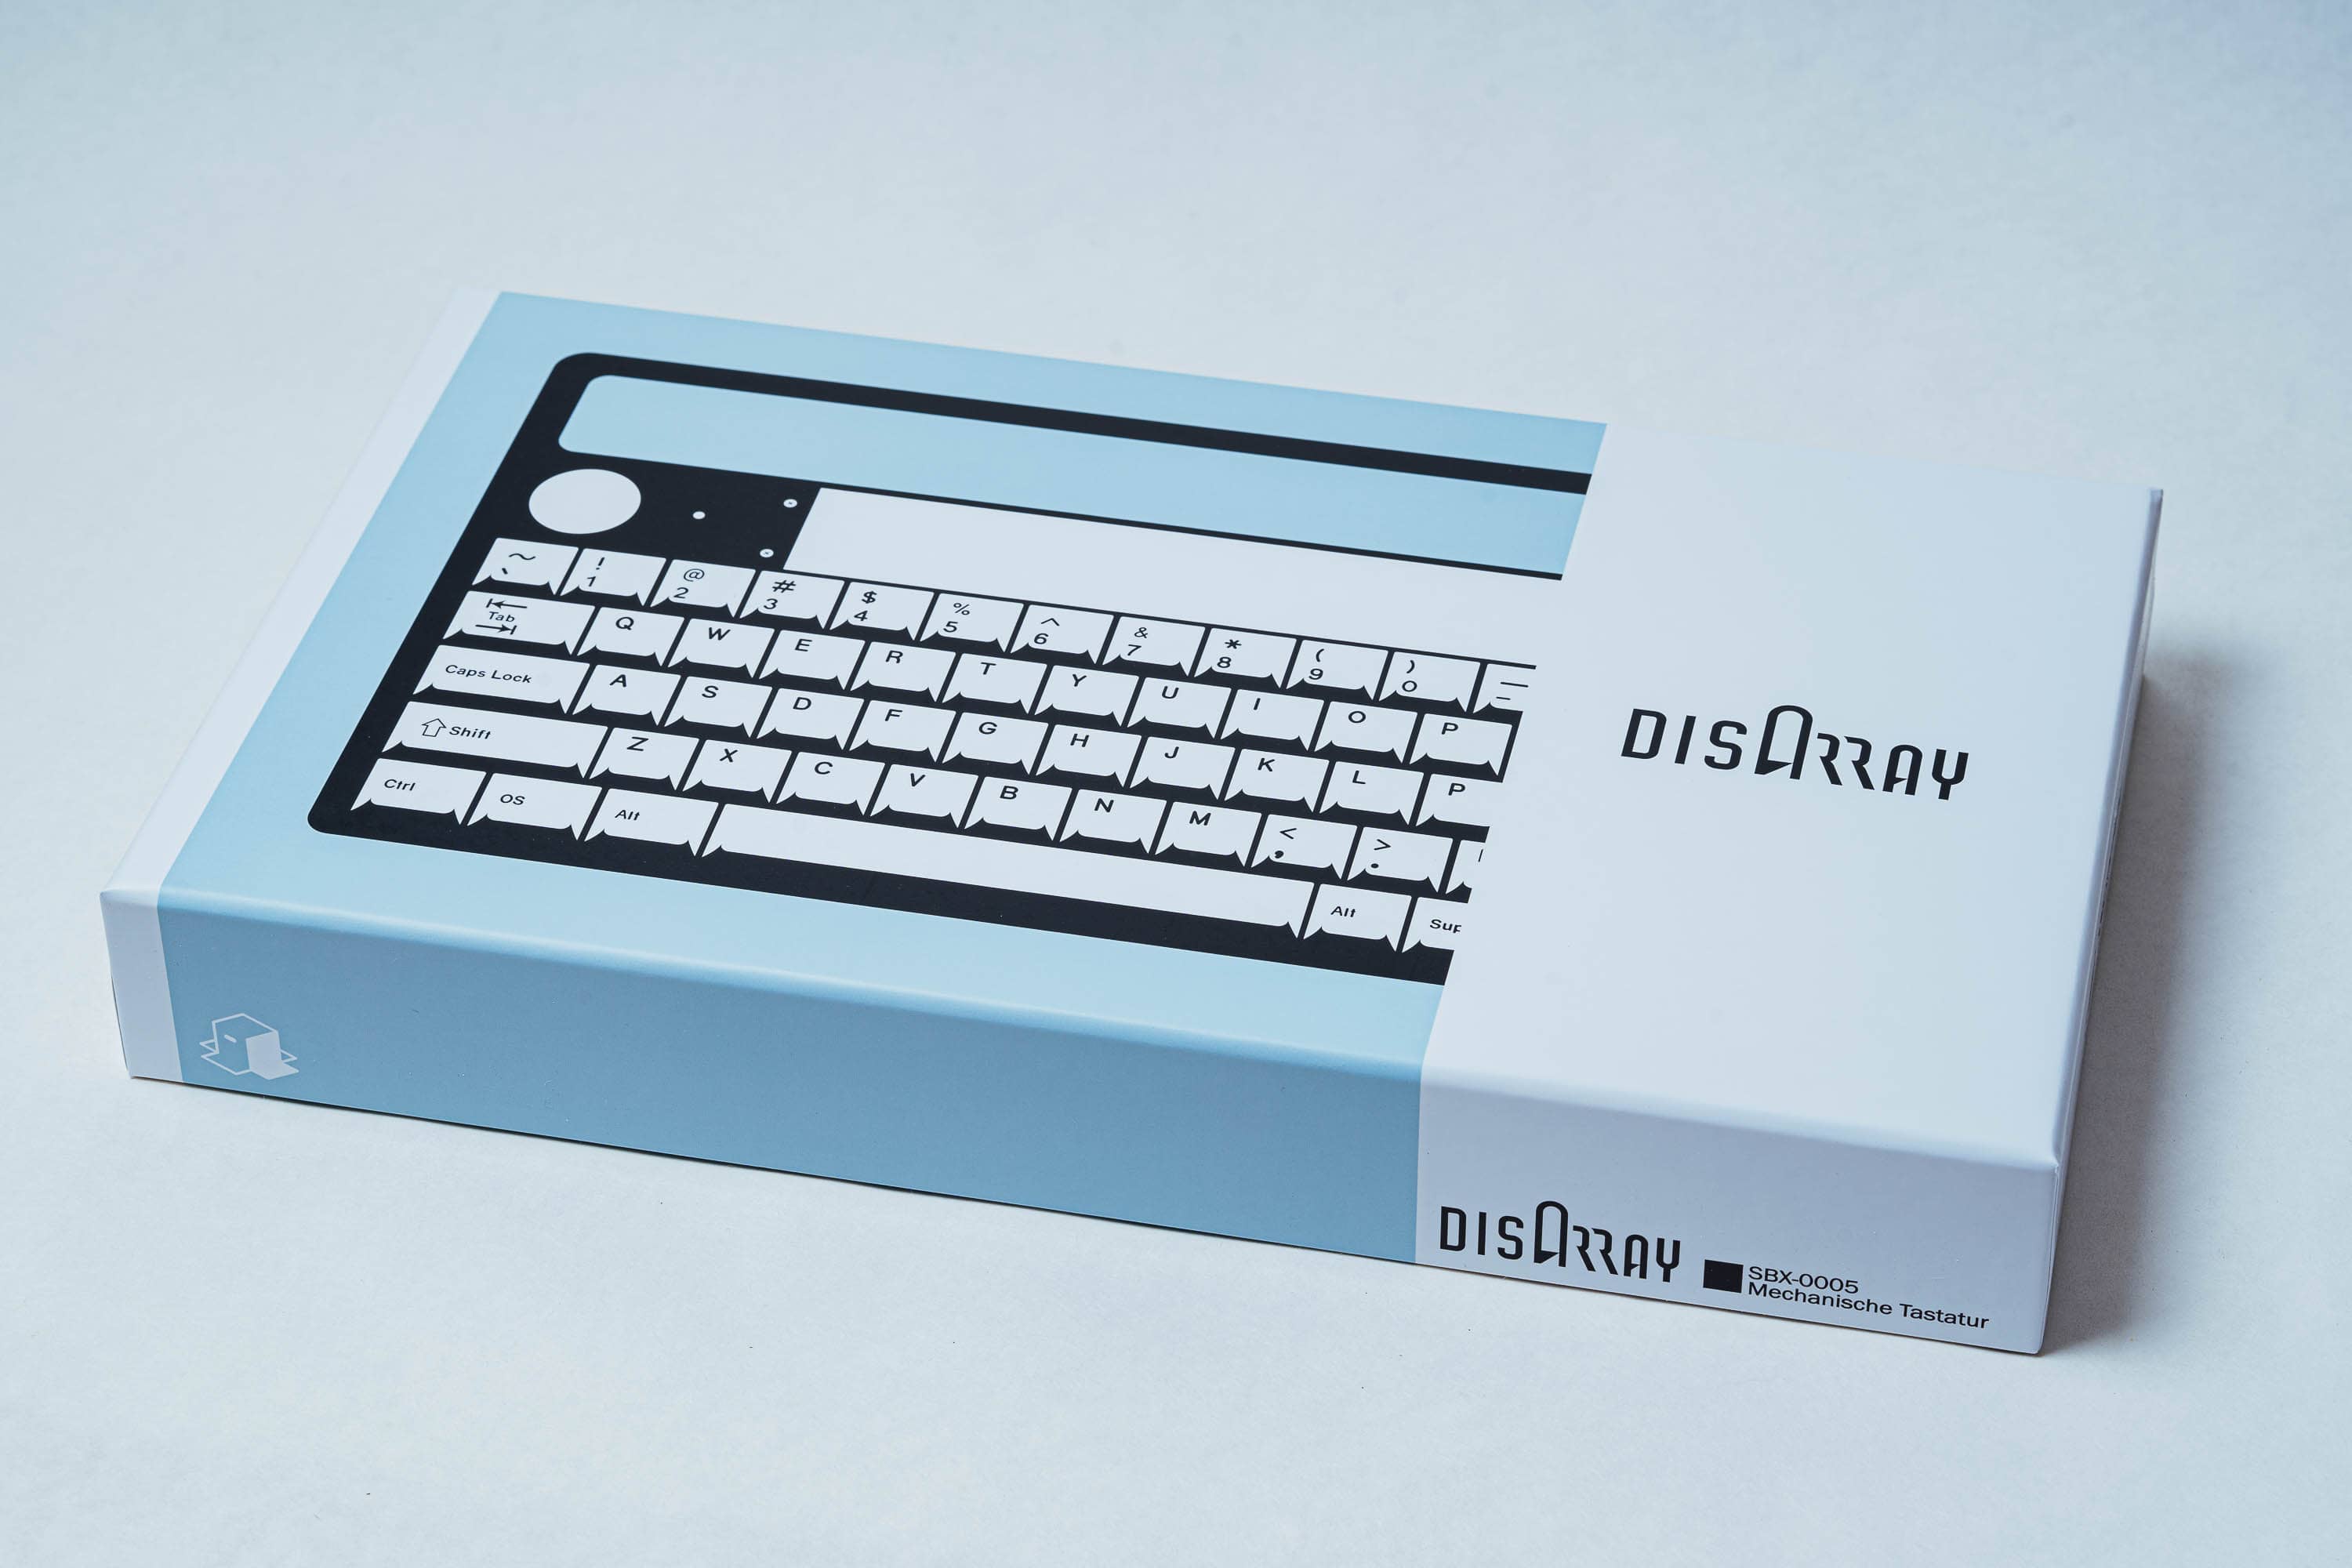
Packaging is great here. Custom tape and a well-packed box are the first things you notice.
We get our first look at the Disarray box itself, sitting without any damage in the box!
Pulling the custom box out, it’s really a lot of fantastic attention to detail. If I saw this on a retail shelf, I’d absolutely assume there was a design team behind it. Here’s the front of the box:
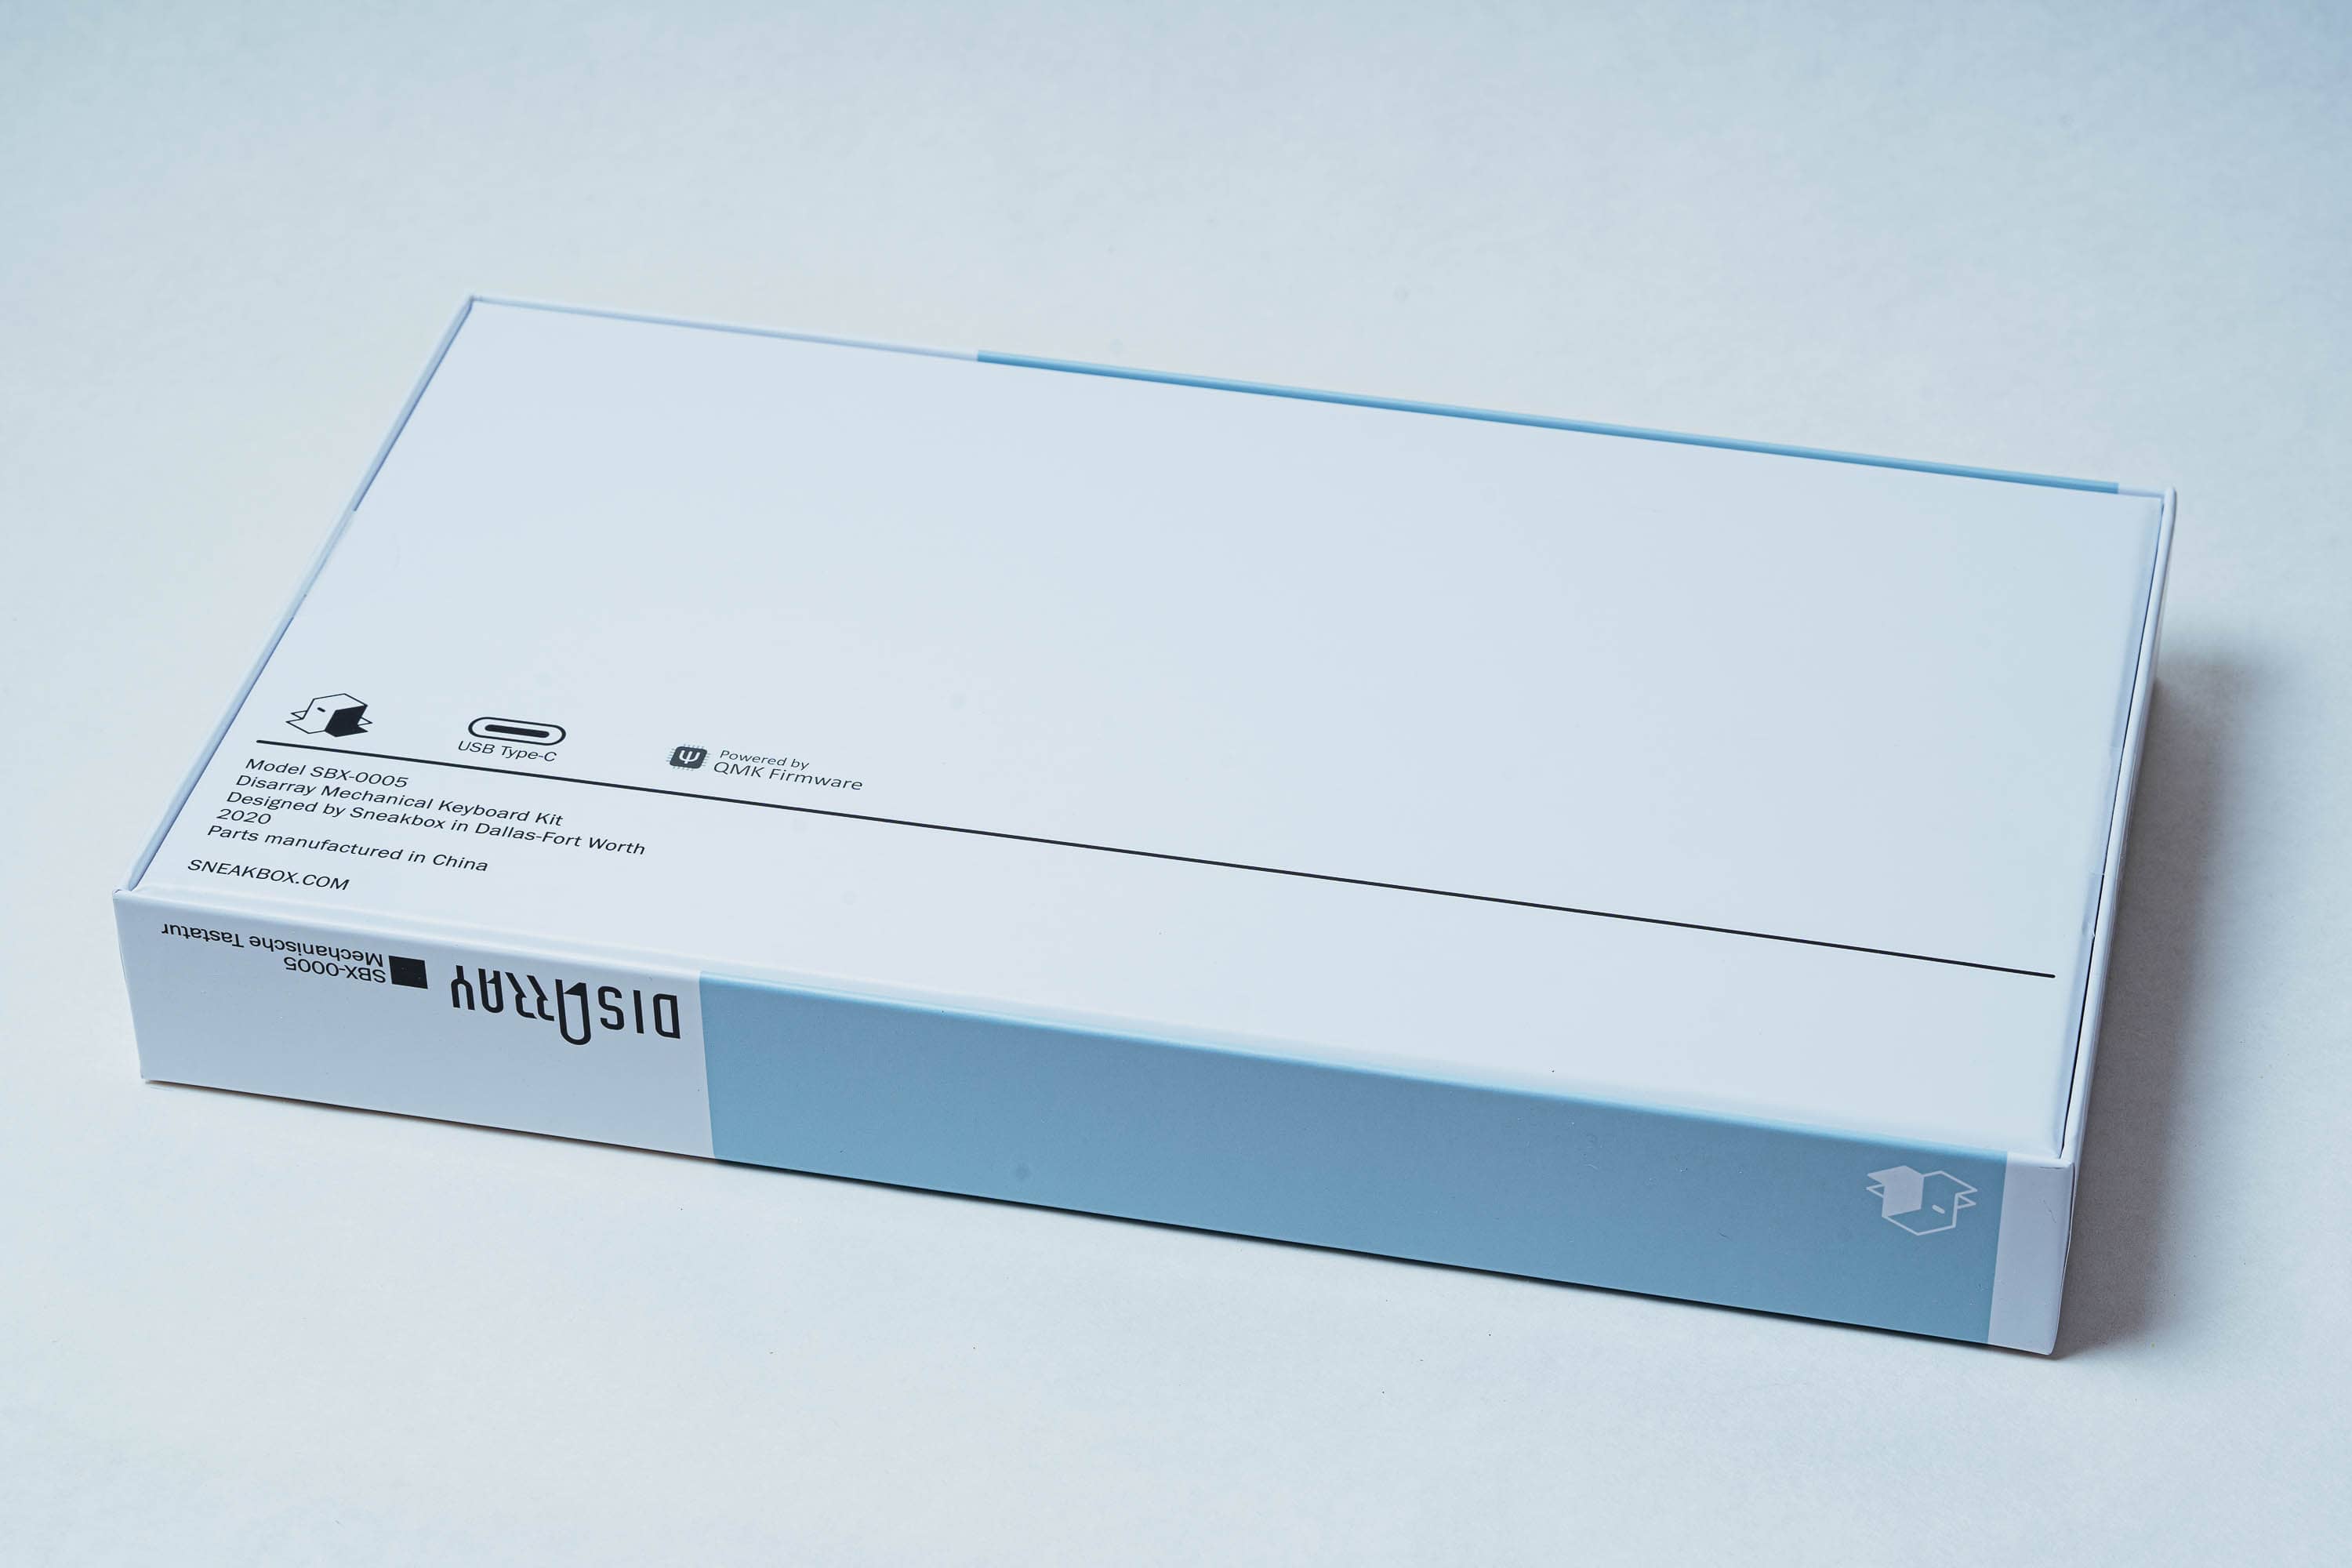
And the back:
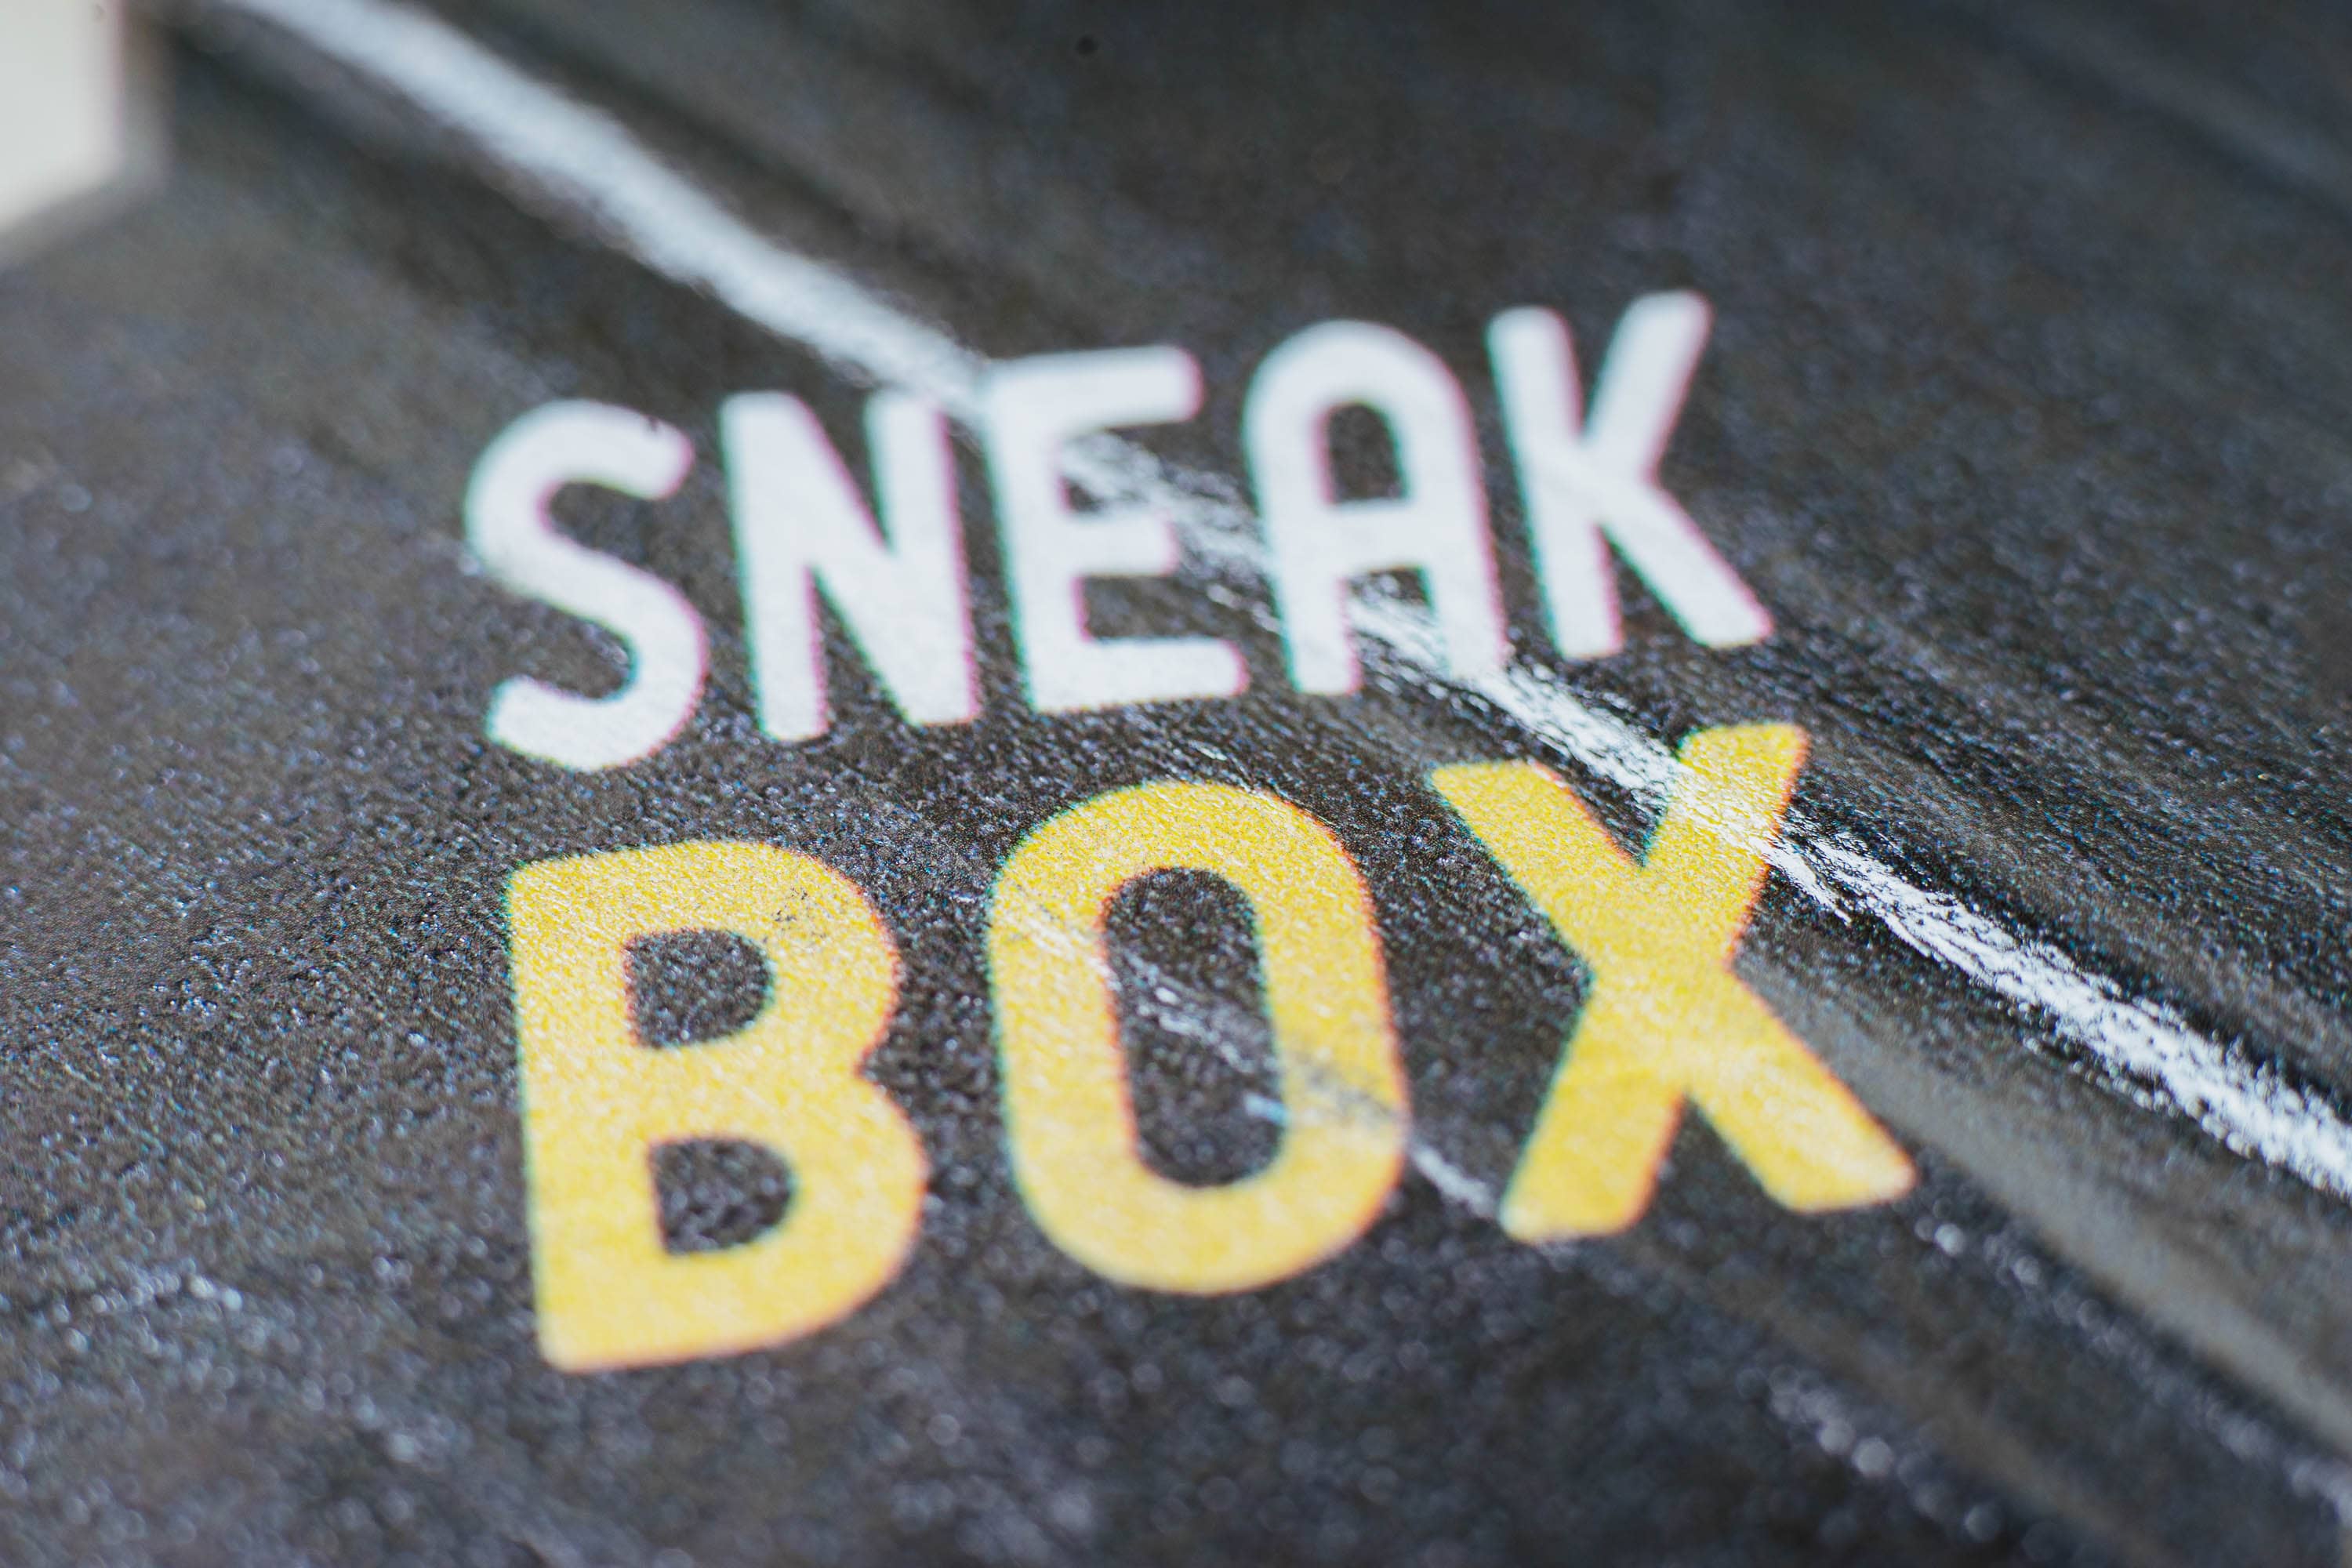
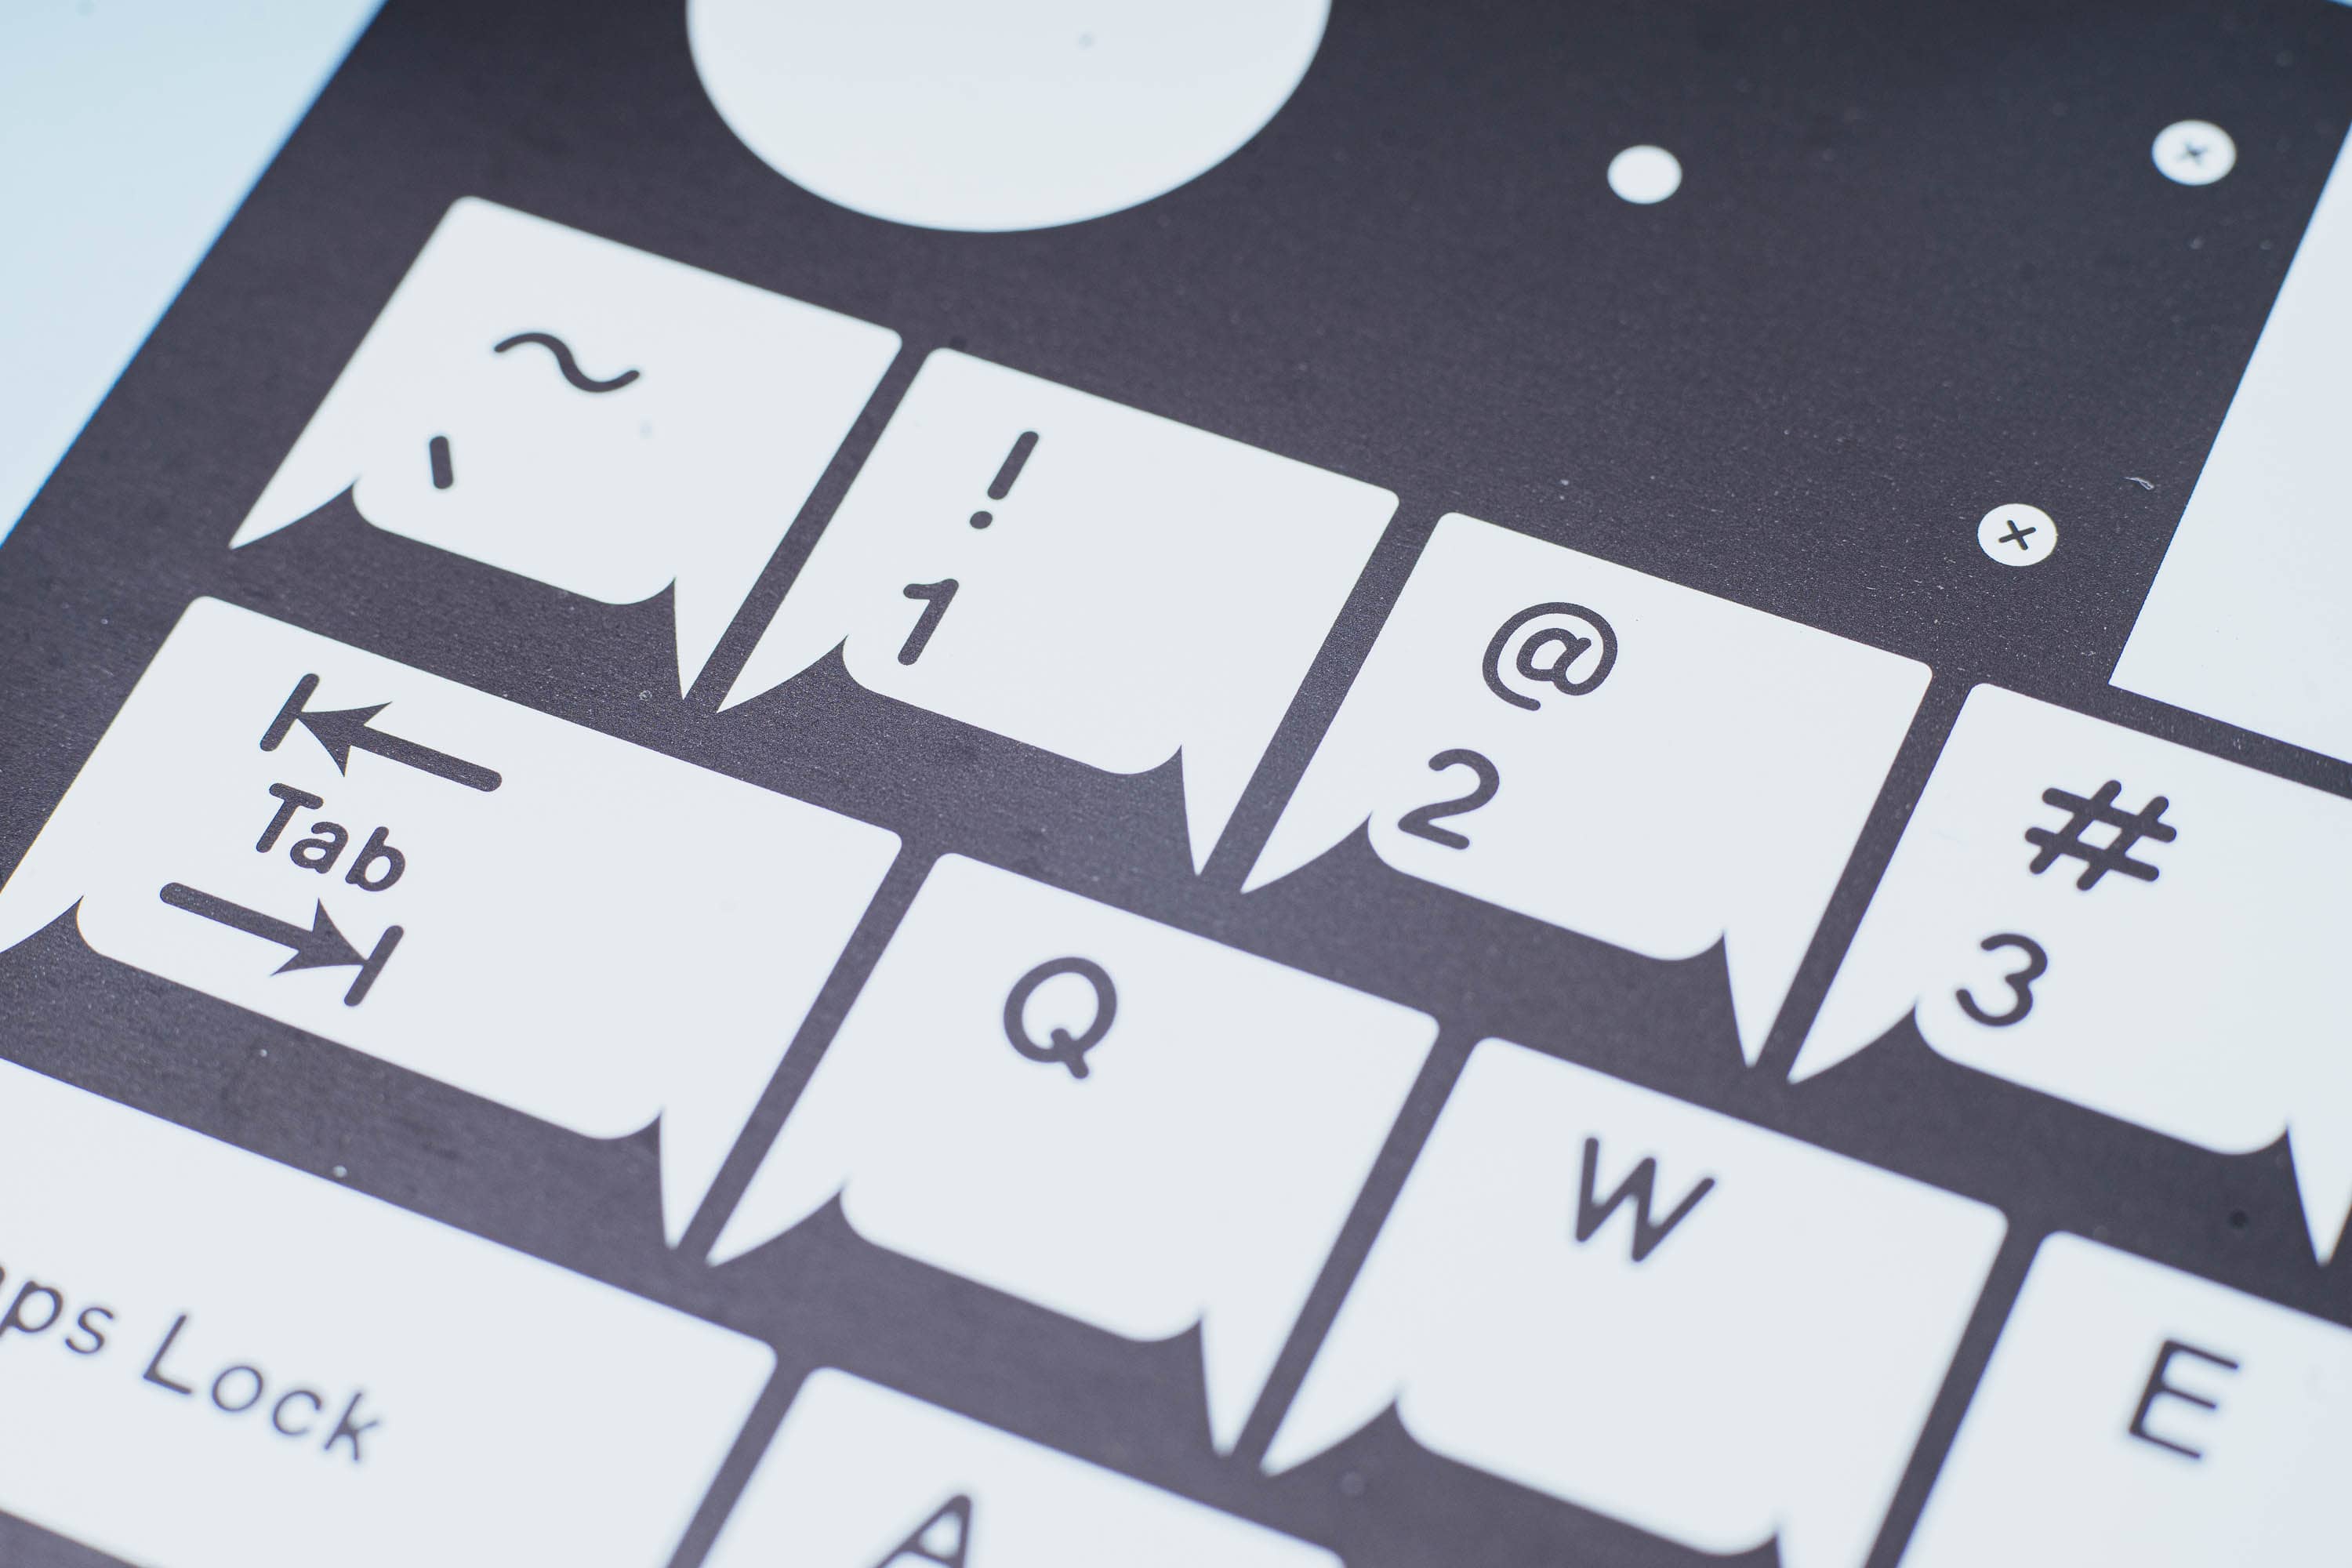
There are a lot of fun details on this product box. Here are a couple macro shots:

Onto the keyboard!
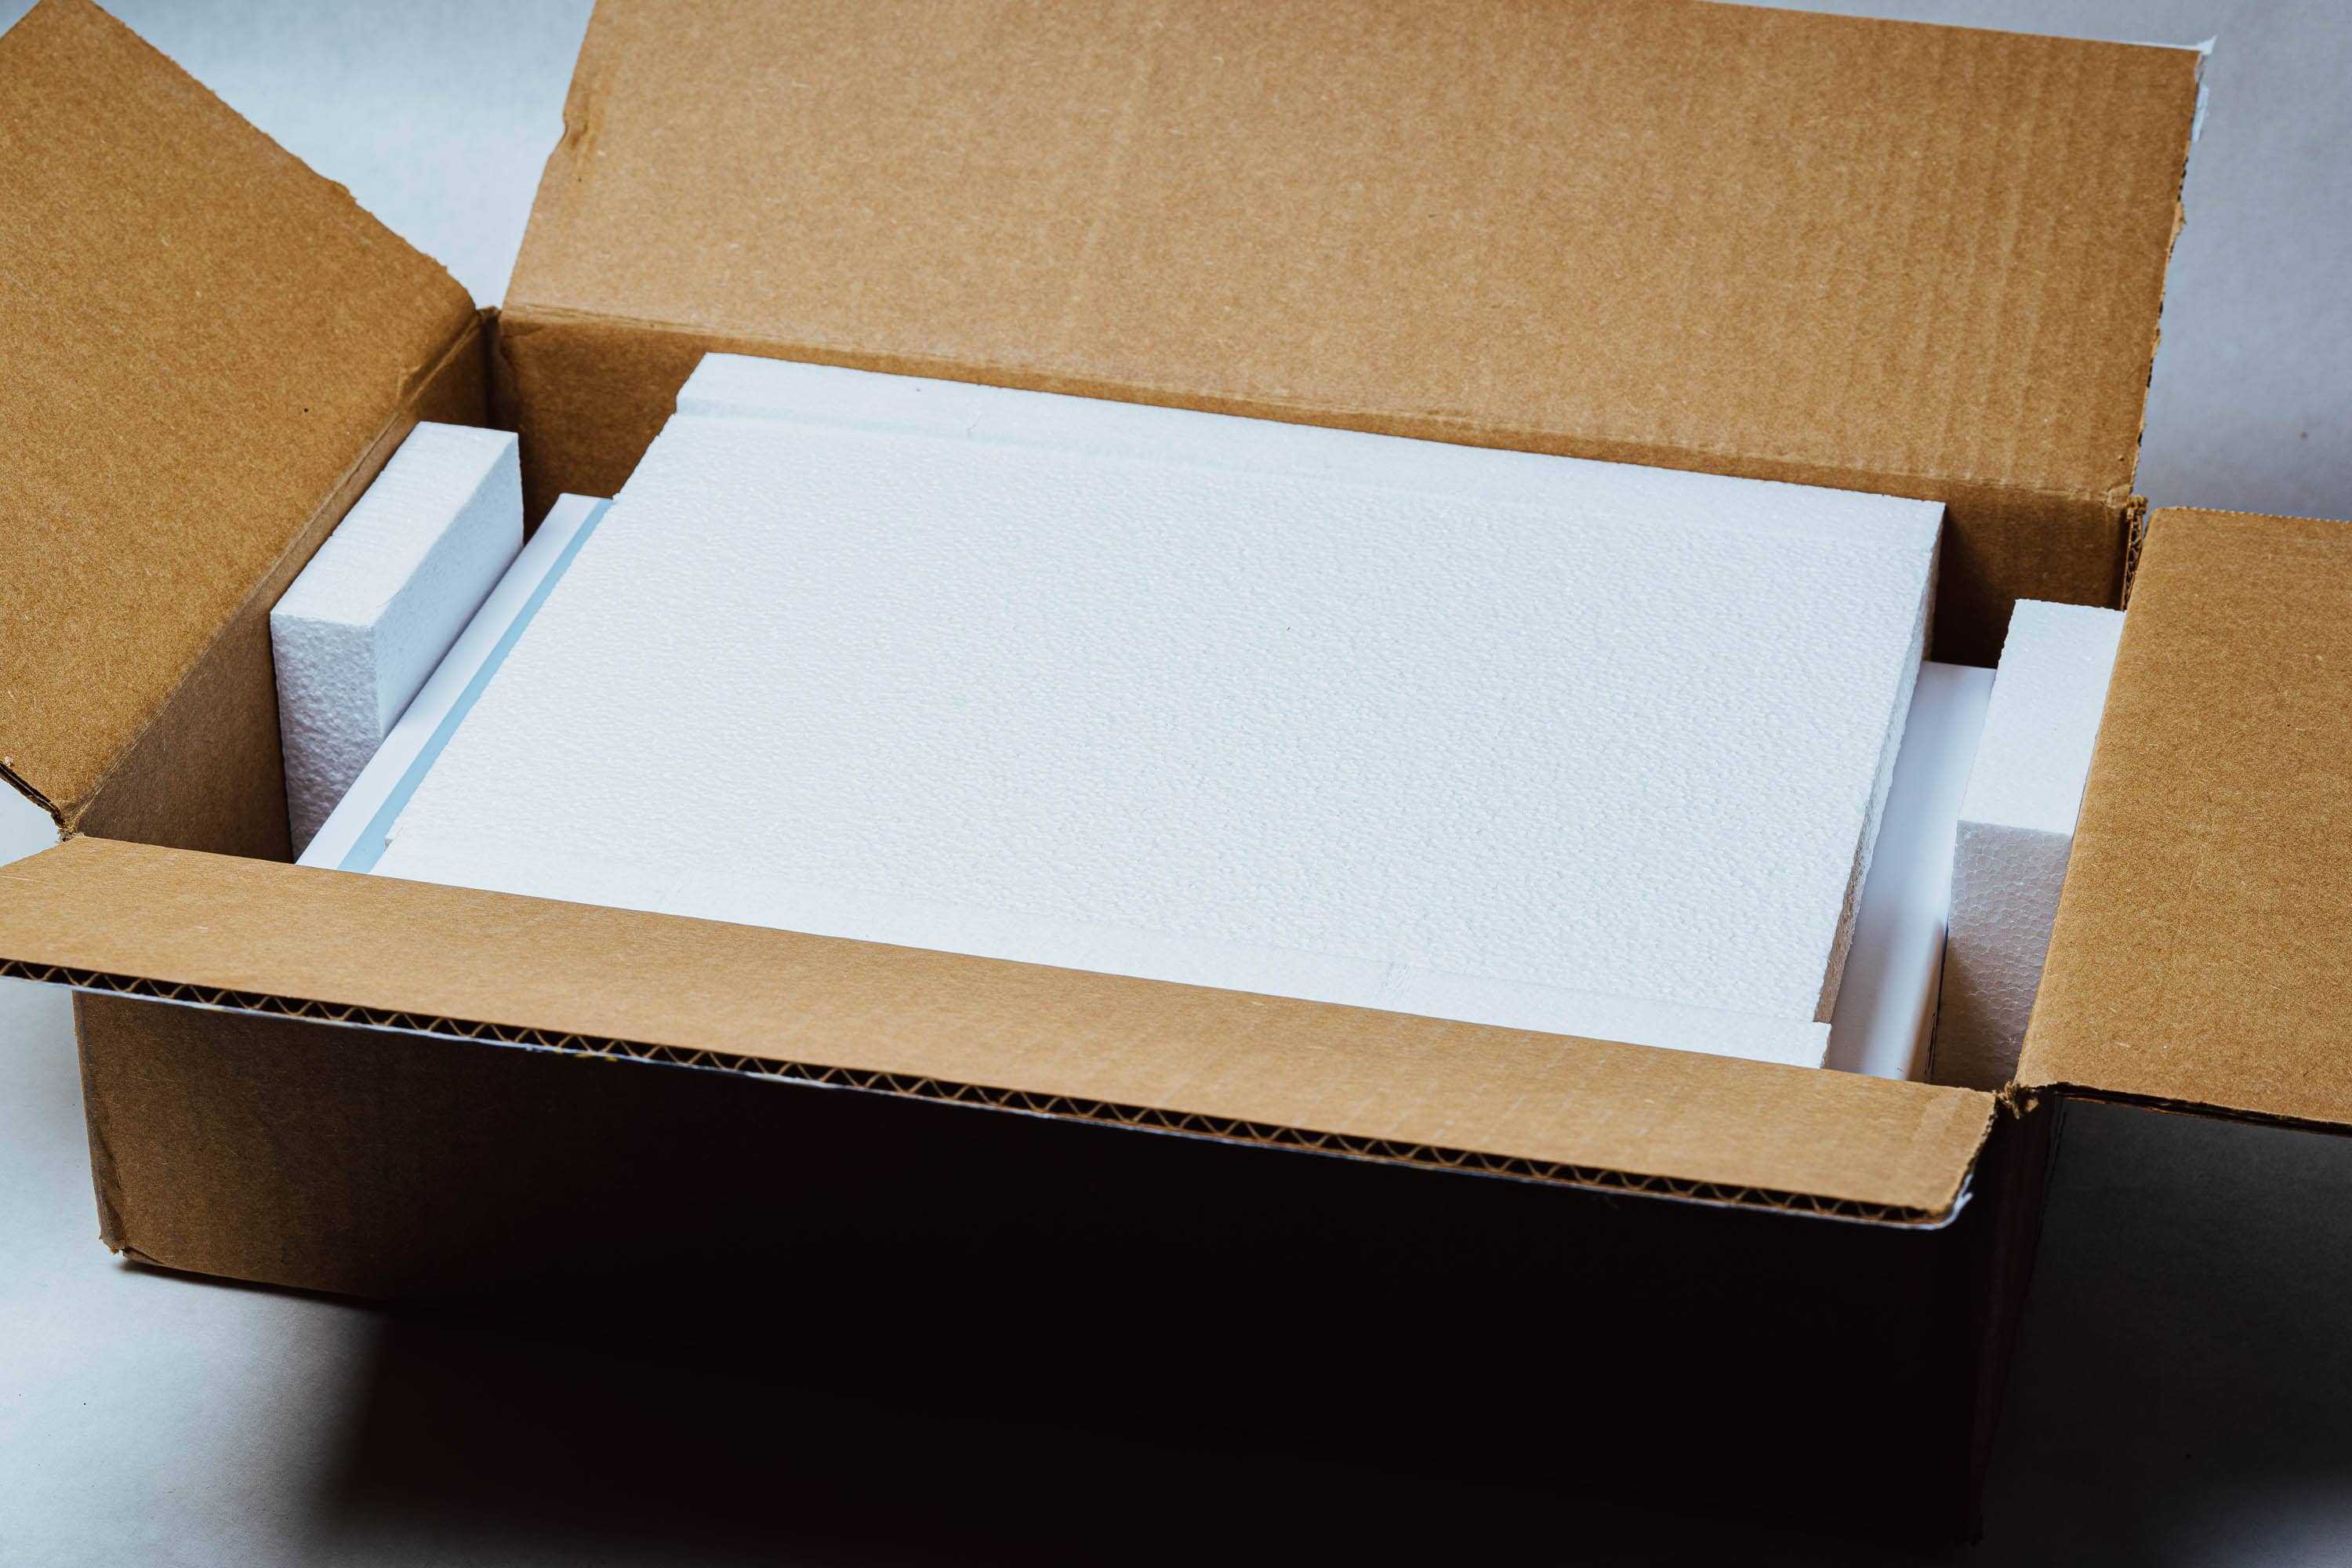
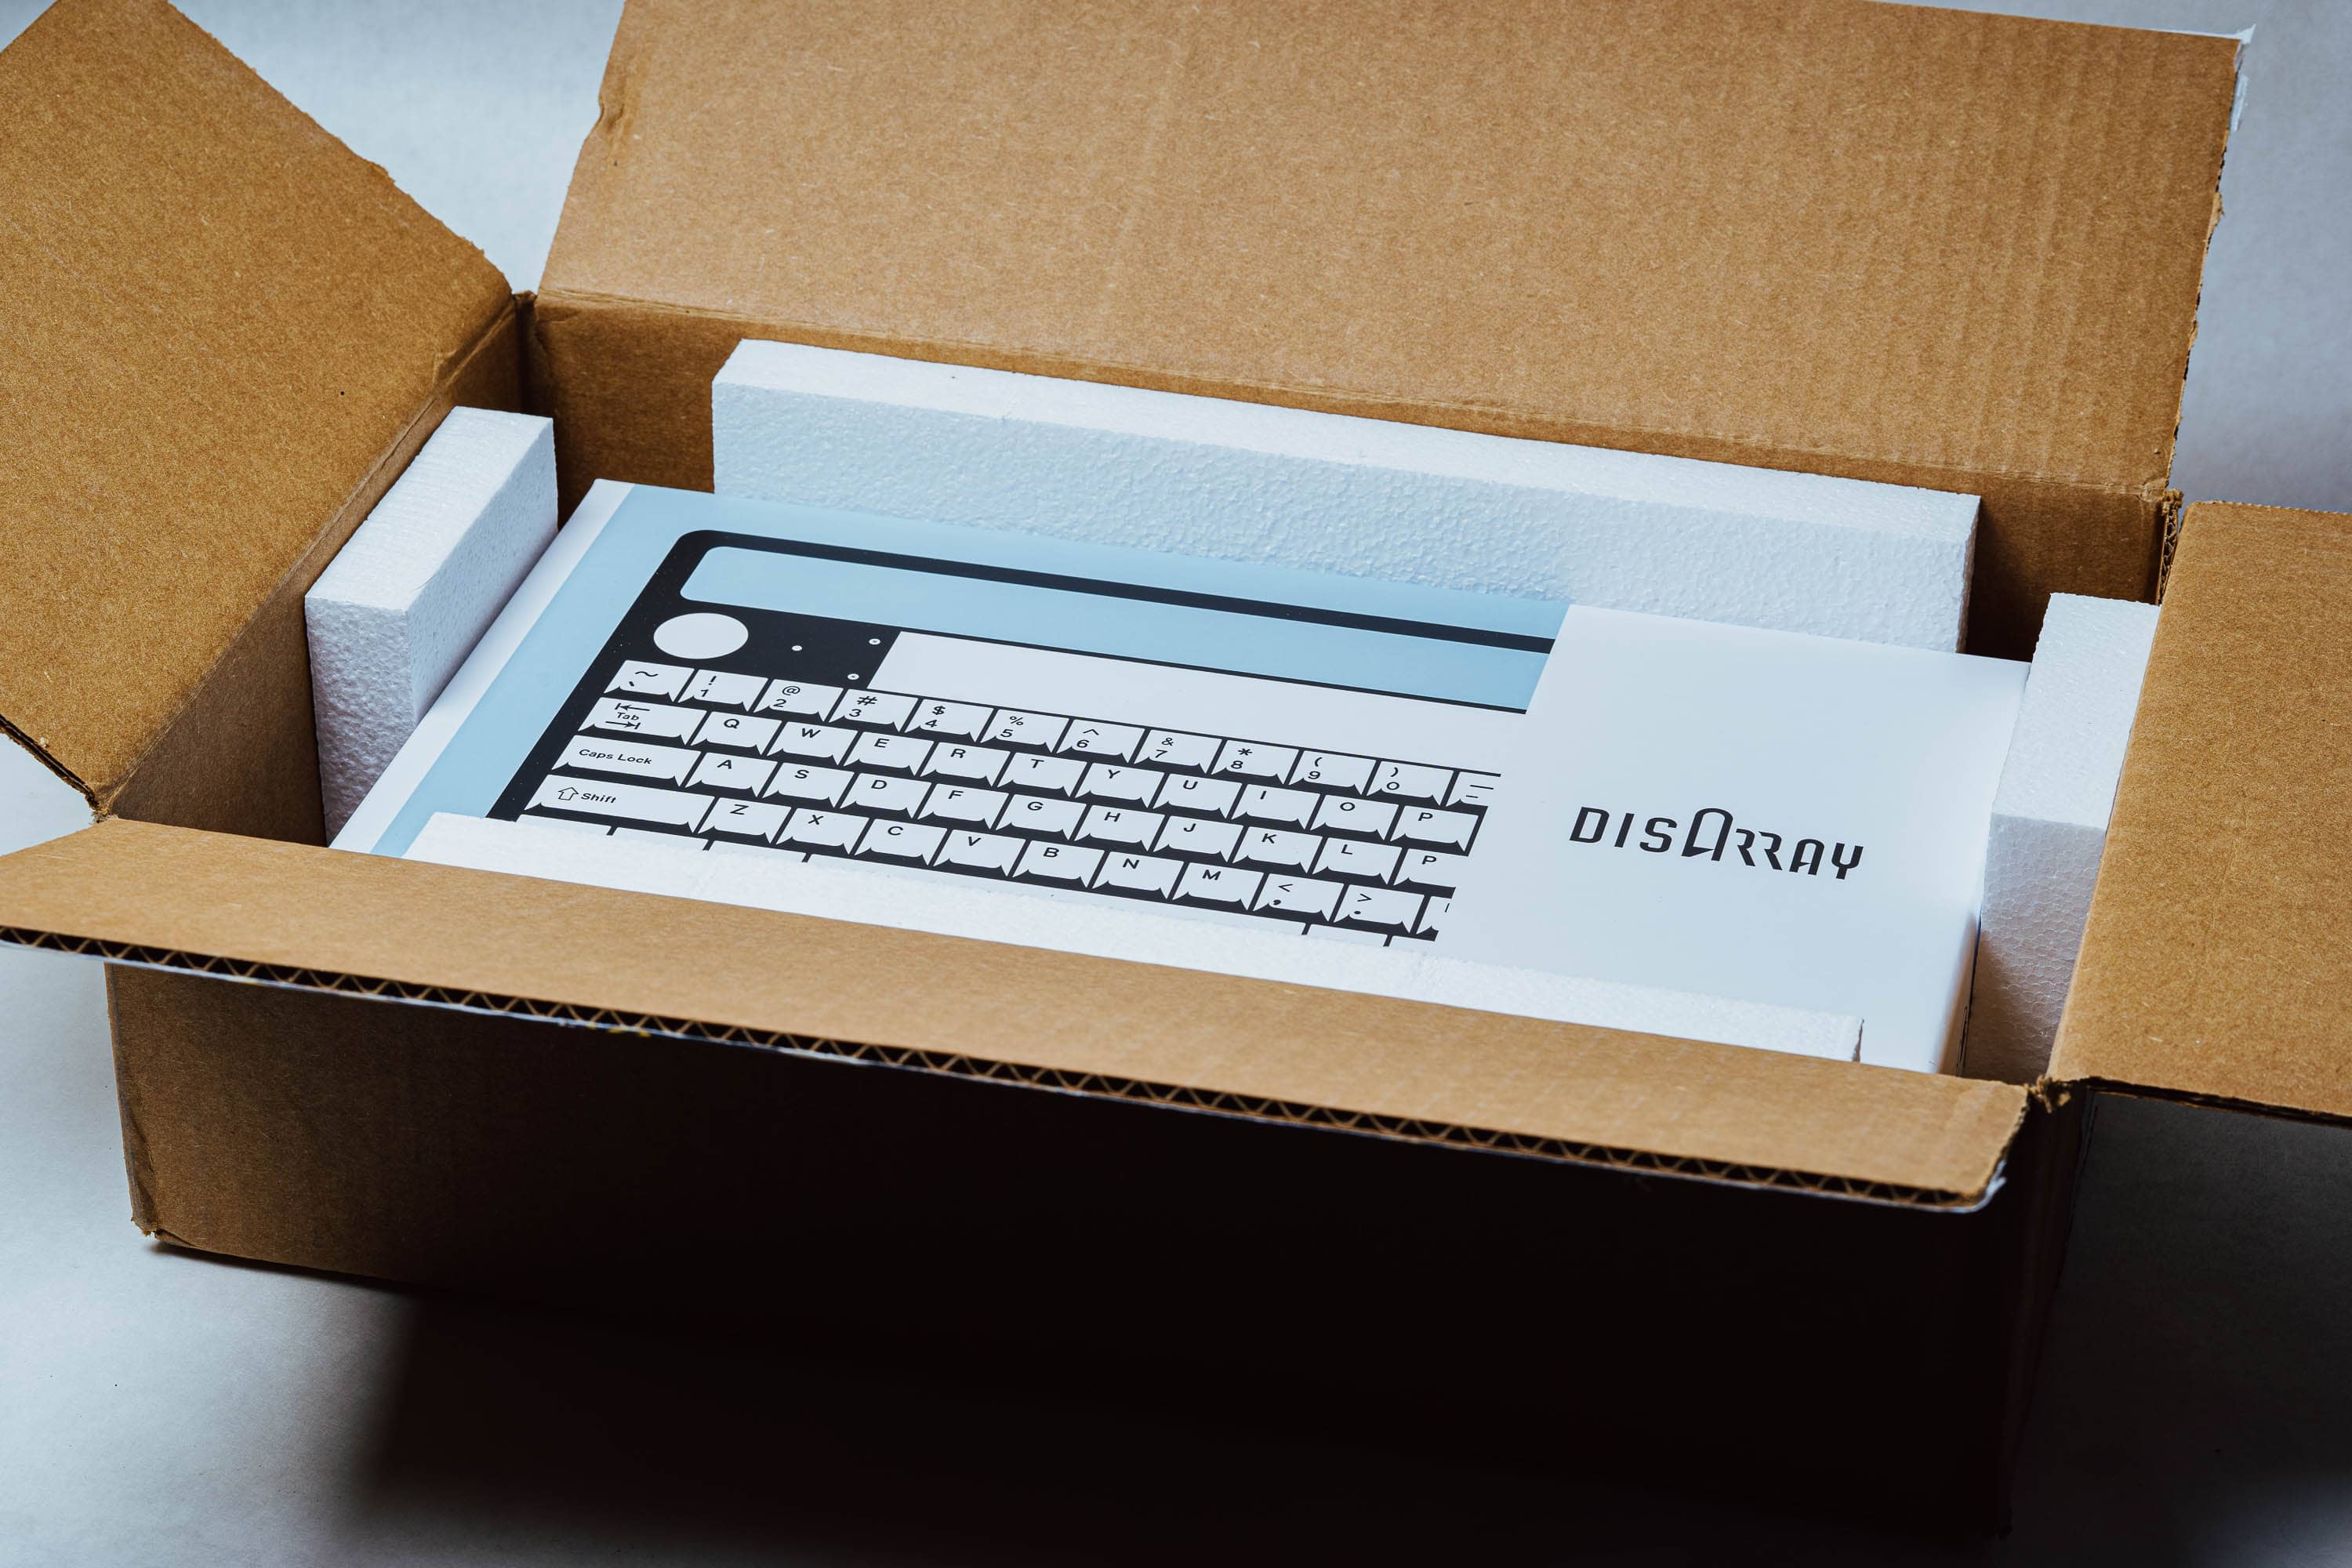
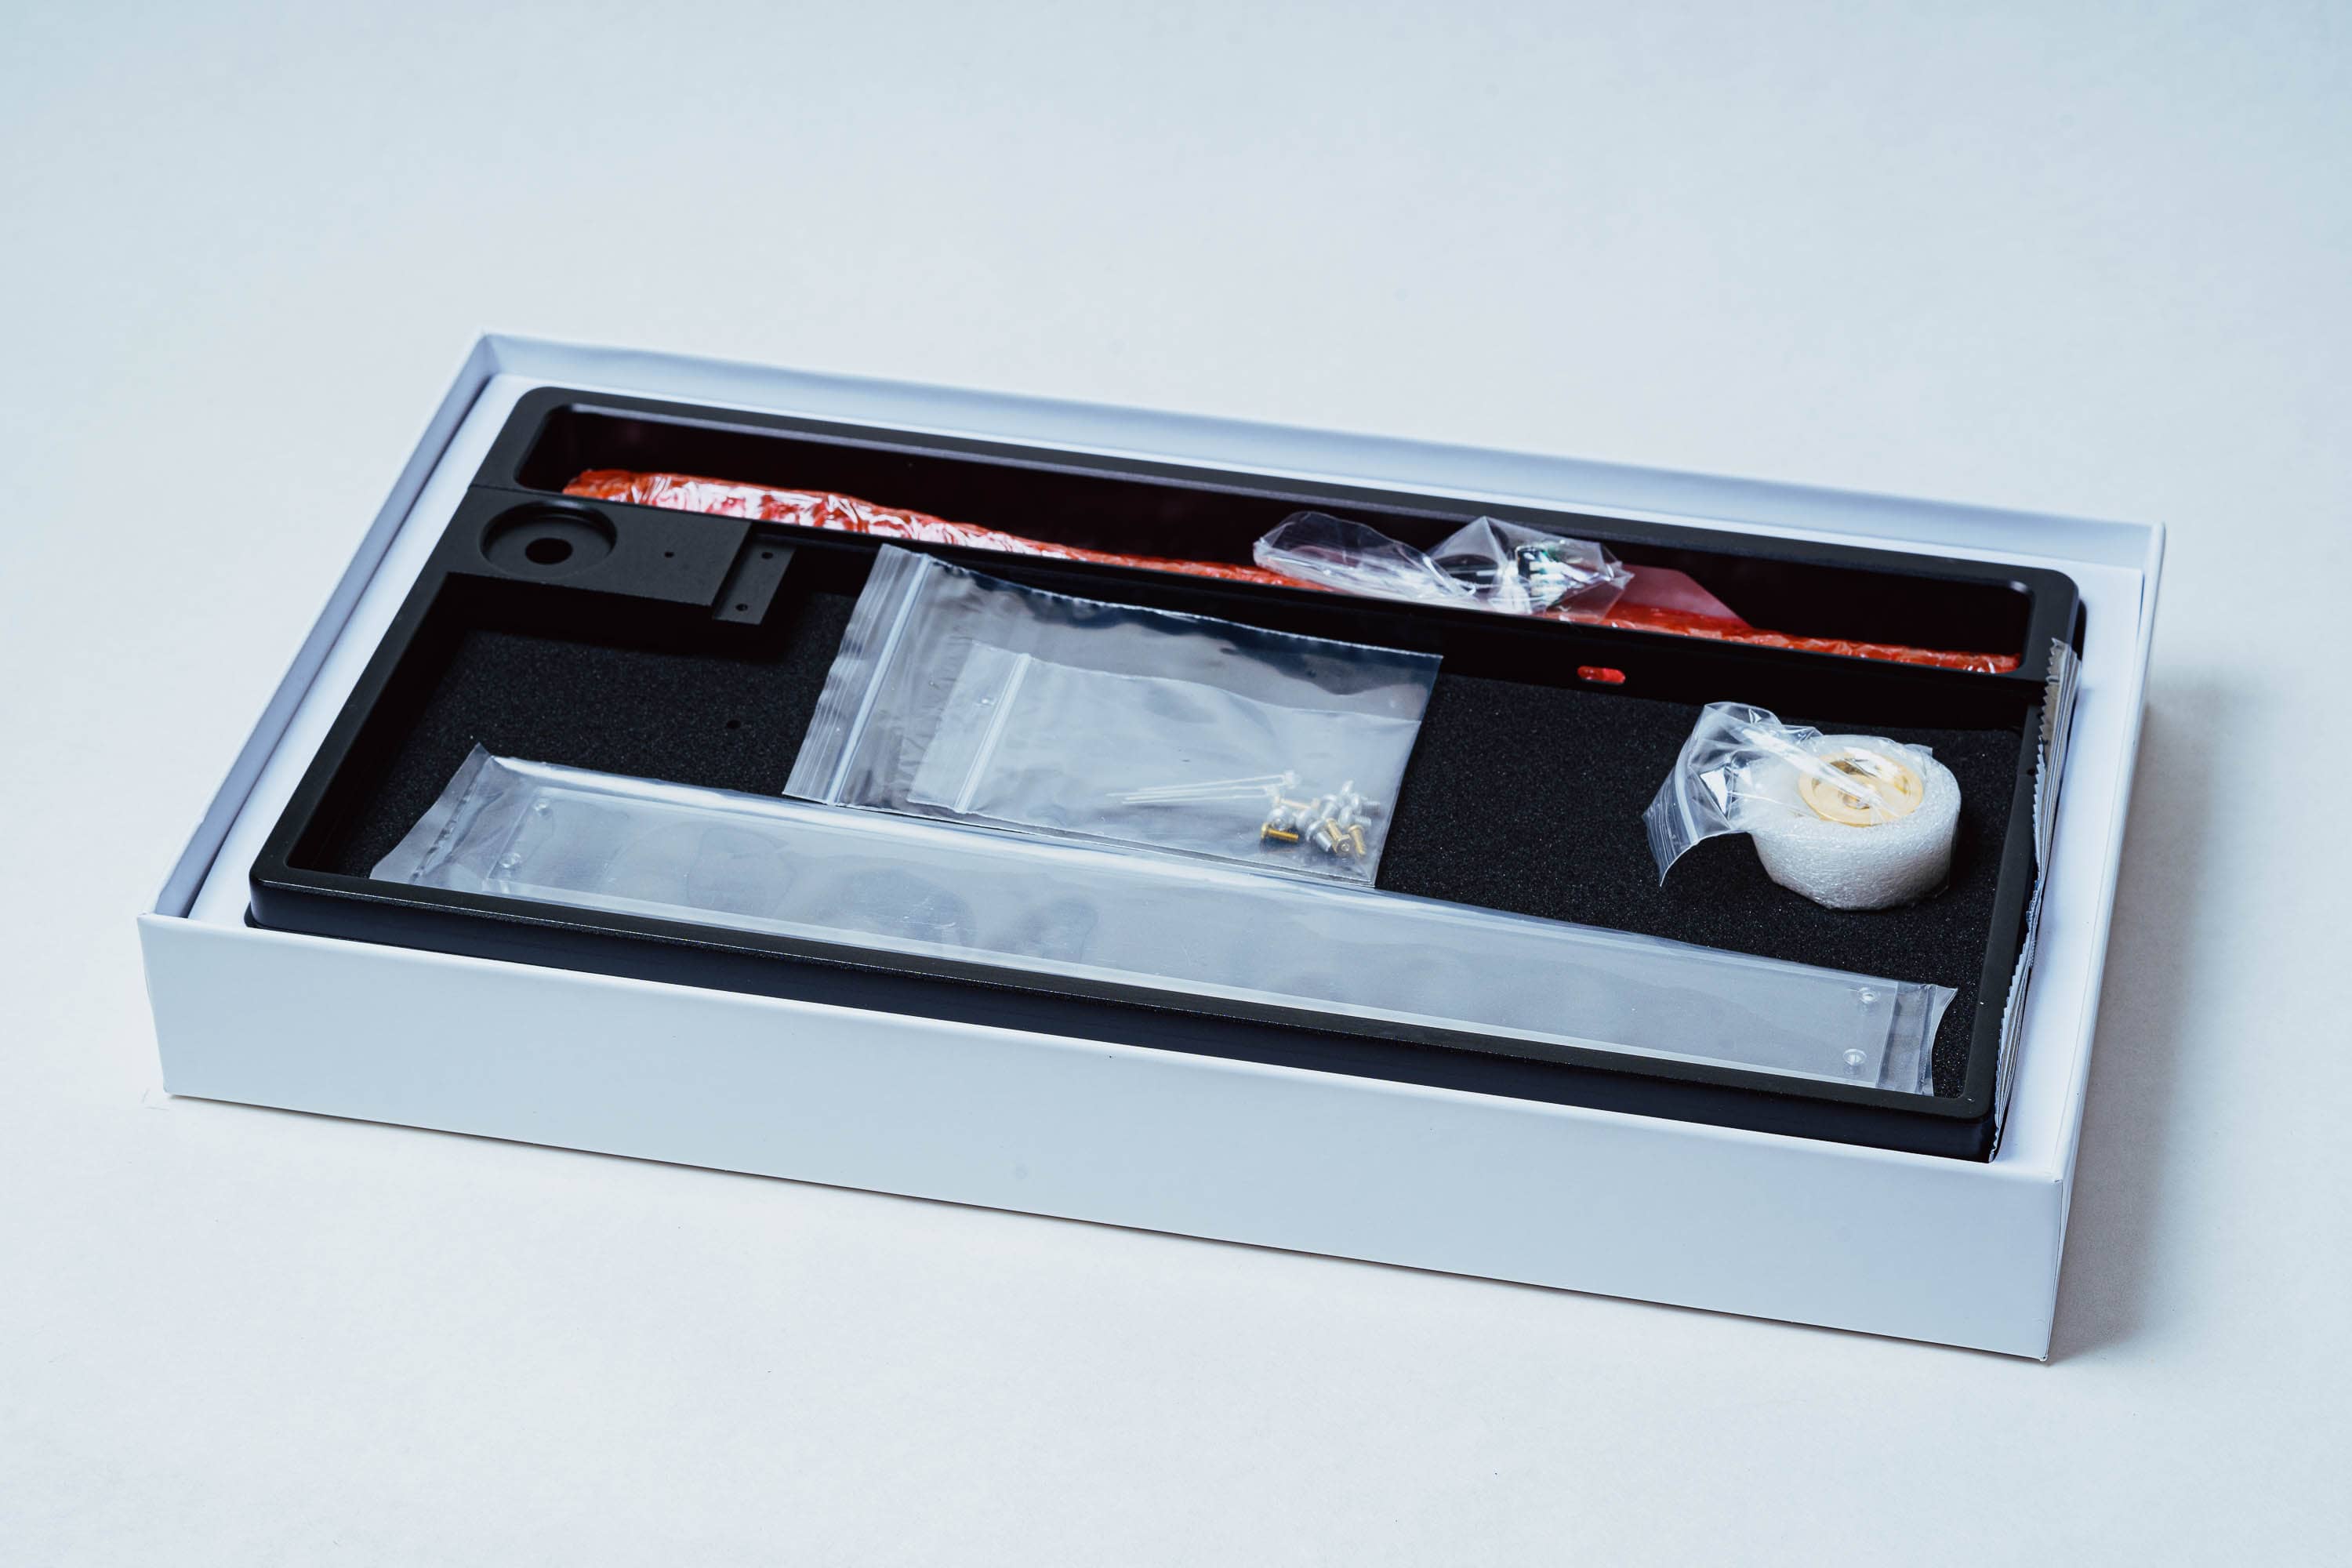
Included in the box
Immediately, you’ll see a few things: the aluminum case and some of the accessories.
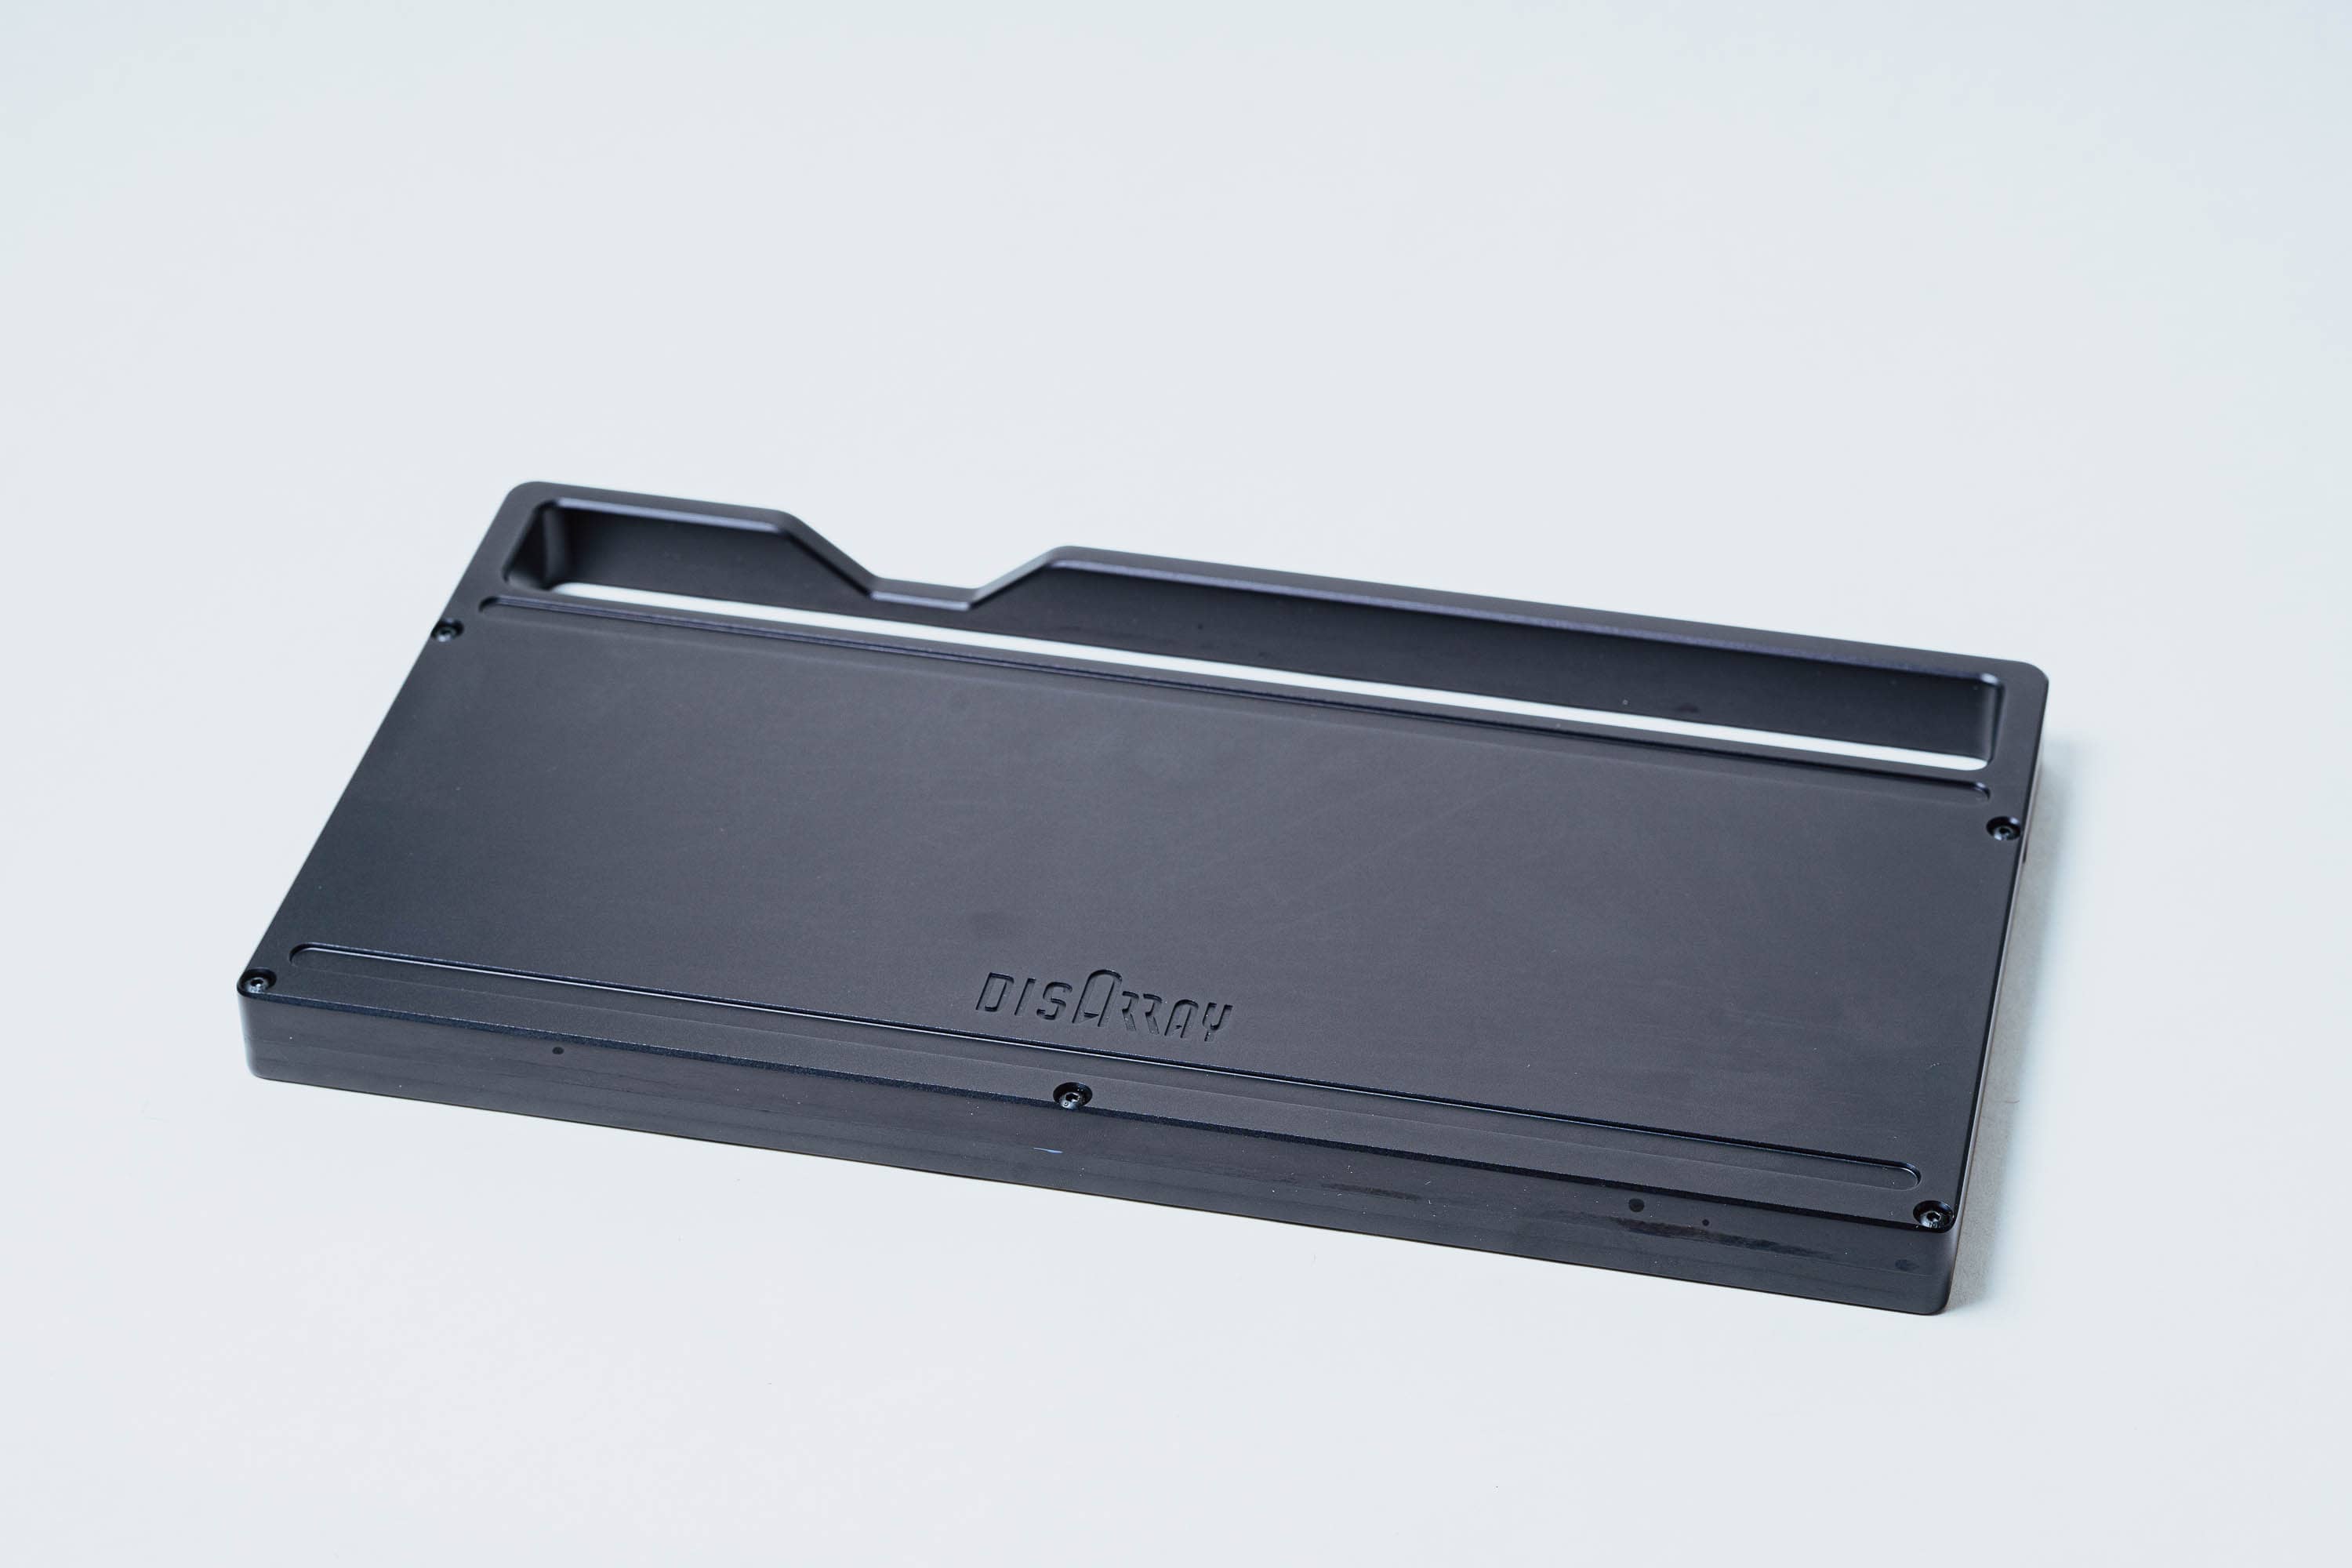
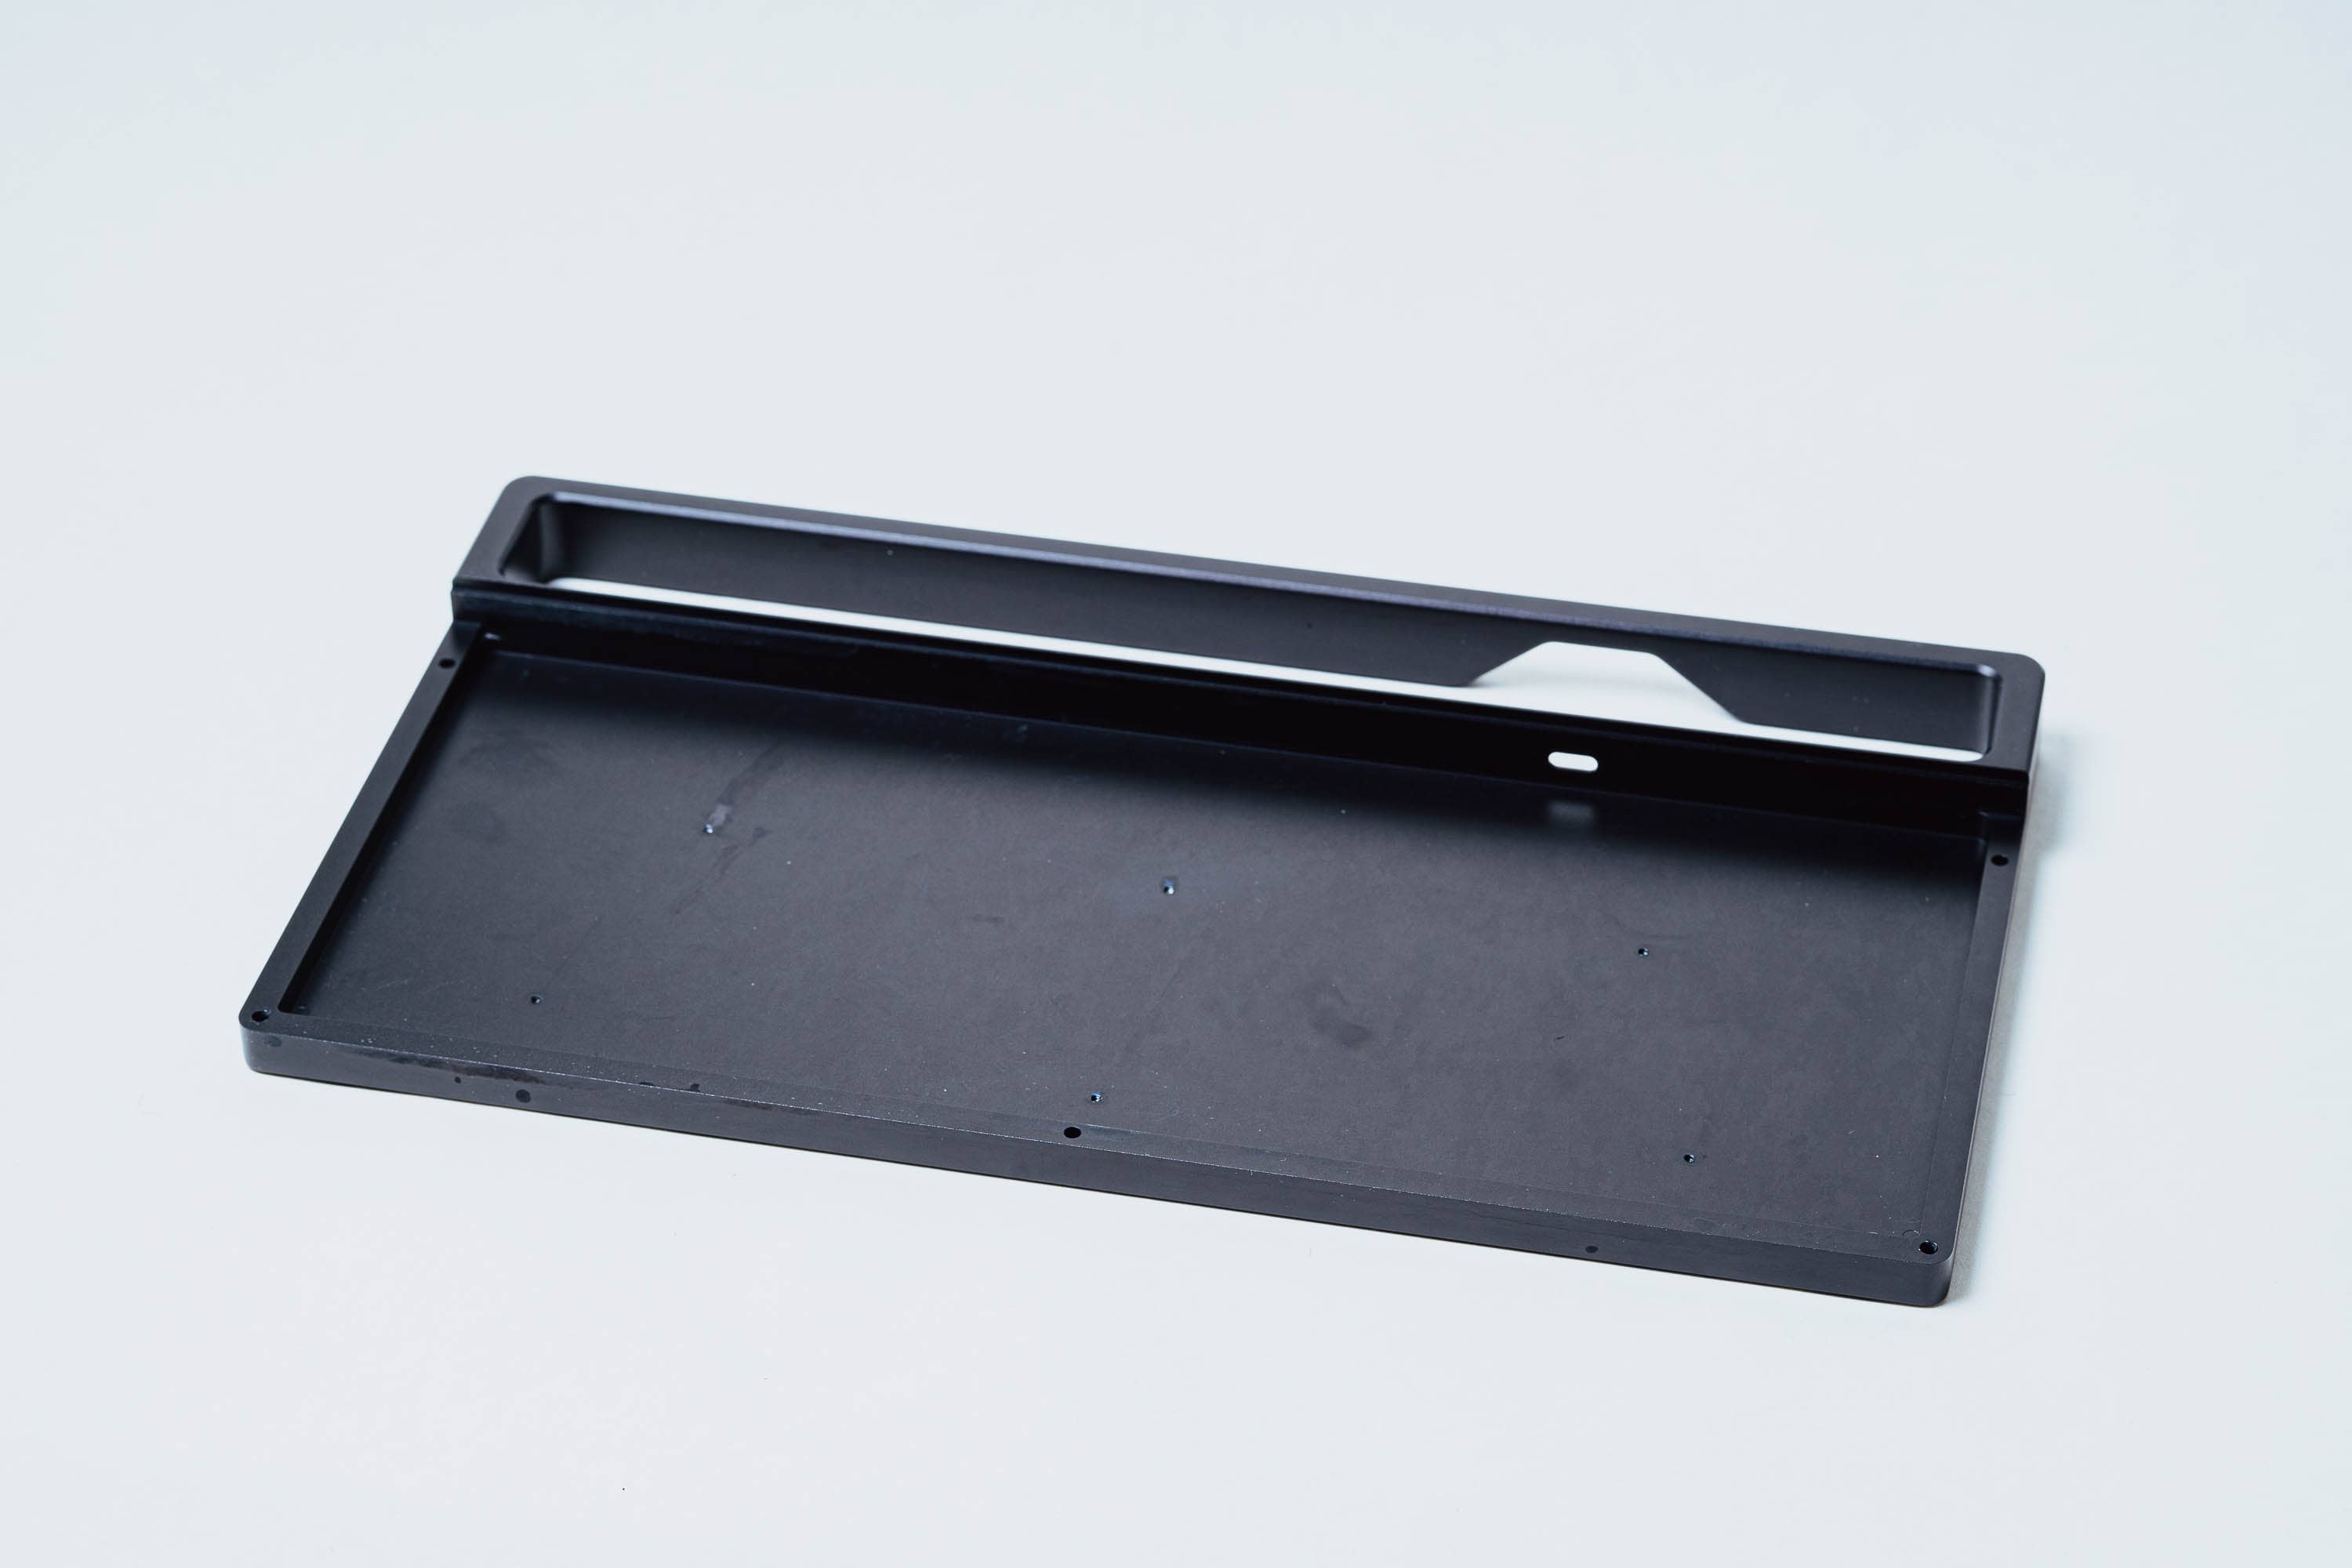
Let’s start by taking a closer look at the aluminum case. I chose the anodized black option for the case, since I wanted to maximize the number of keycap sets with which it would work well. Here’s the front of the case:
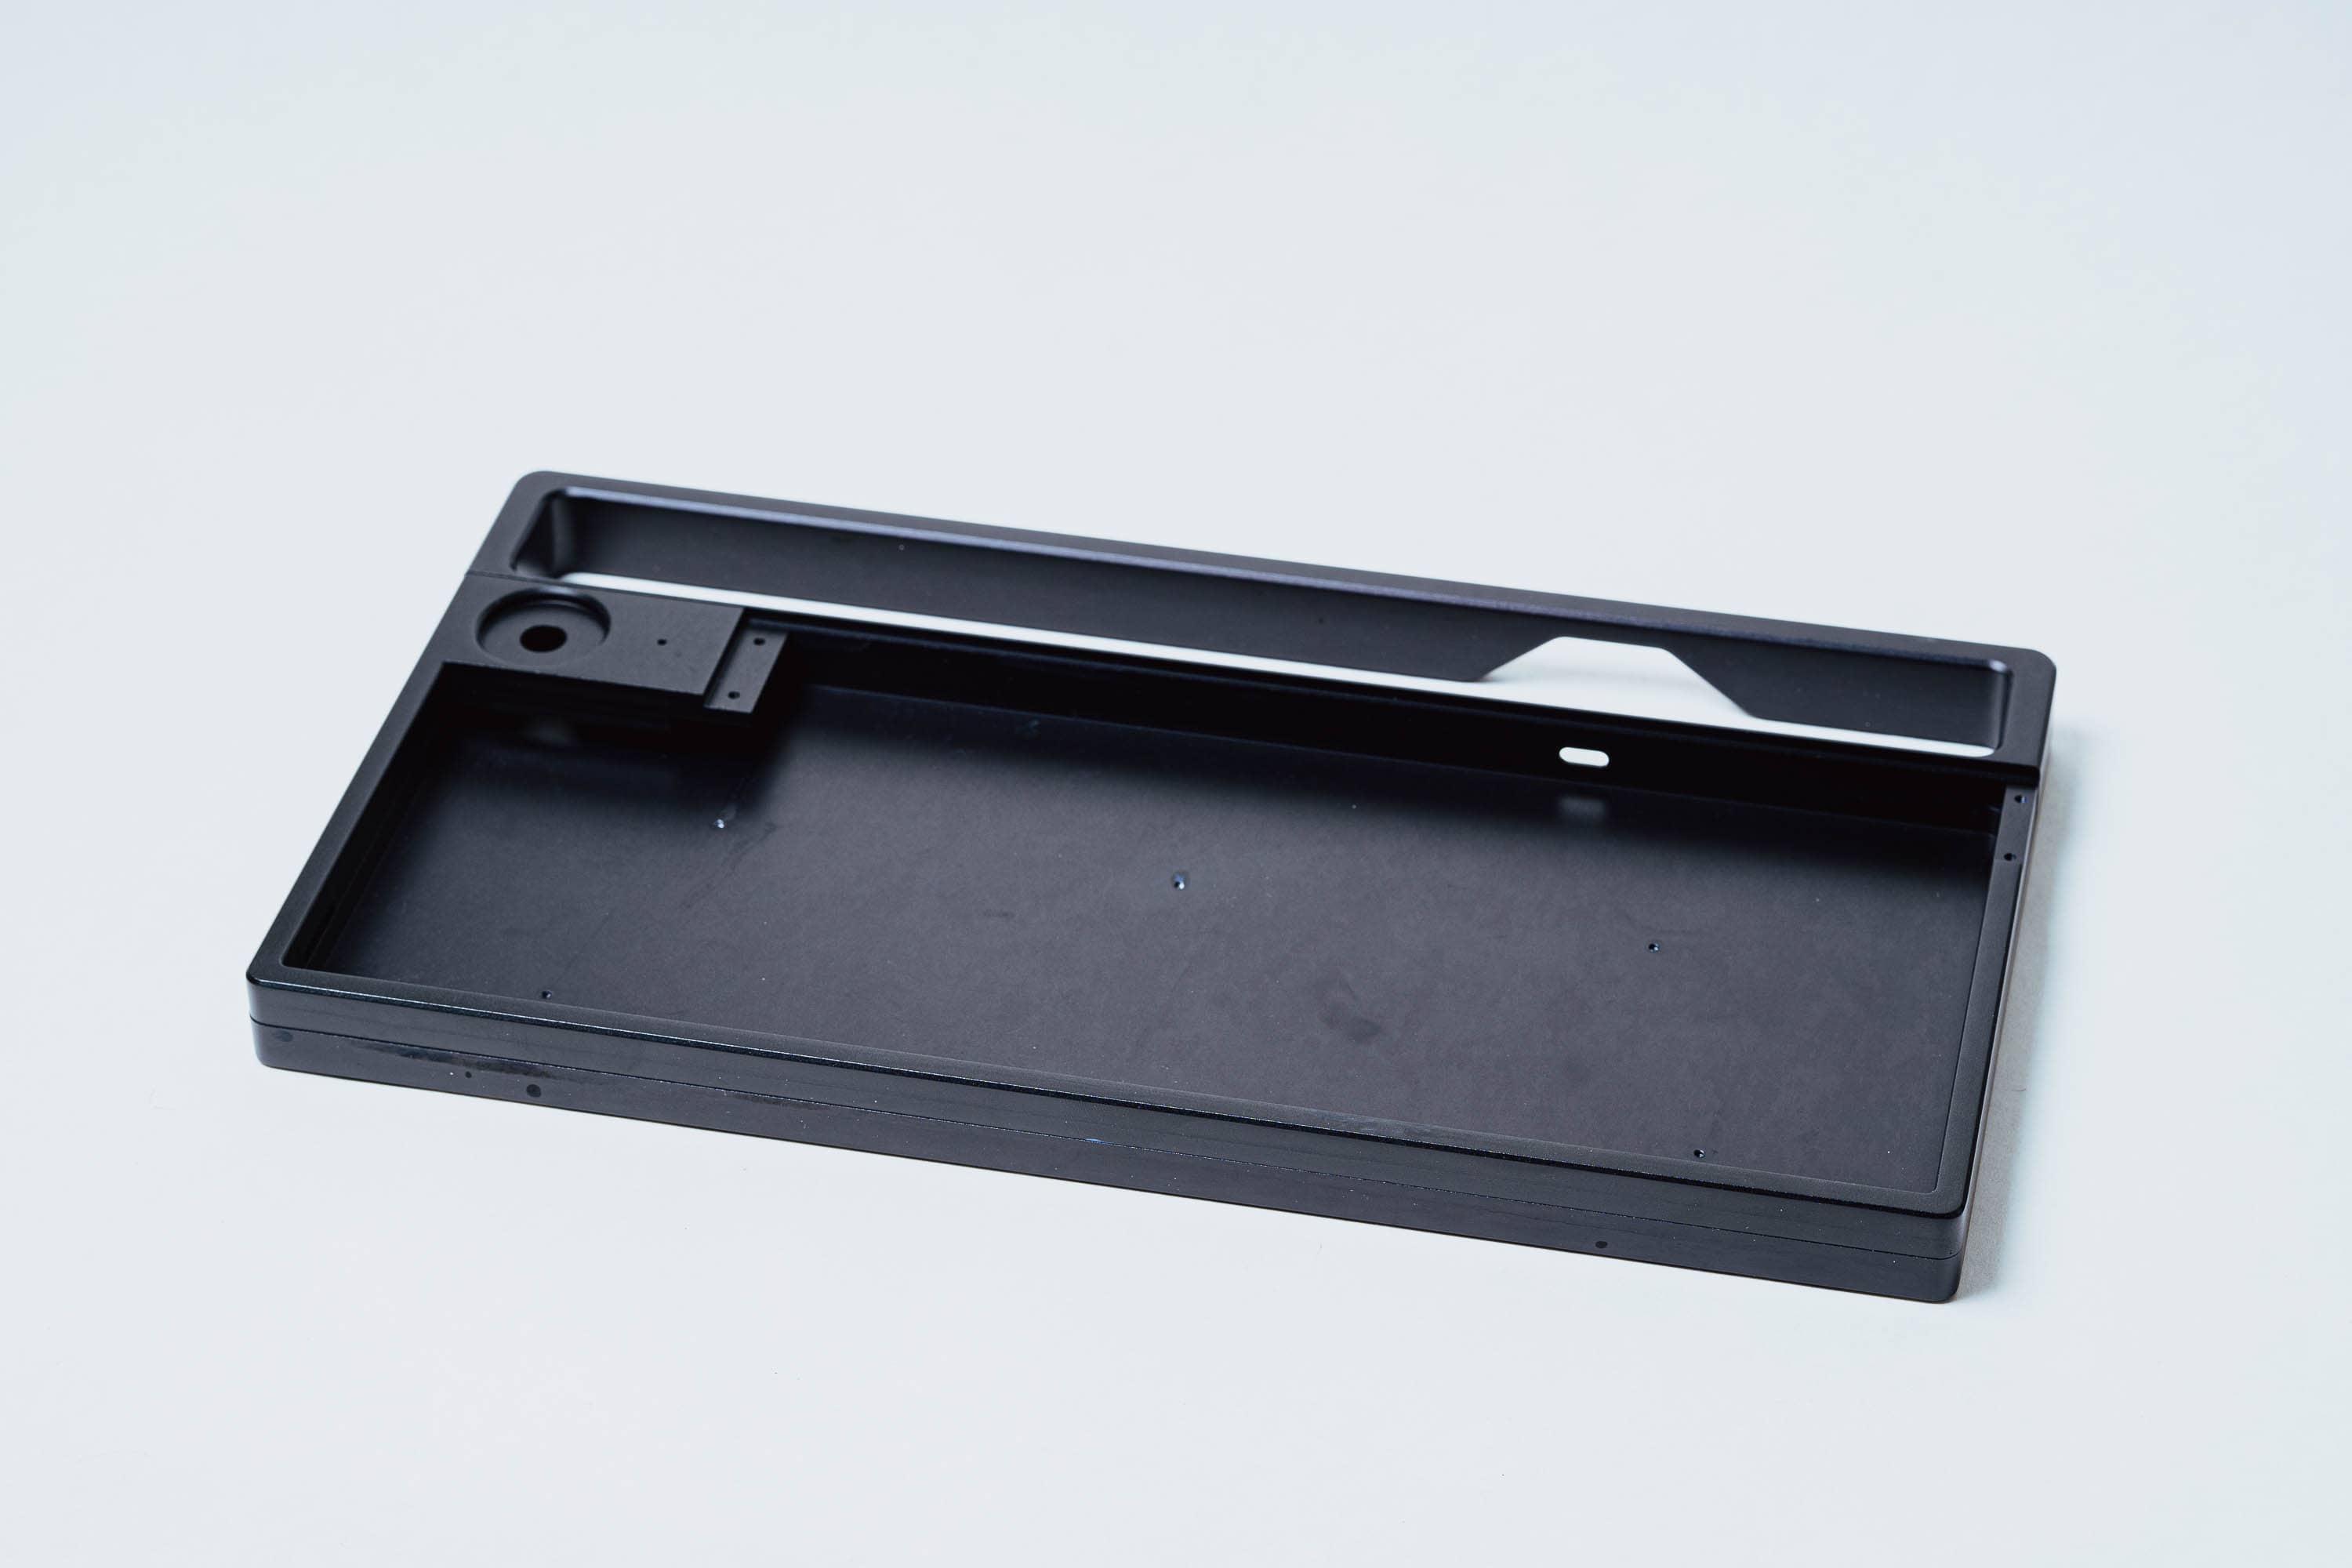
And the back:
This is a top-mount keyboard when using the Disarray PCB. Here’s the top part of the case where the plate is fastened:
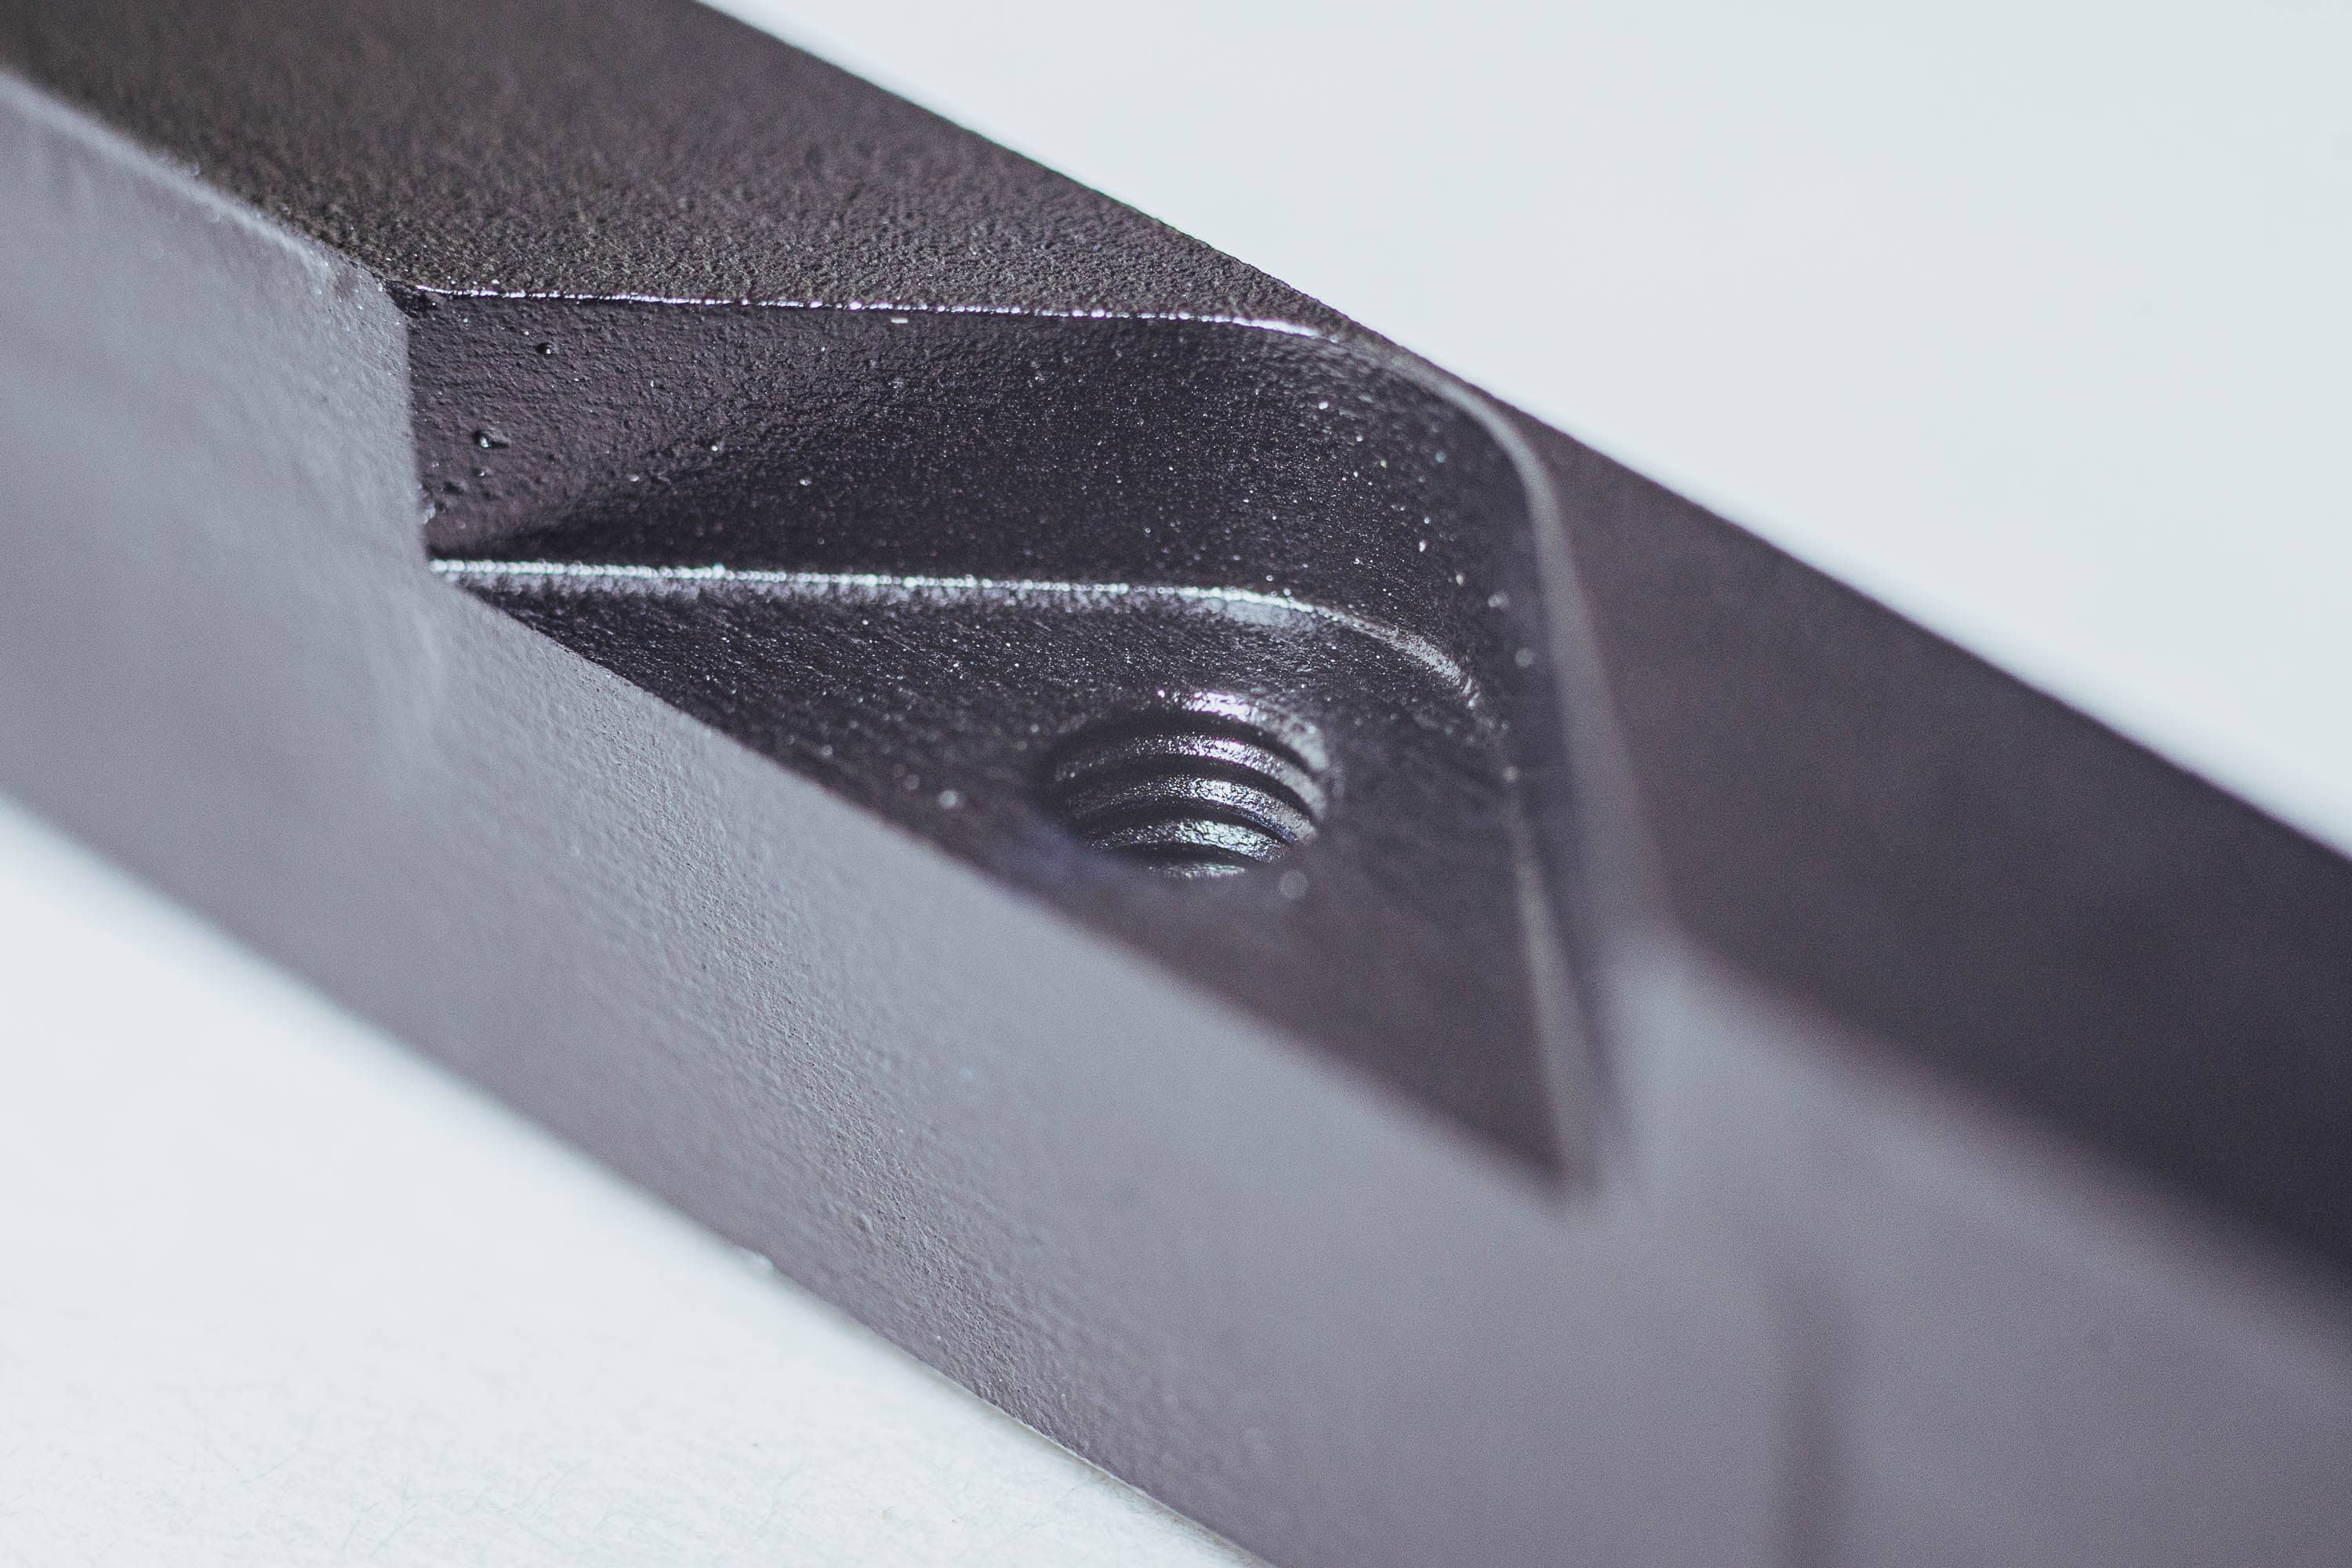
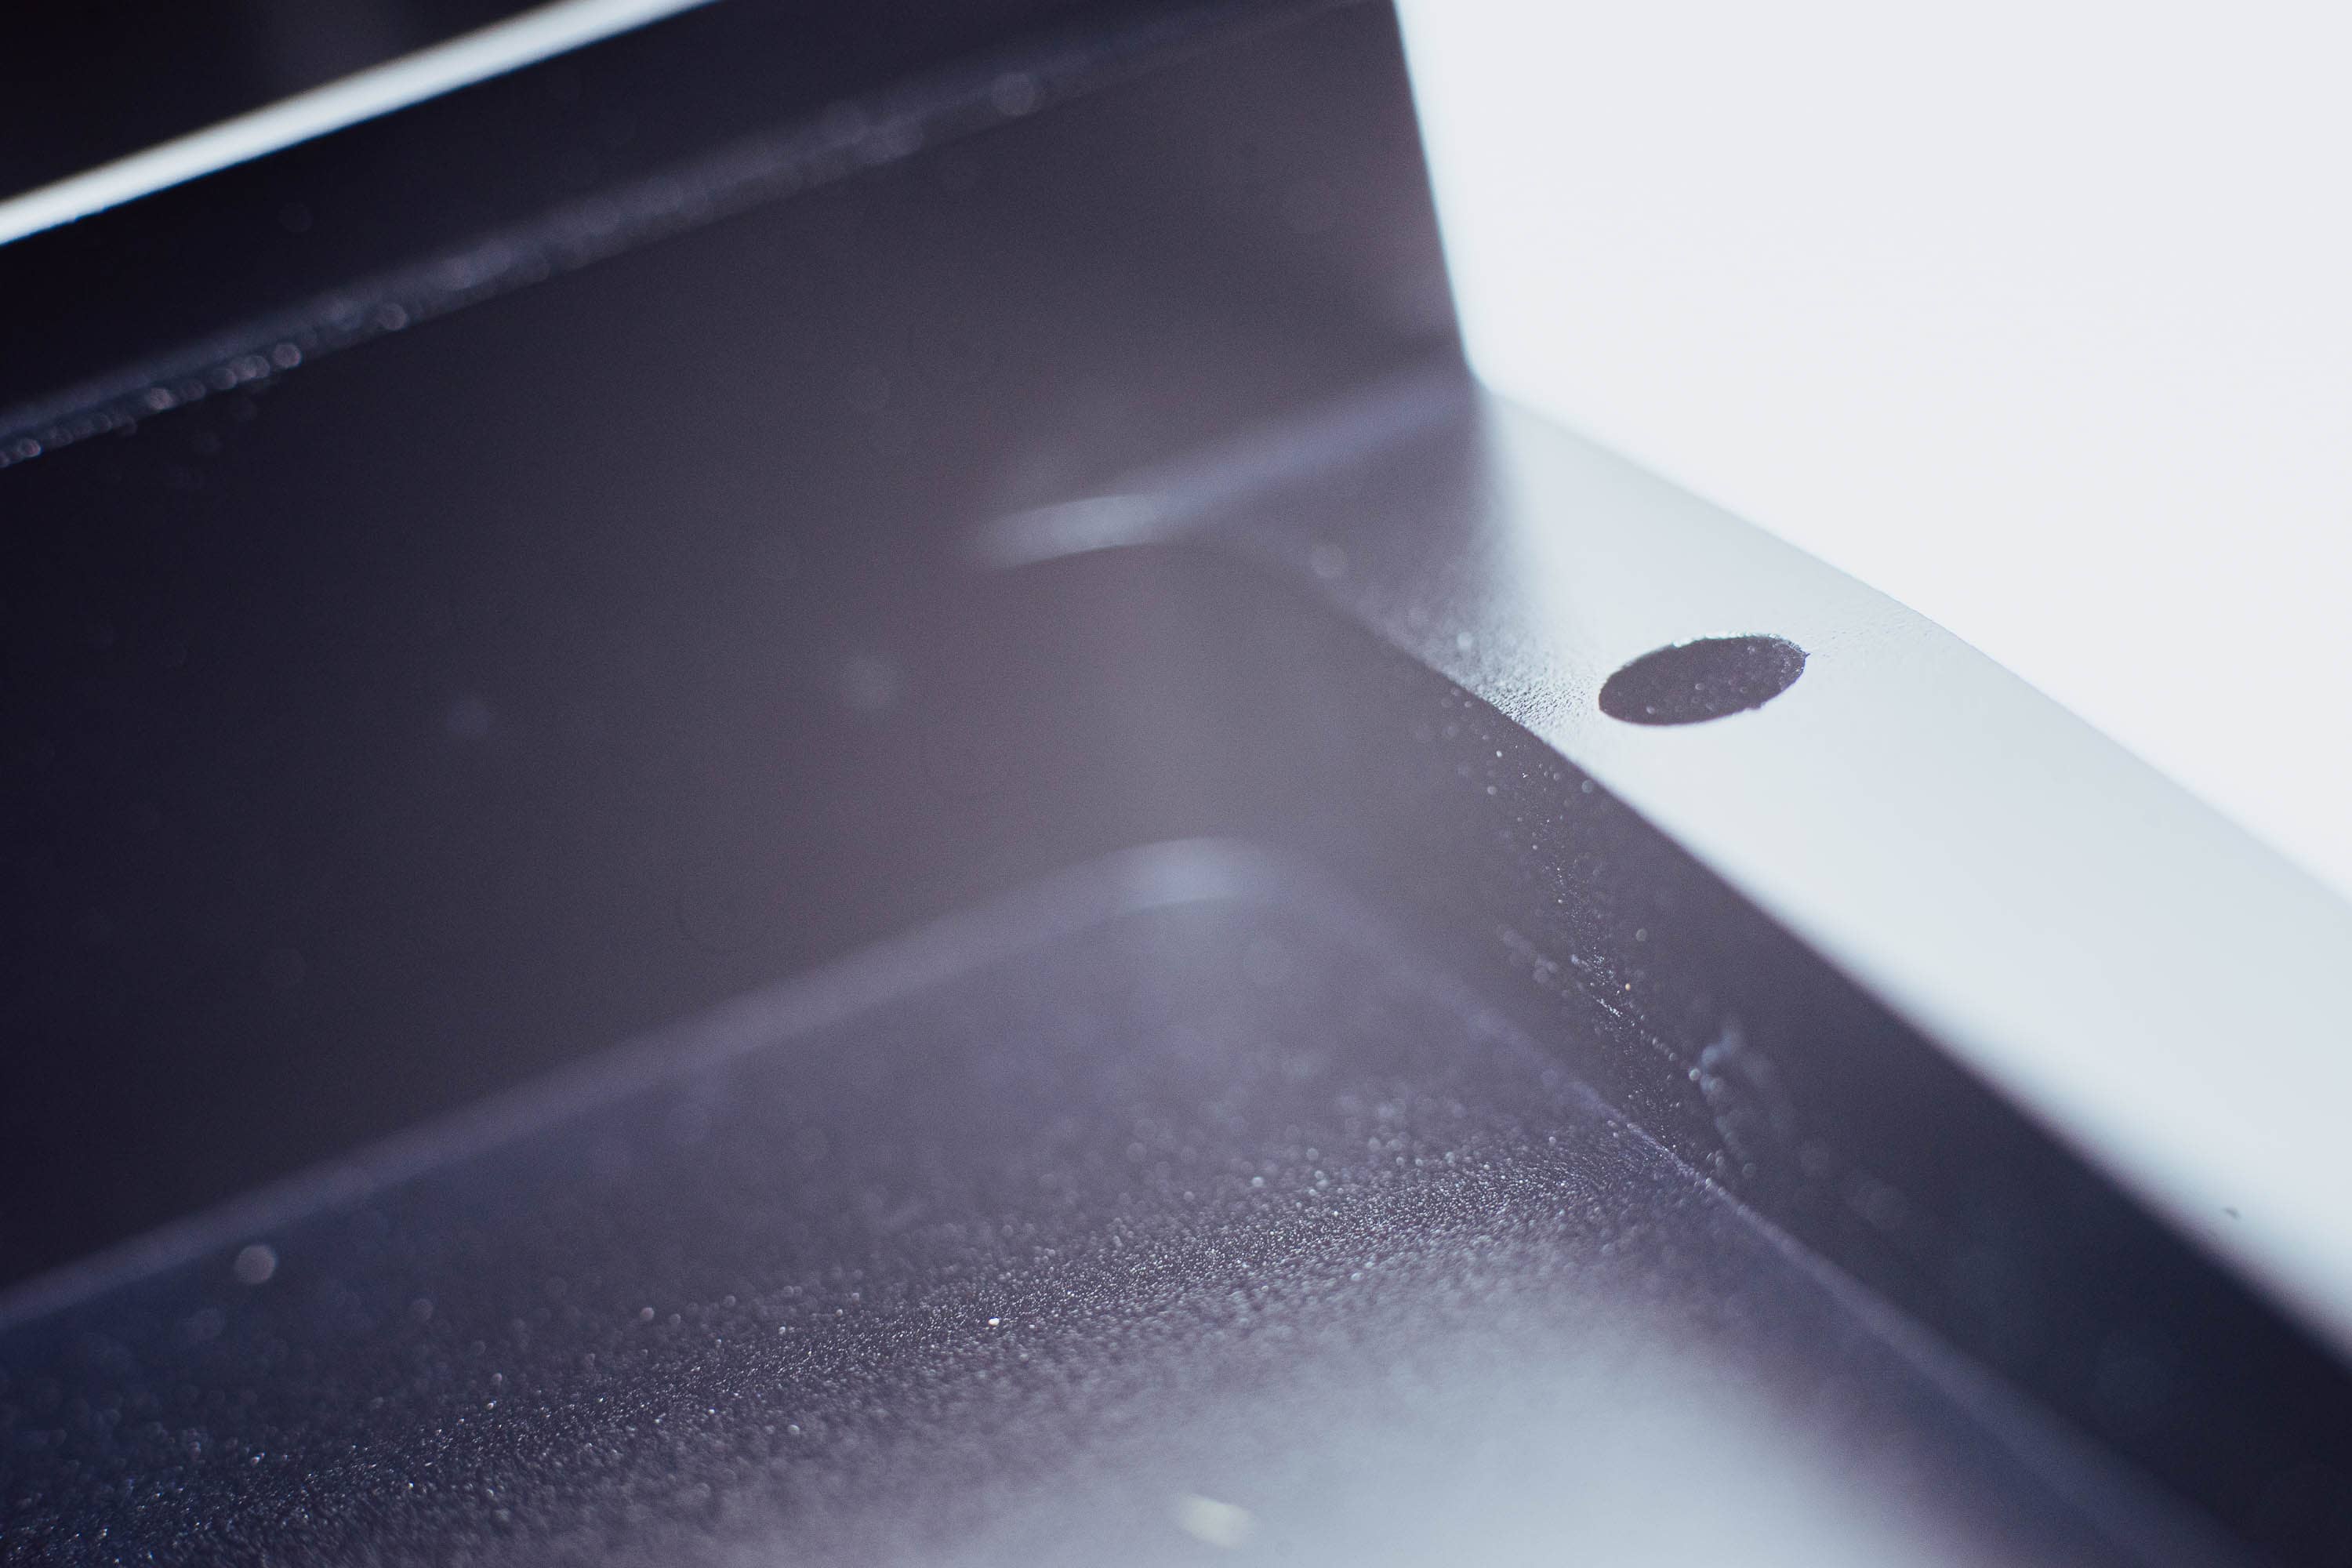
Here are a few macro shots showing the interior parts of the case.

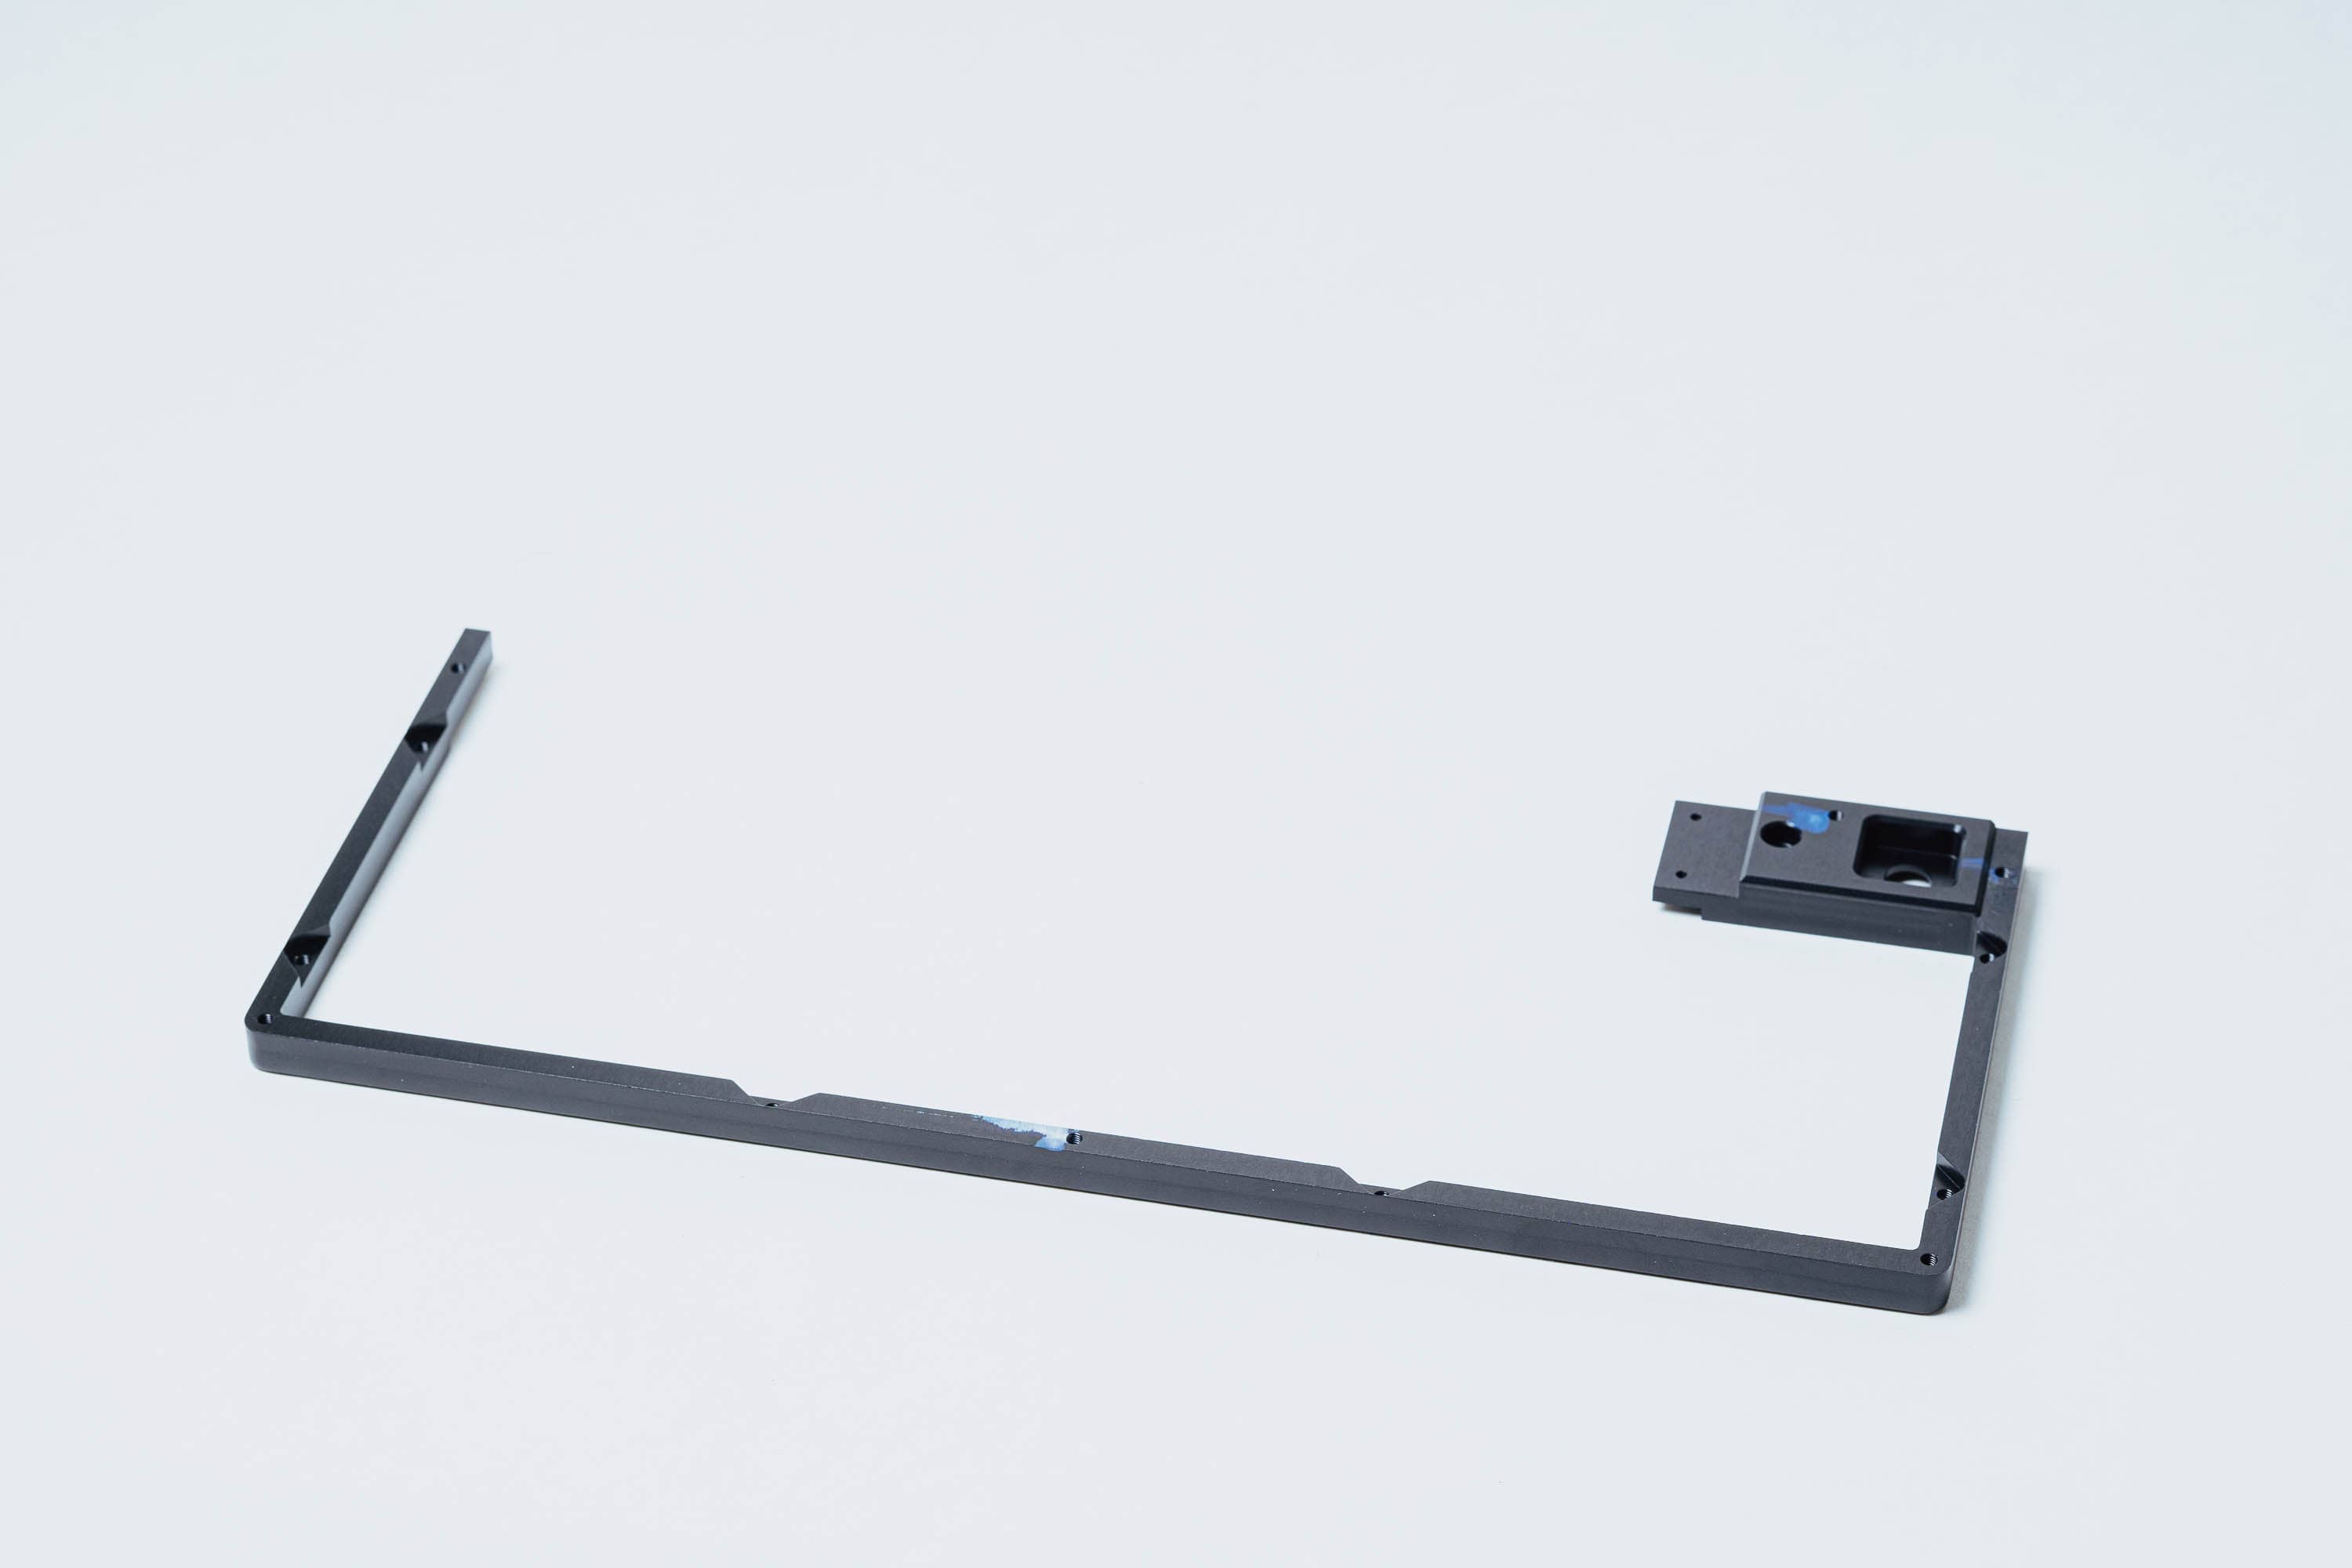
If you have a Discipline65 PCB, the keyboard also includes the holes and screws to tray mount the Discipline65 PCB. Here’s another photo of the bottom of the case where you could tray mount that PCB:
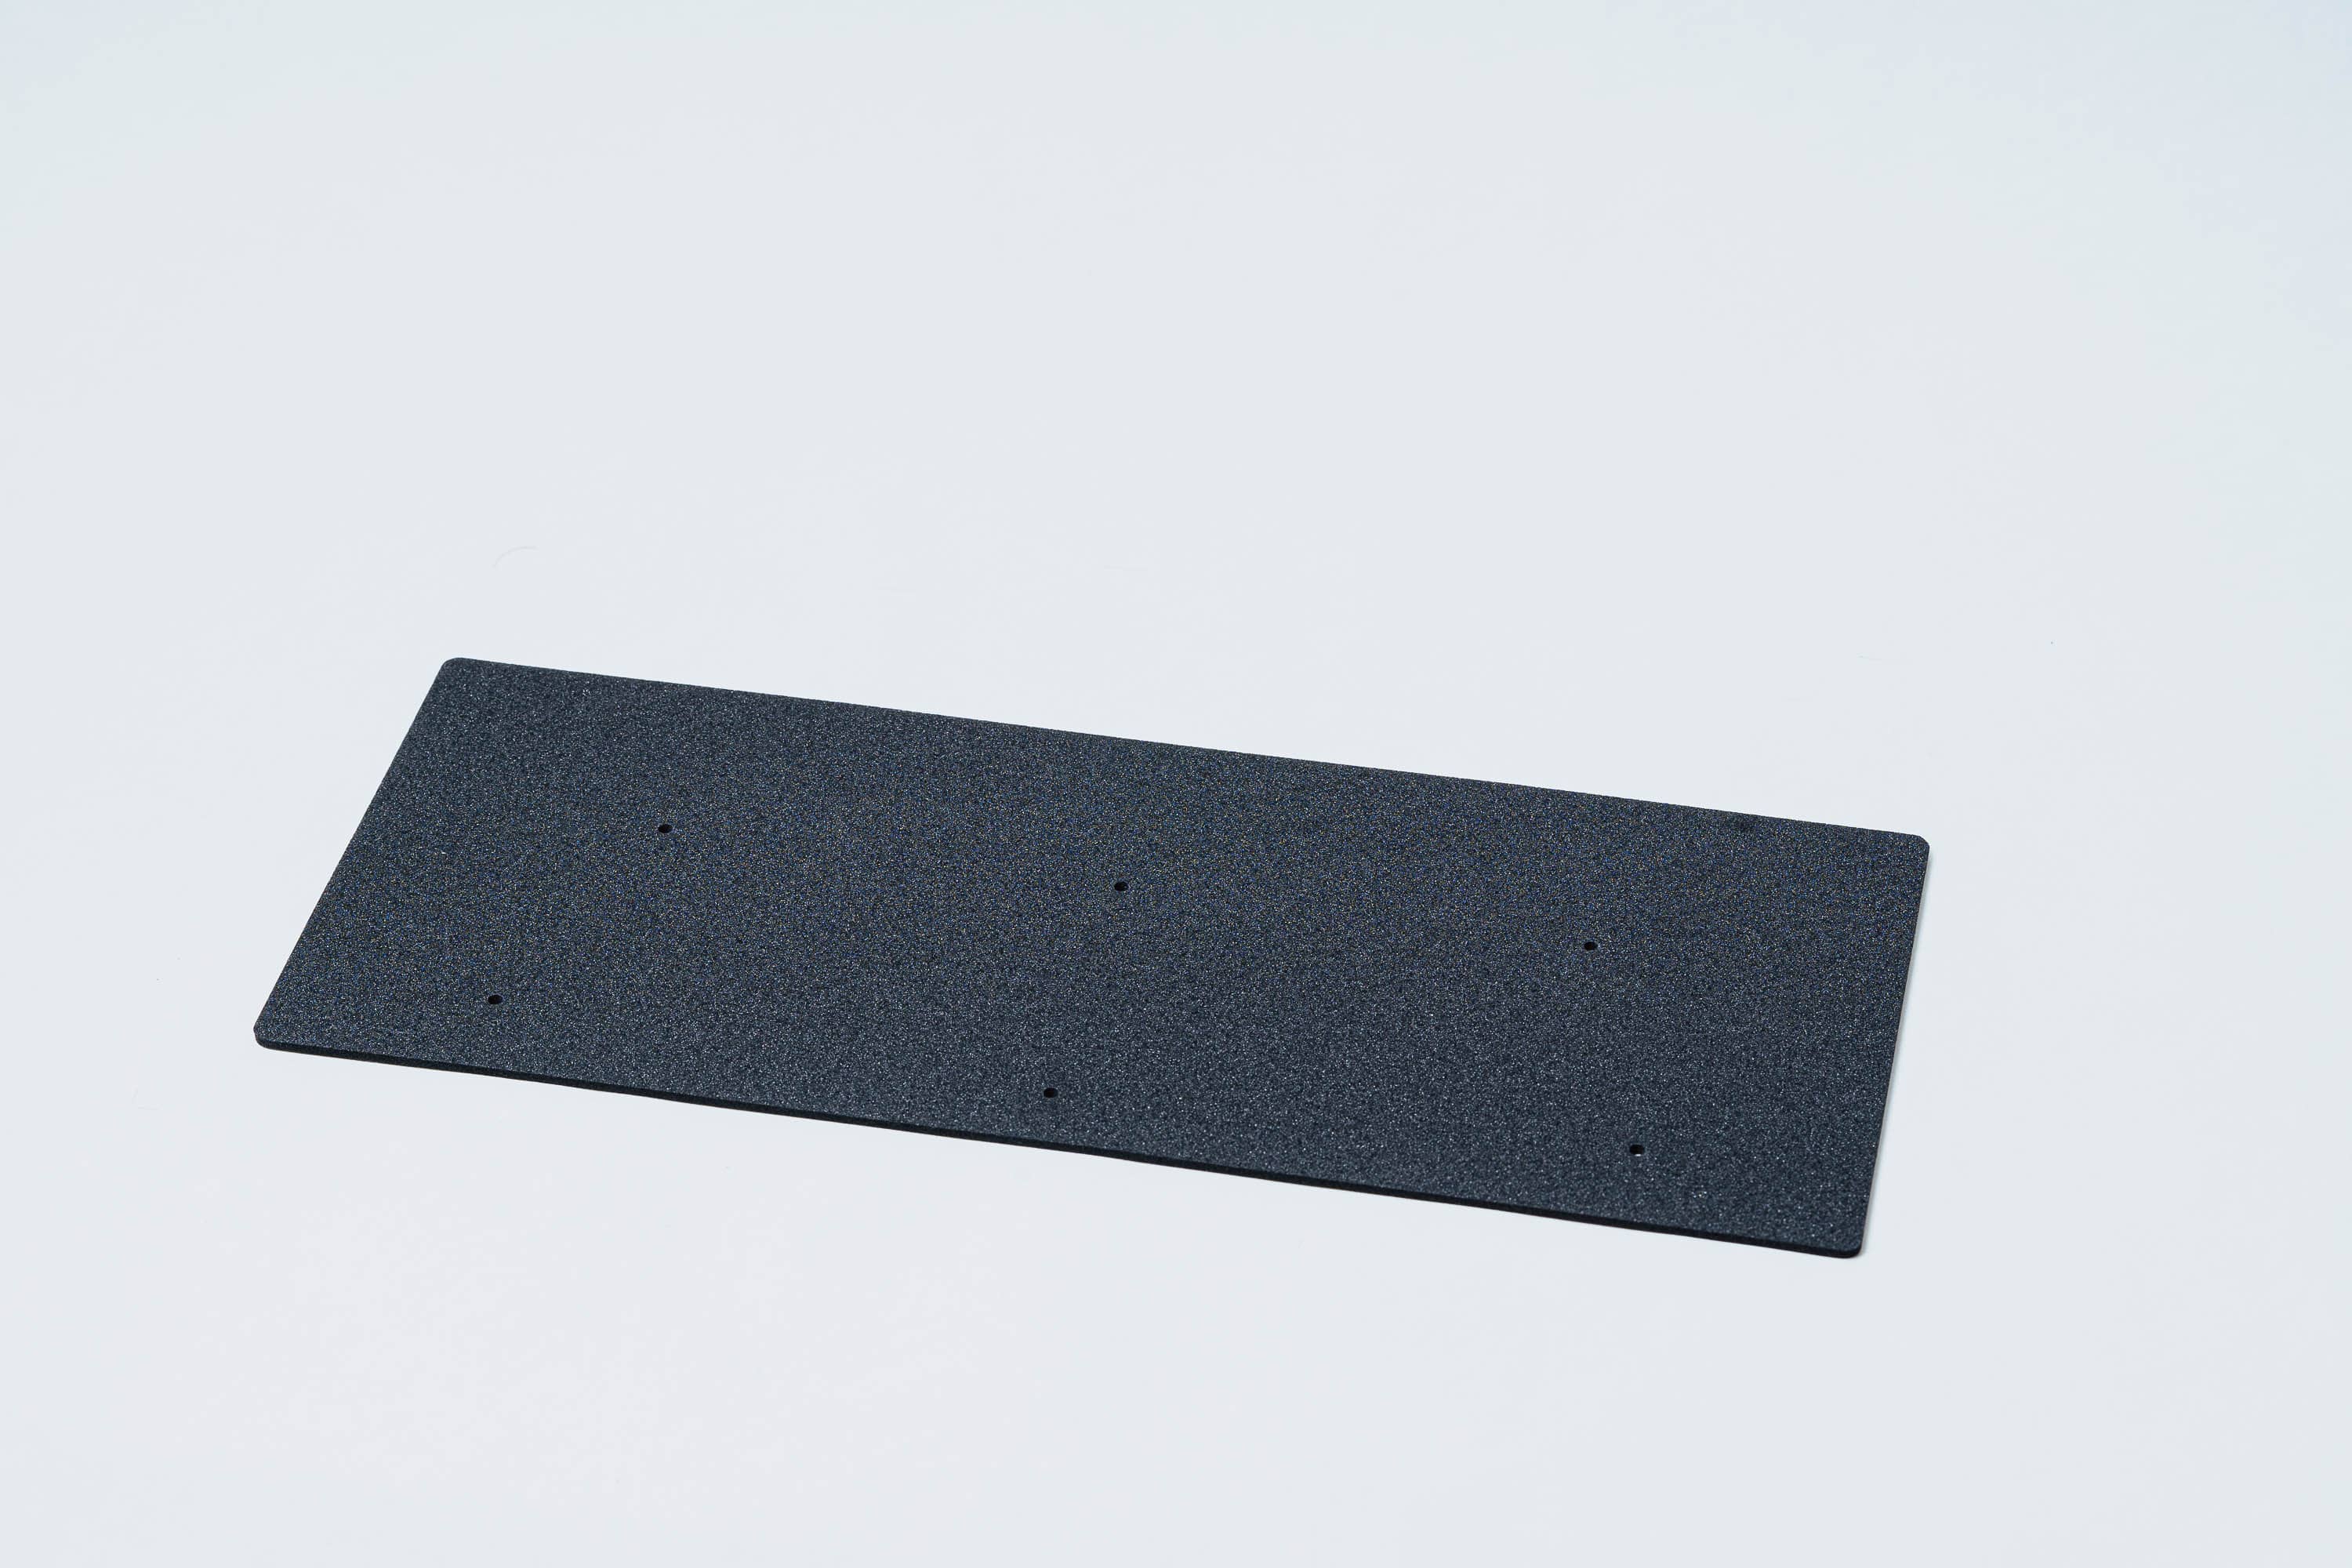
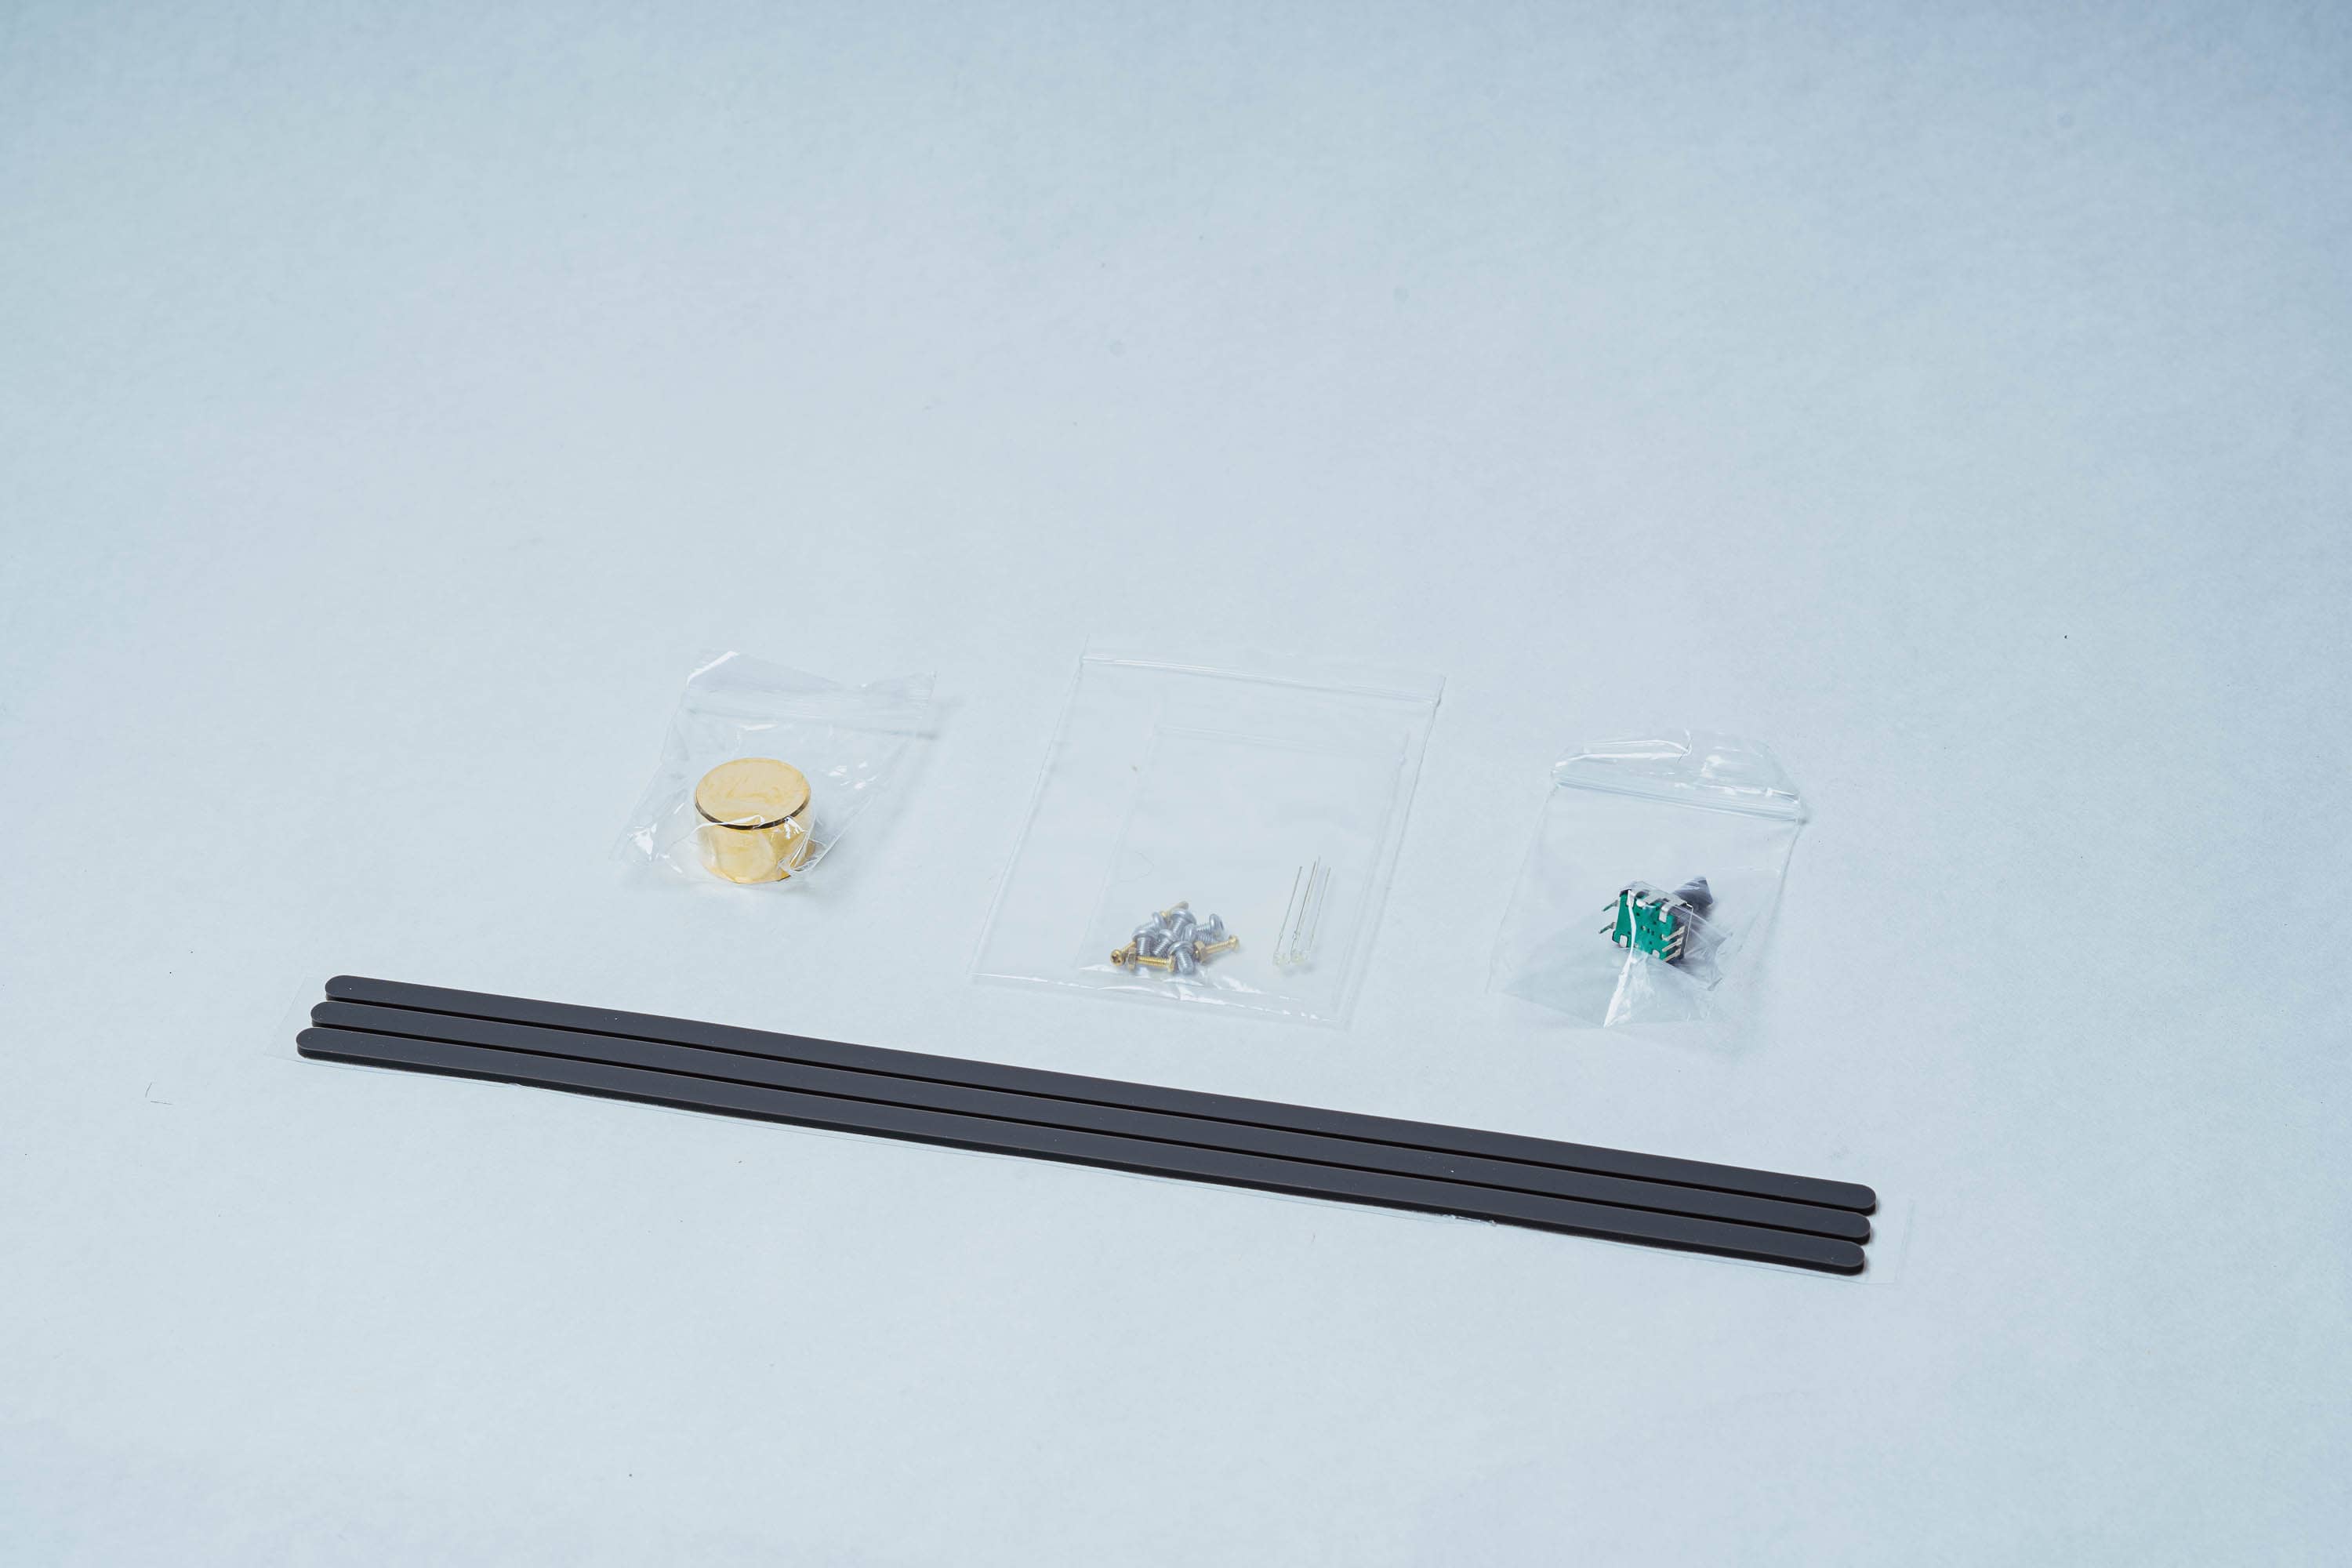
You also receive EVA foam, a rotary encoder, a brass knob, rubber strips for feet, screws, and LEDs.
The plate is brass, which was the only option. The stiffness of the brass plate is necessary to support the PCB, as there are no standoffs or fasteners (apart from the switches) holding the plate and PCB together in this design.

Speaking of brass, the knob for the rotary encoder is a thing of beauty. It’s hefty and well machined.

Next up, let’s take a look at the two PCBs!
PCB
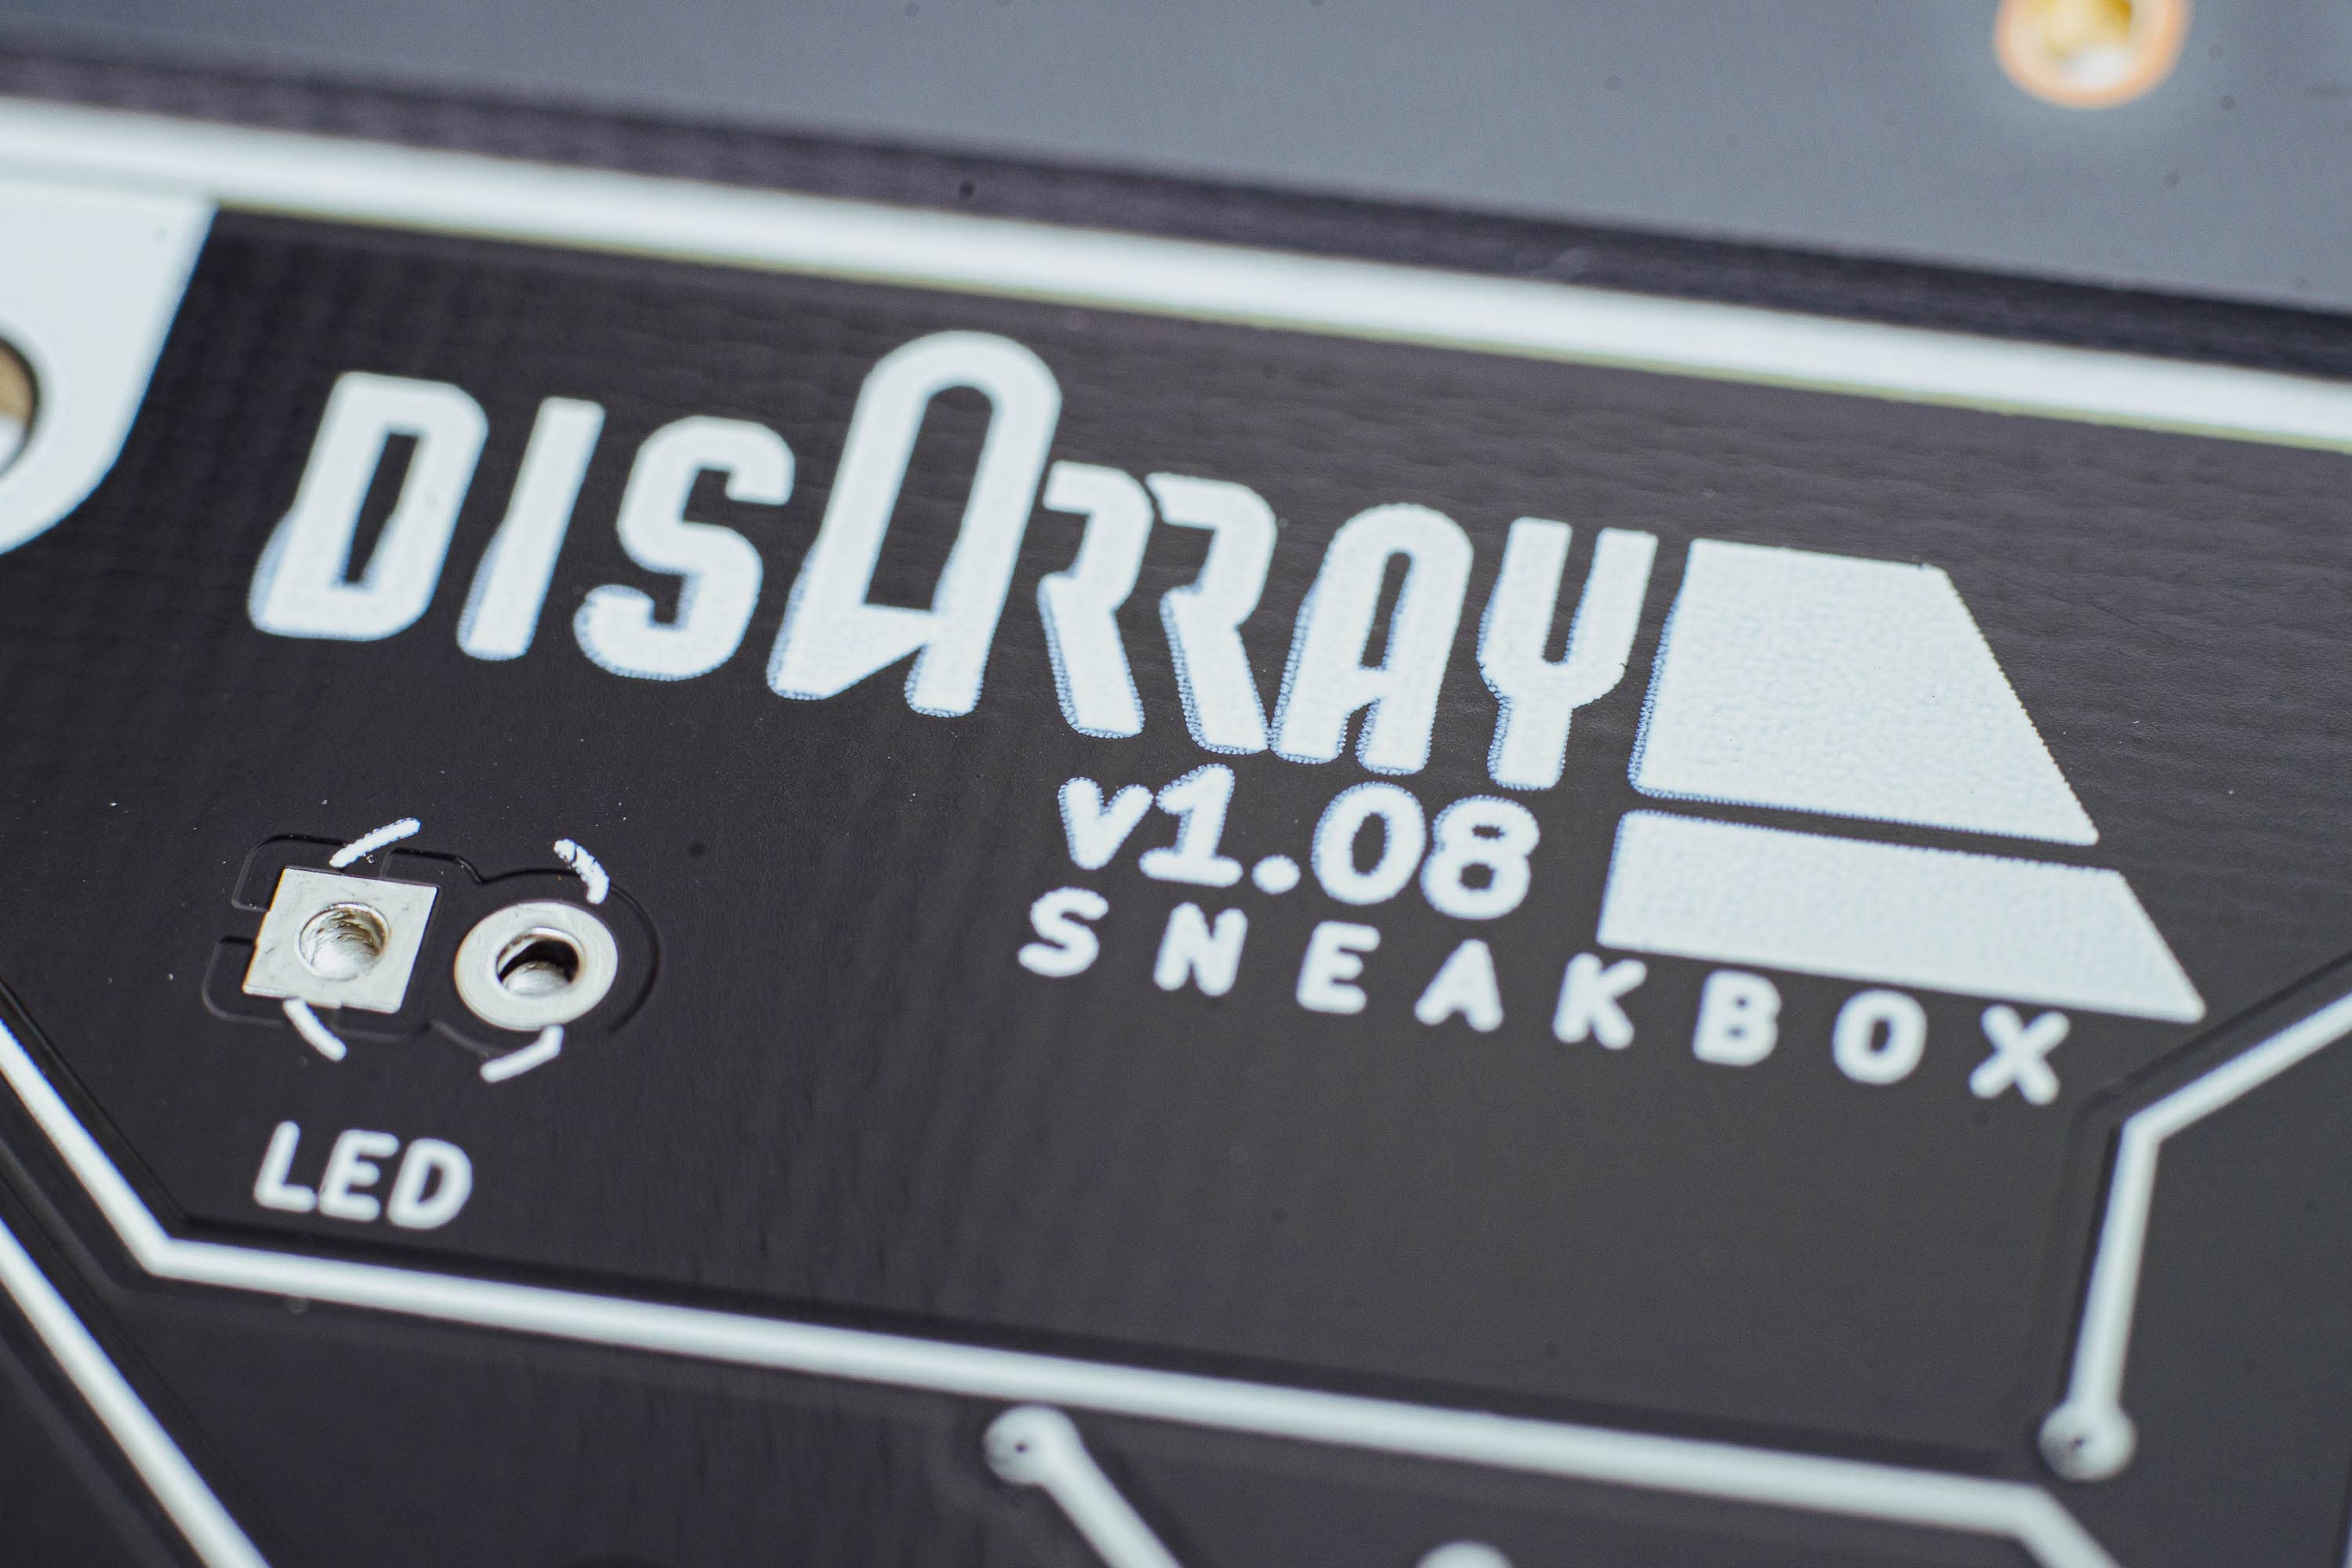
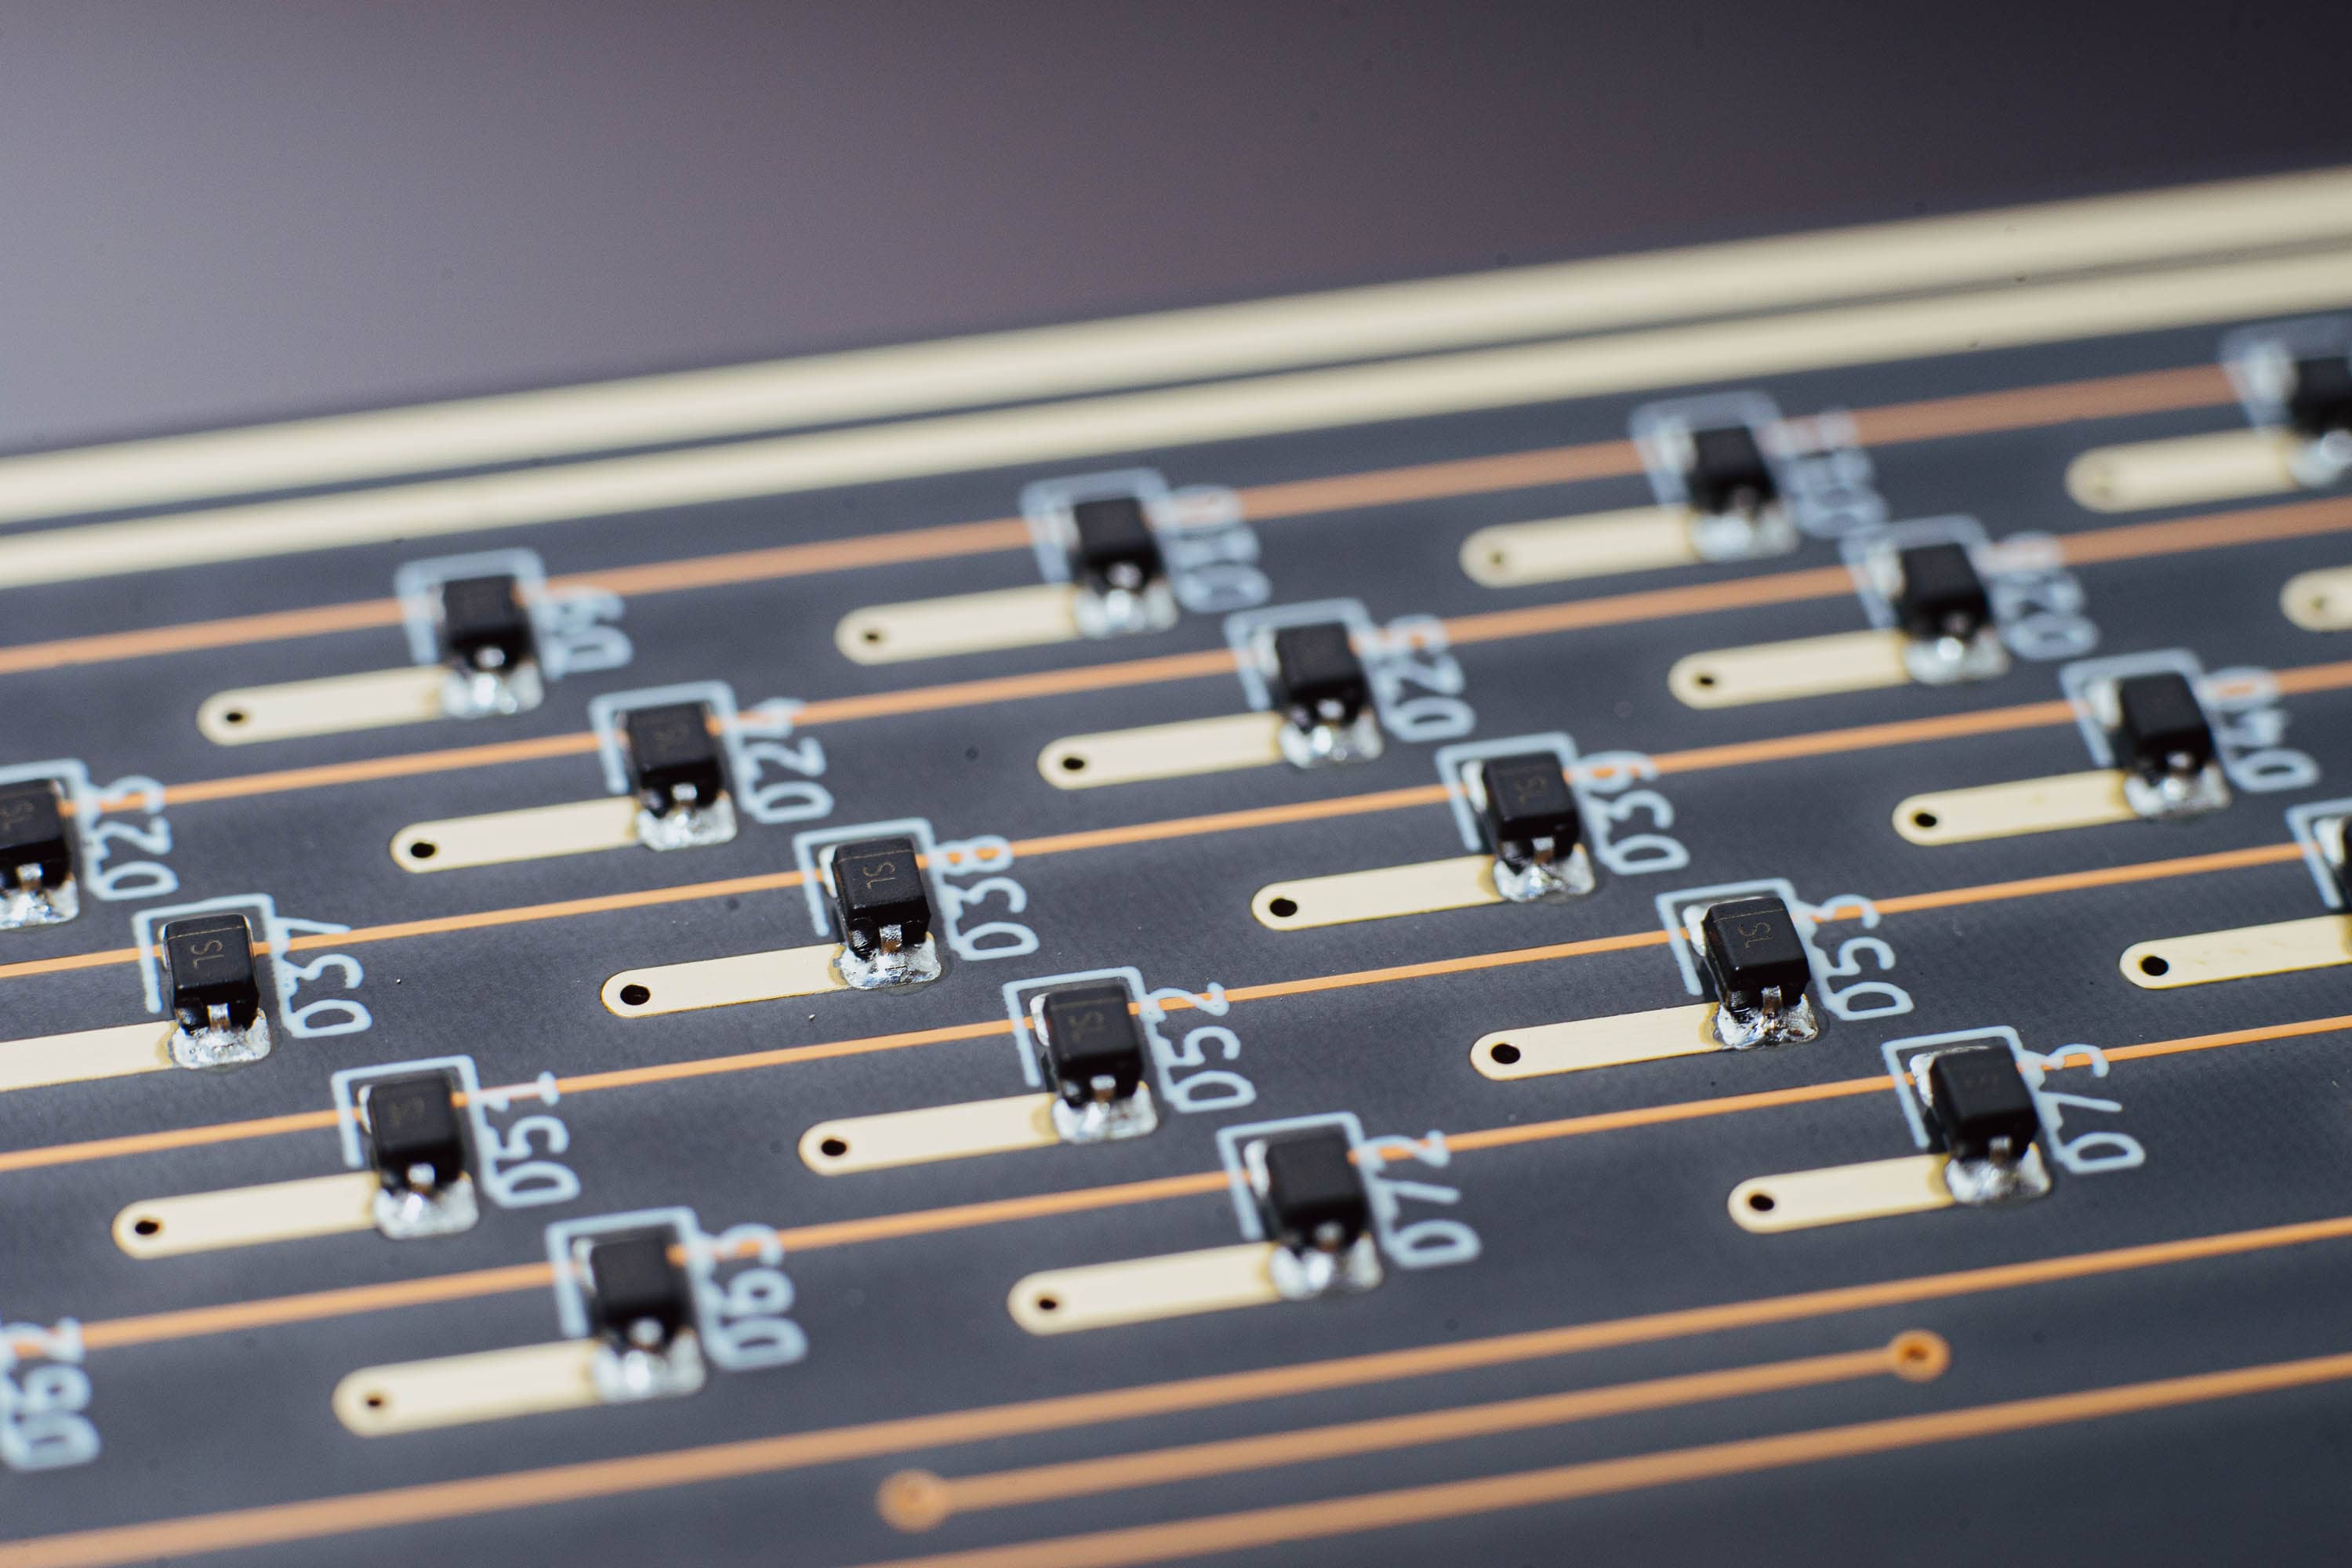
As I mentioned above, I chose two Disarray PCB options: one white on black and one FR4 copper special edition. Both are in a staggered layout.
Here is the front of both PCBs:
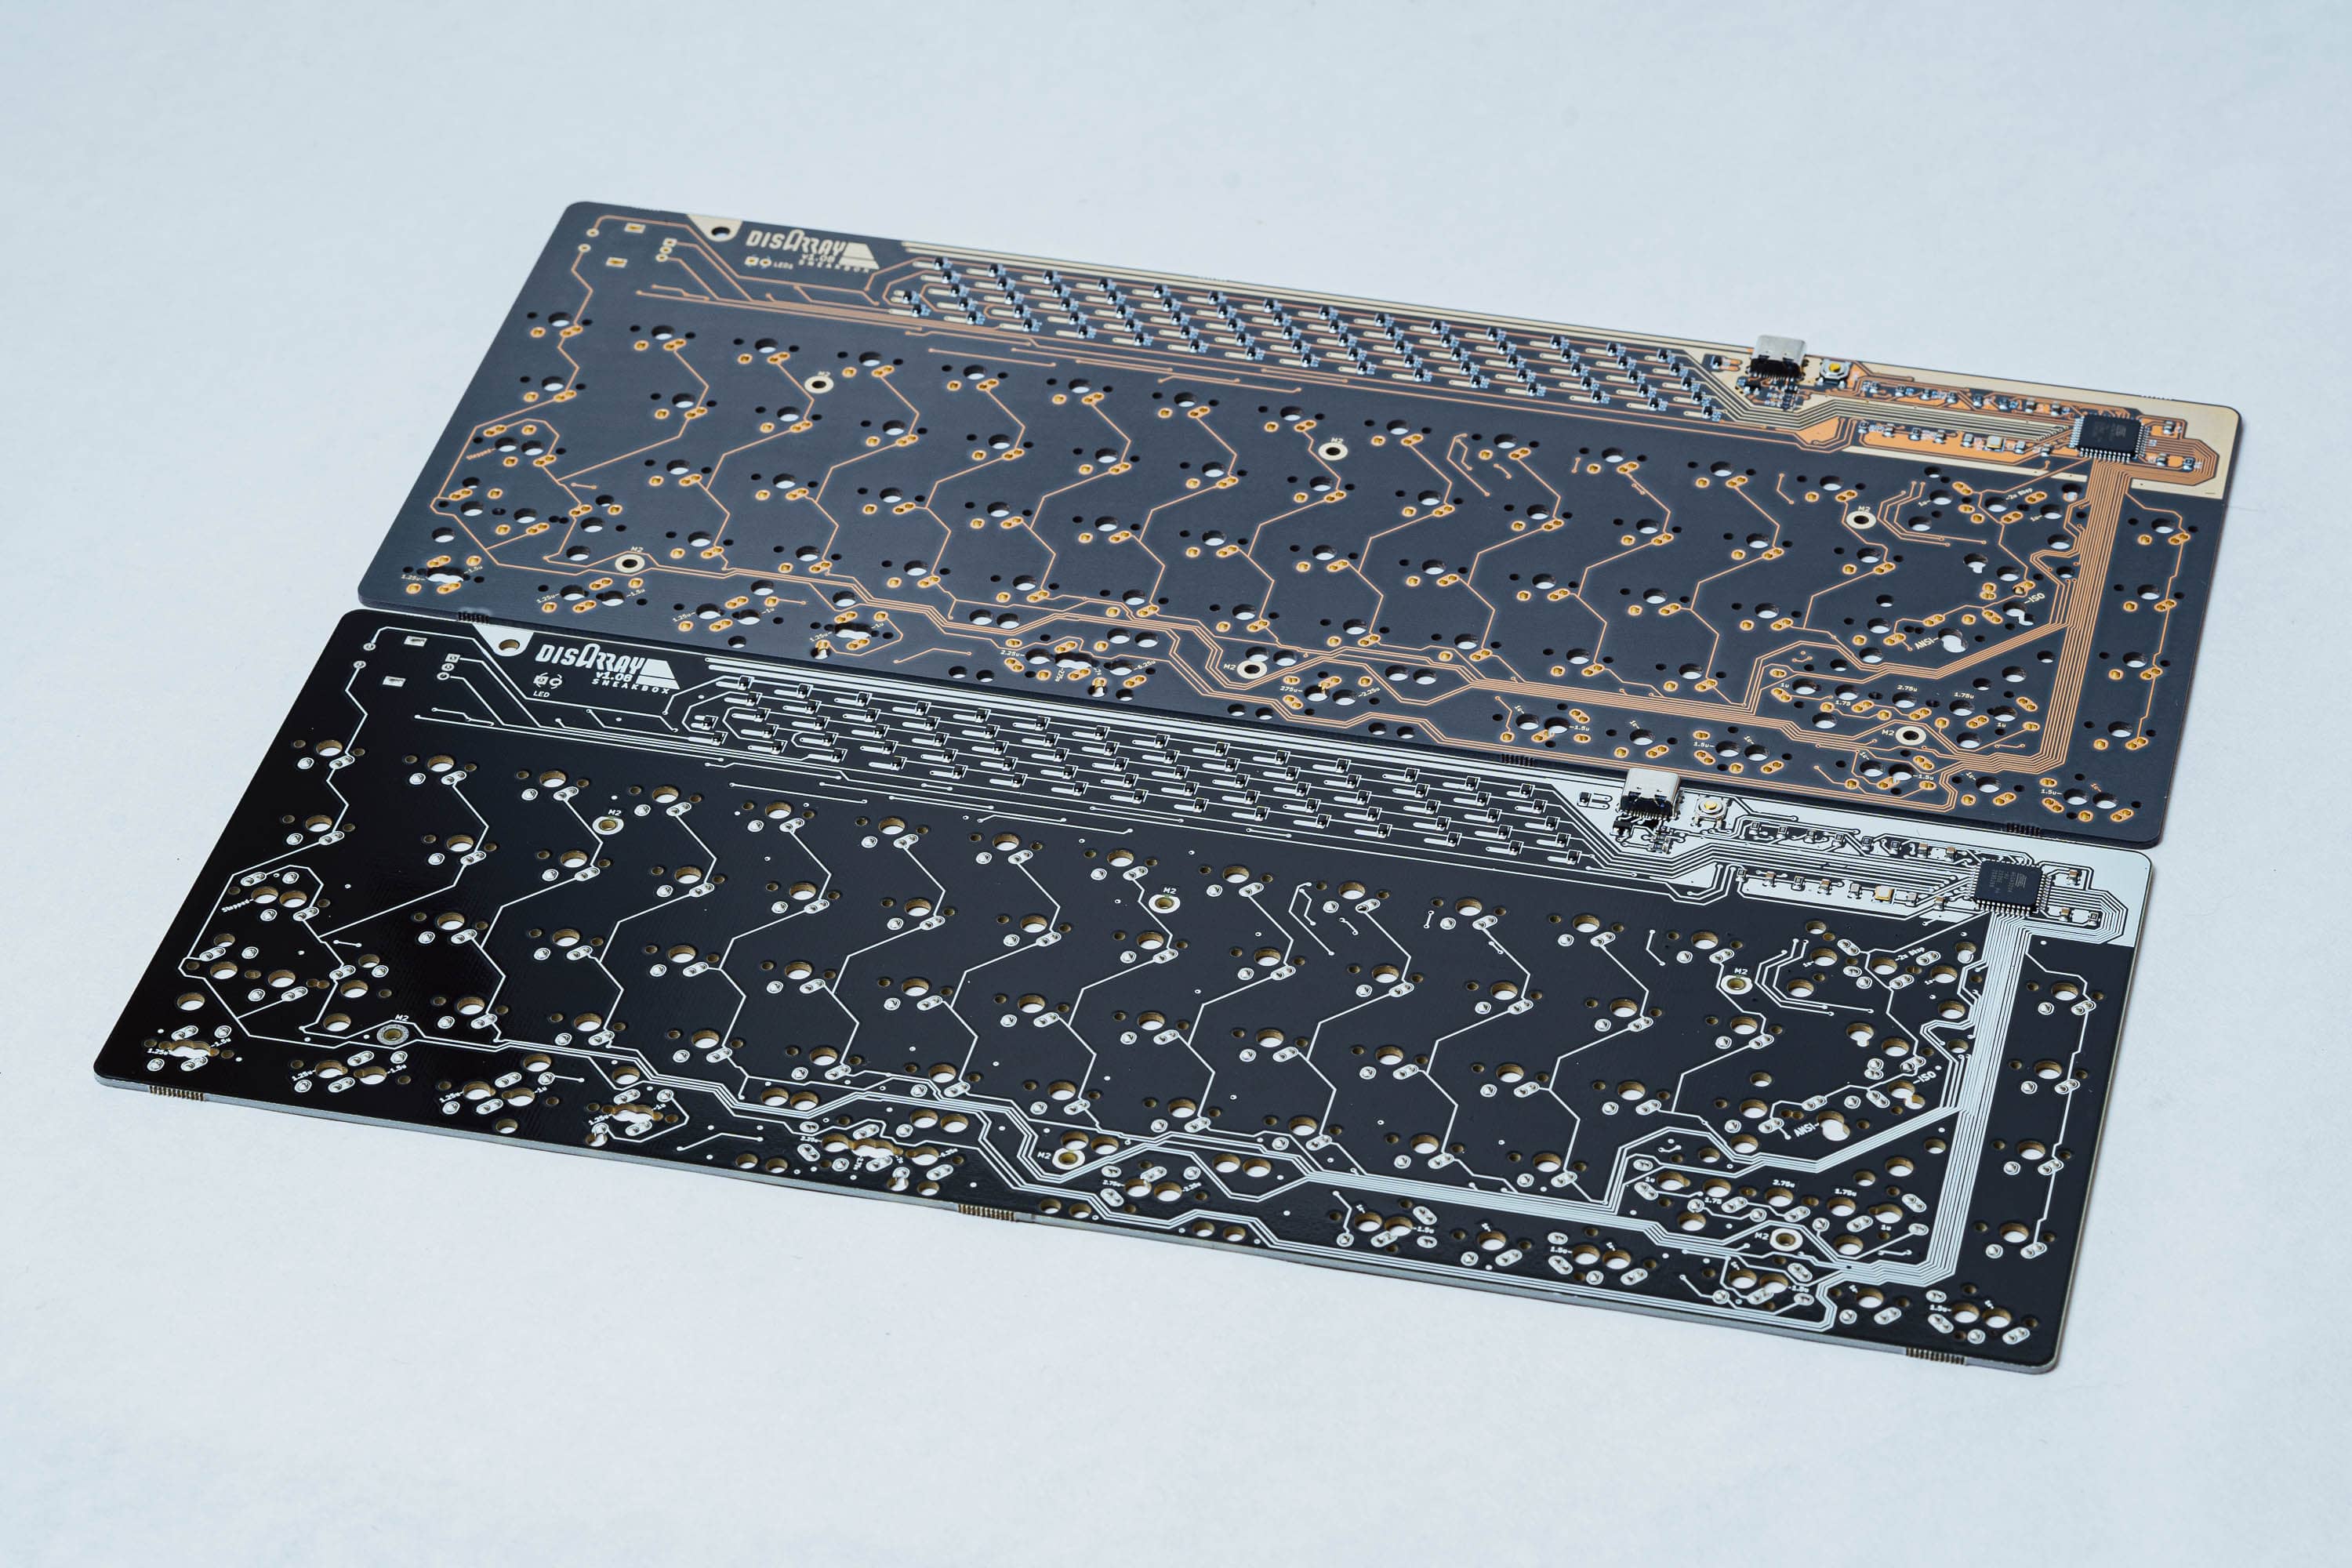
And here is the back:

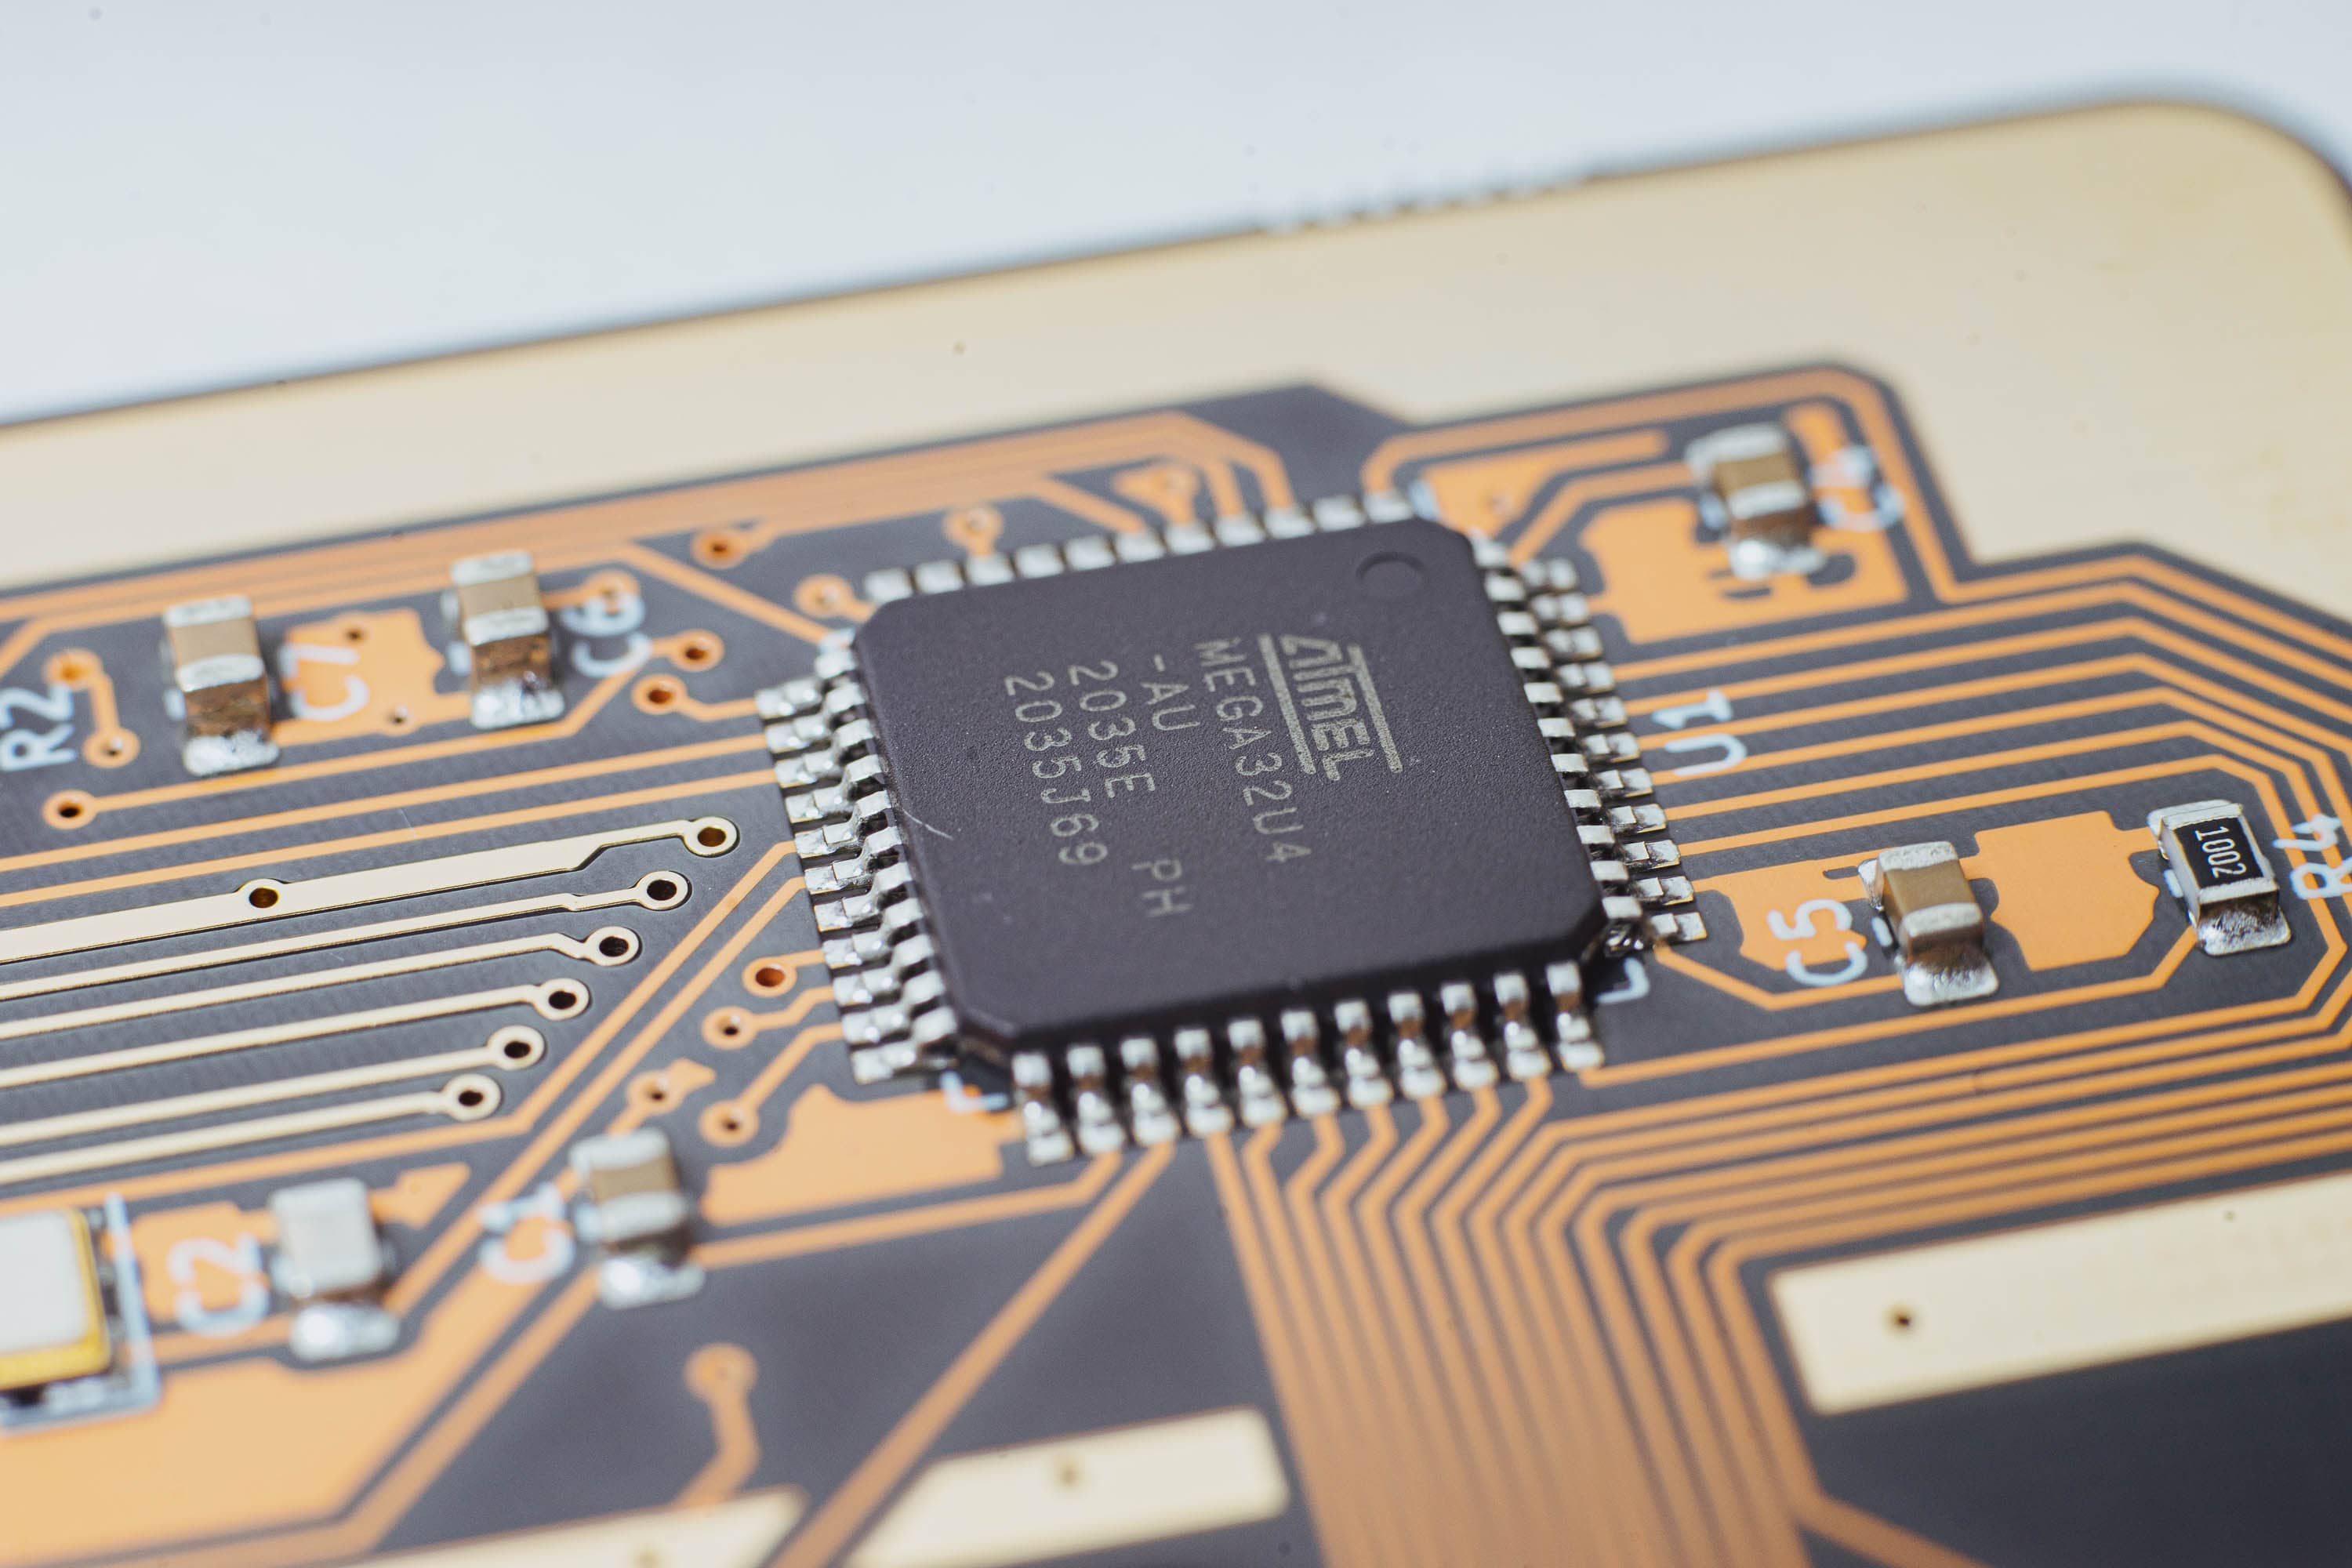
The Disarray PCB is powered by an ATmega 32U4 and has QMK support. It features a USB-C port. The staggered PCB supports ISO, split backspace, stepped capslock, left ISO shift+JIS, and small shift.
Here’s a graphic showing the various layouts that that the PCB supports (solder only):
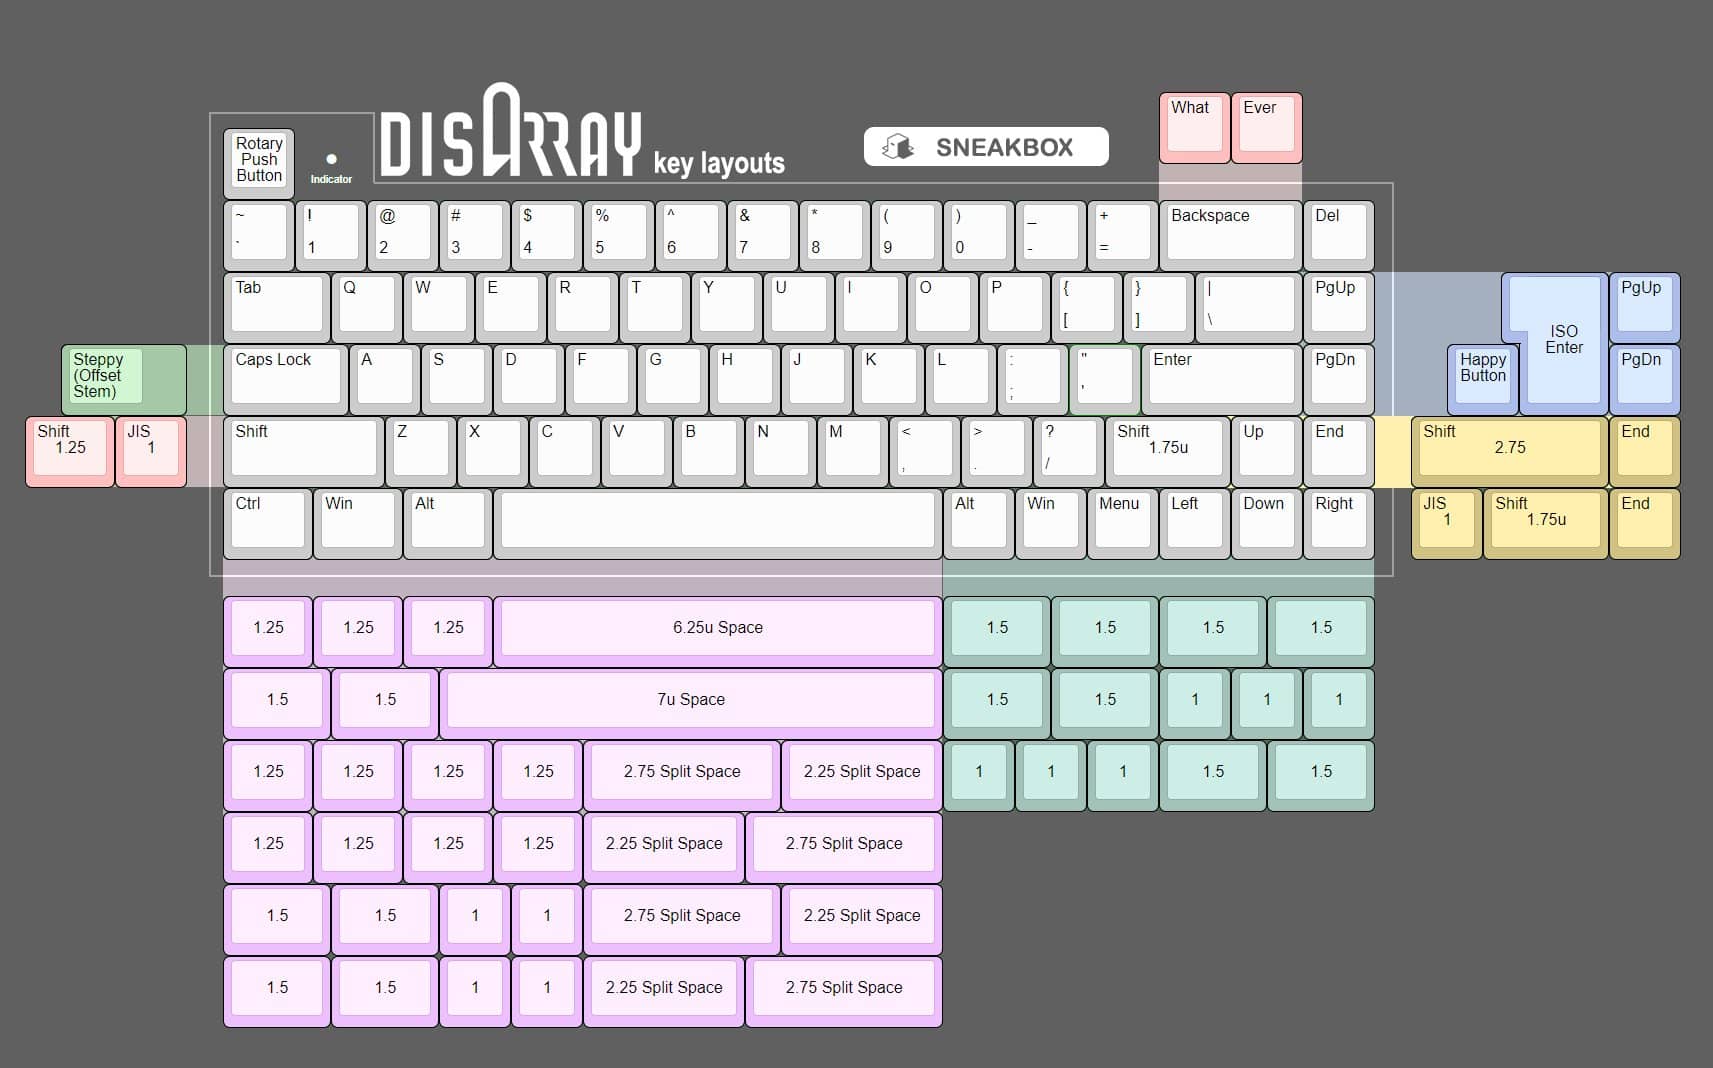
Support is one thing, but the PCB itself is well annotated to assist during the building process. Again, attention to detail is fantastic here.
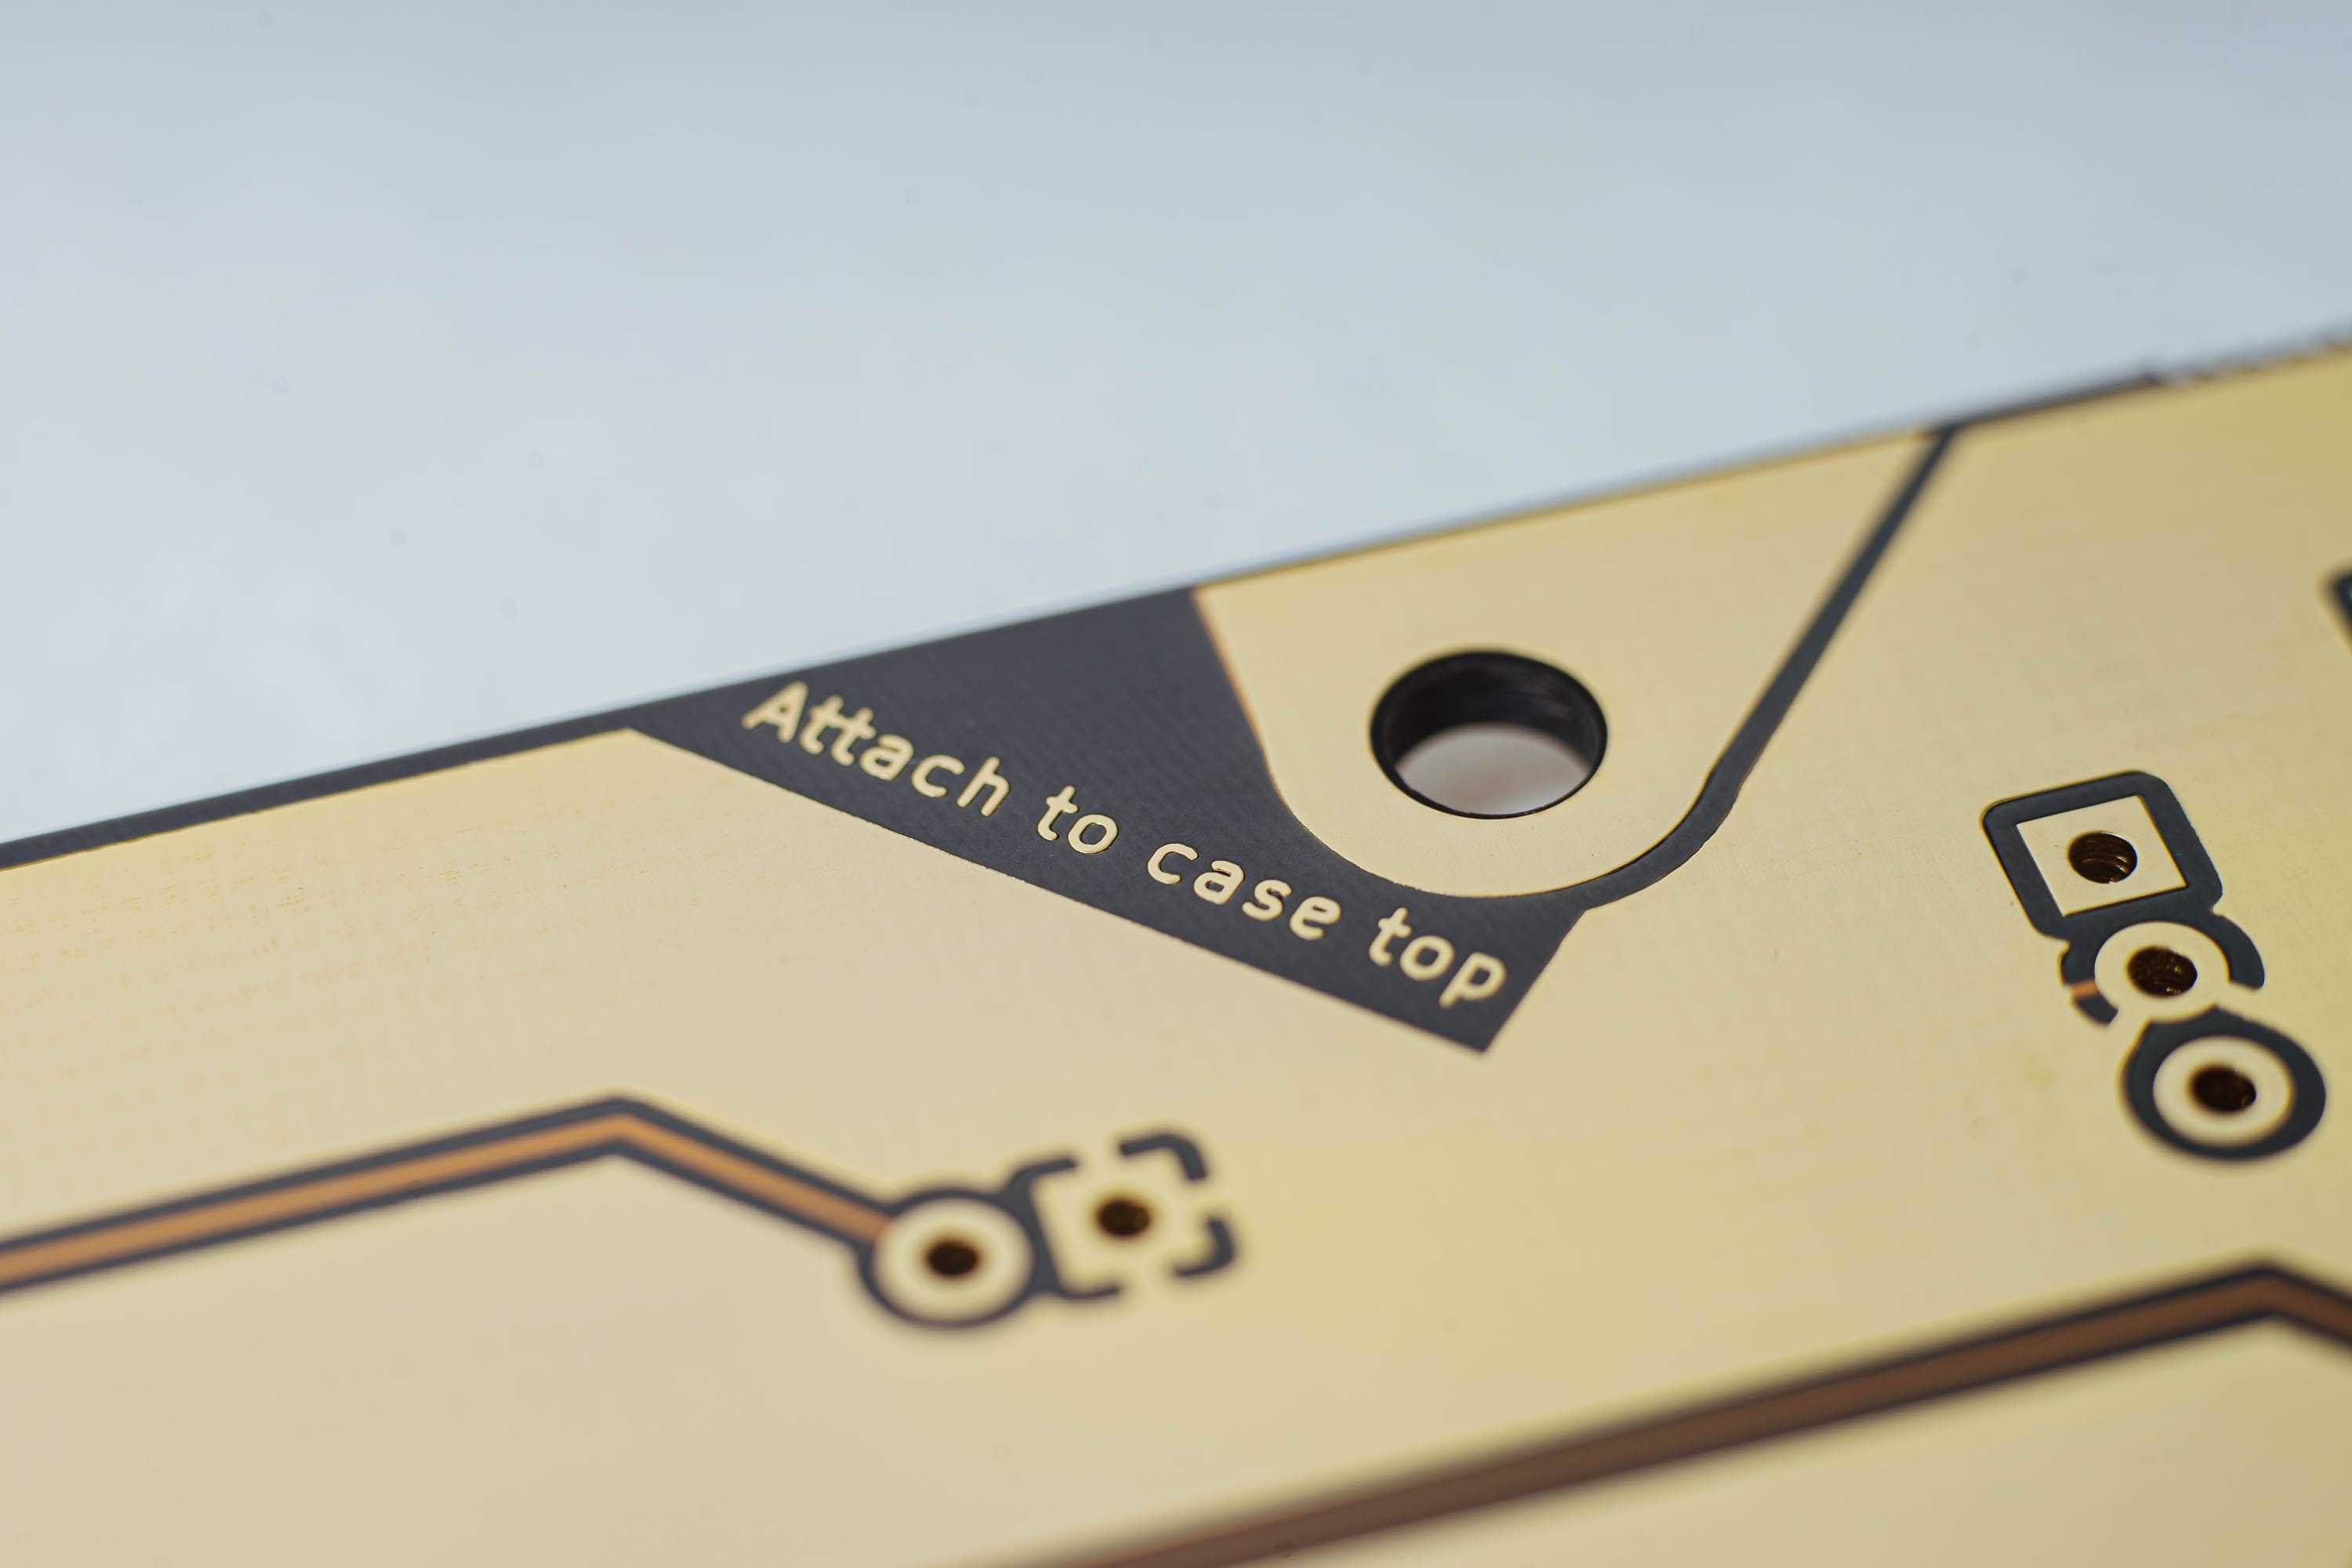
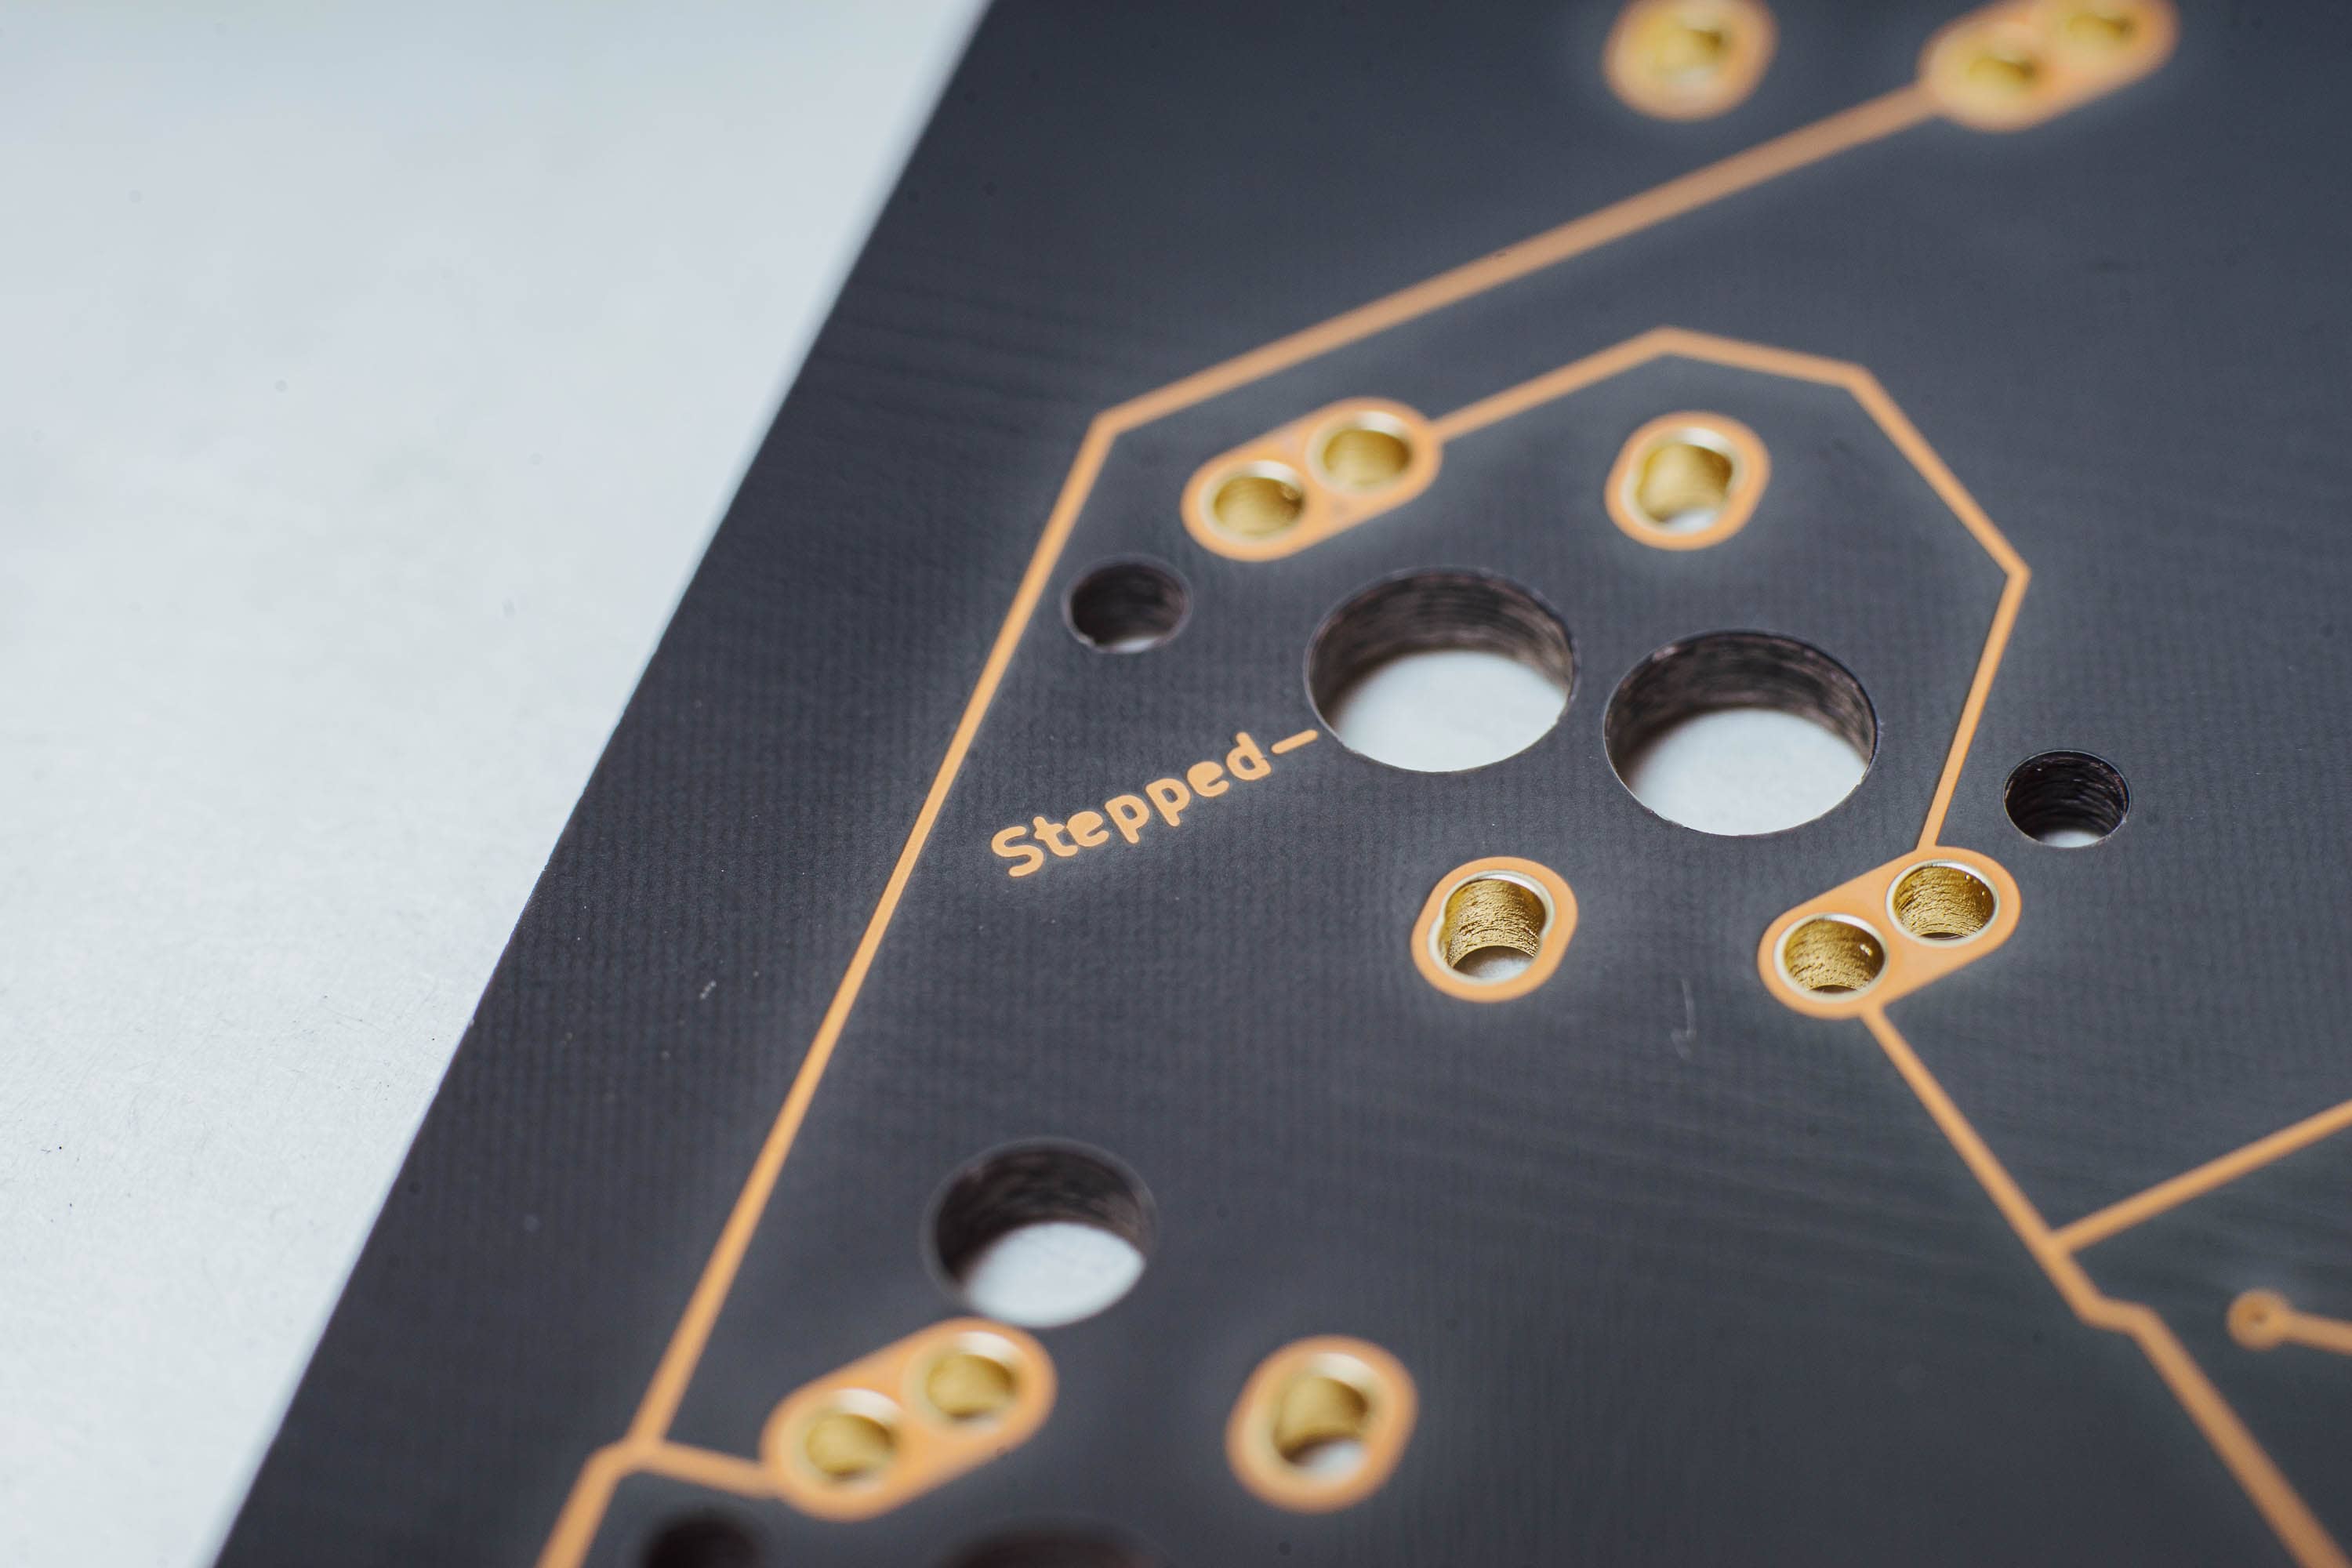
Part of the Disarray design is that the internals are visible via a polycarbonate window at the top of the case. This is a fanastic design choice, because the details on the PCB look great, especially on the FR4 special edition with the visible copper traces.
Measurements
I took a few measurements of some of the parts in case I, or anyone else, has a need for them:
- Brass knob:
- Diameter: 23.0mm
- Interior: 6.1mm
- Height: 14.0mm
- PCB:
- White on black thickness: 1.6mm
- FR4 (copper) thickness: 1.5mm
- EVA foam:
- Thickness: ~2.4mm
- Brass plate:
- Thickness: 1.5mm
Final thoughts and more photos
I’m really excited to build this keyboard. 😁
As with many smaller-scale custom products, the manufacture of the Disarray was not 100% easy. However, mujimanic (Bryan) was extremely communicative, transparent, thoughtful, and empathetic with the community through the entire process. It’s been an awesome experience to be part of this group buy.
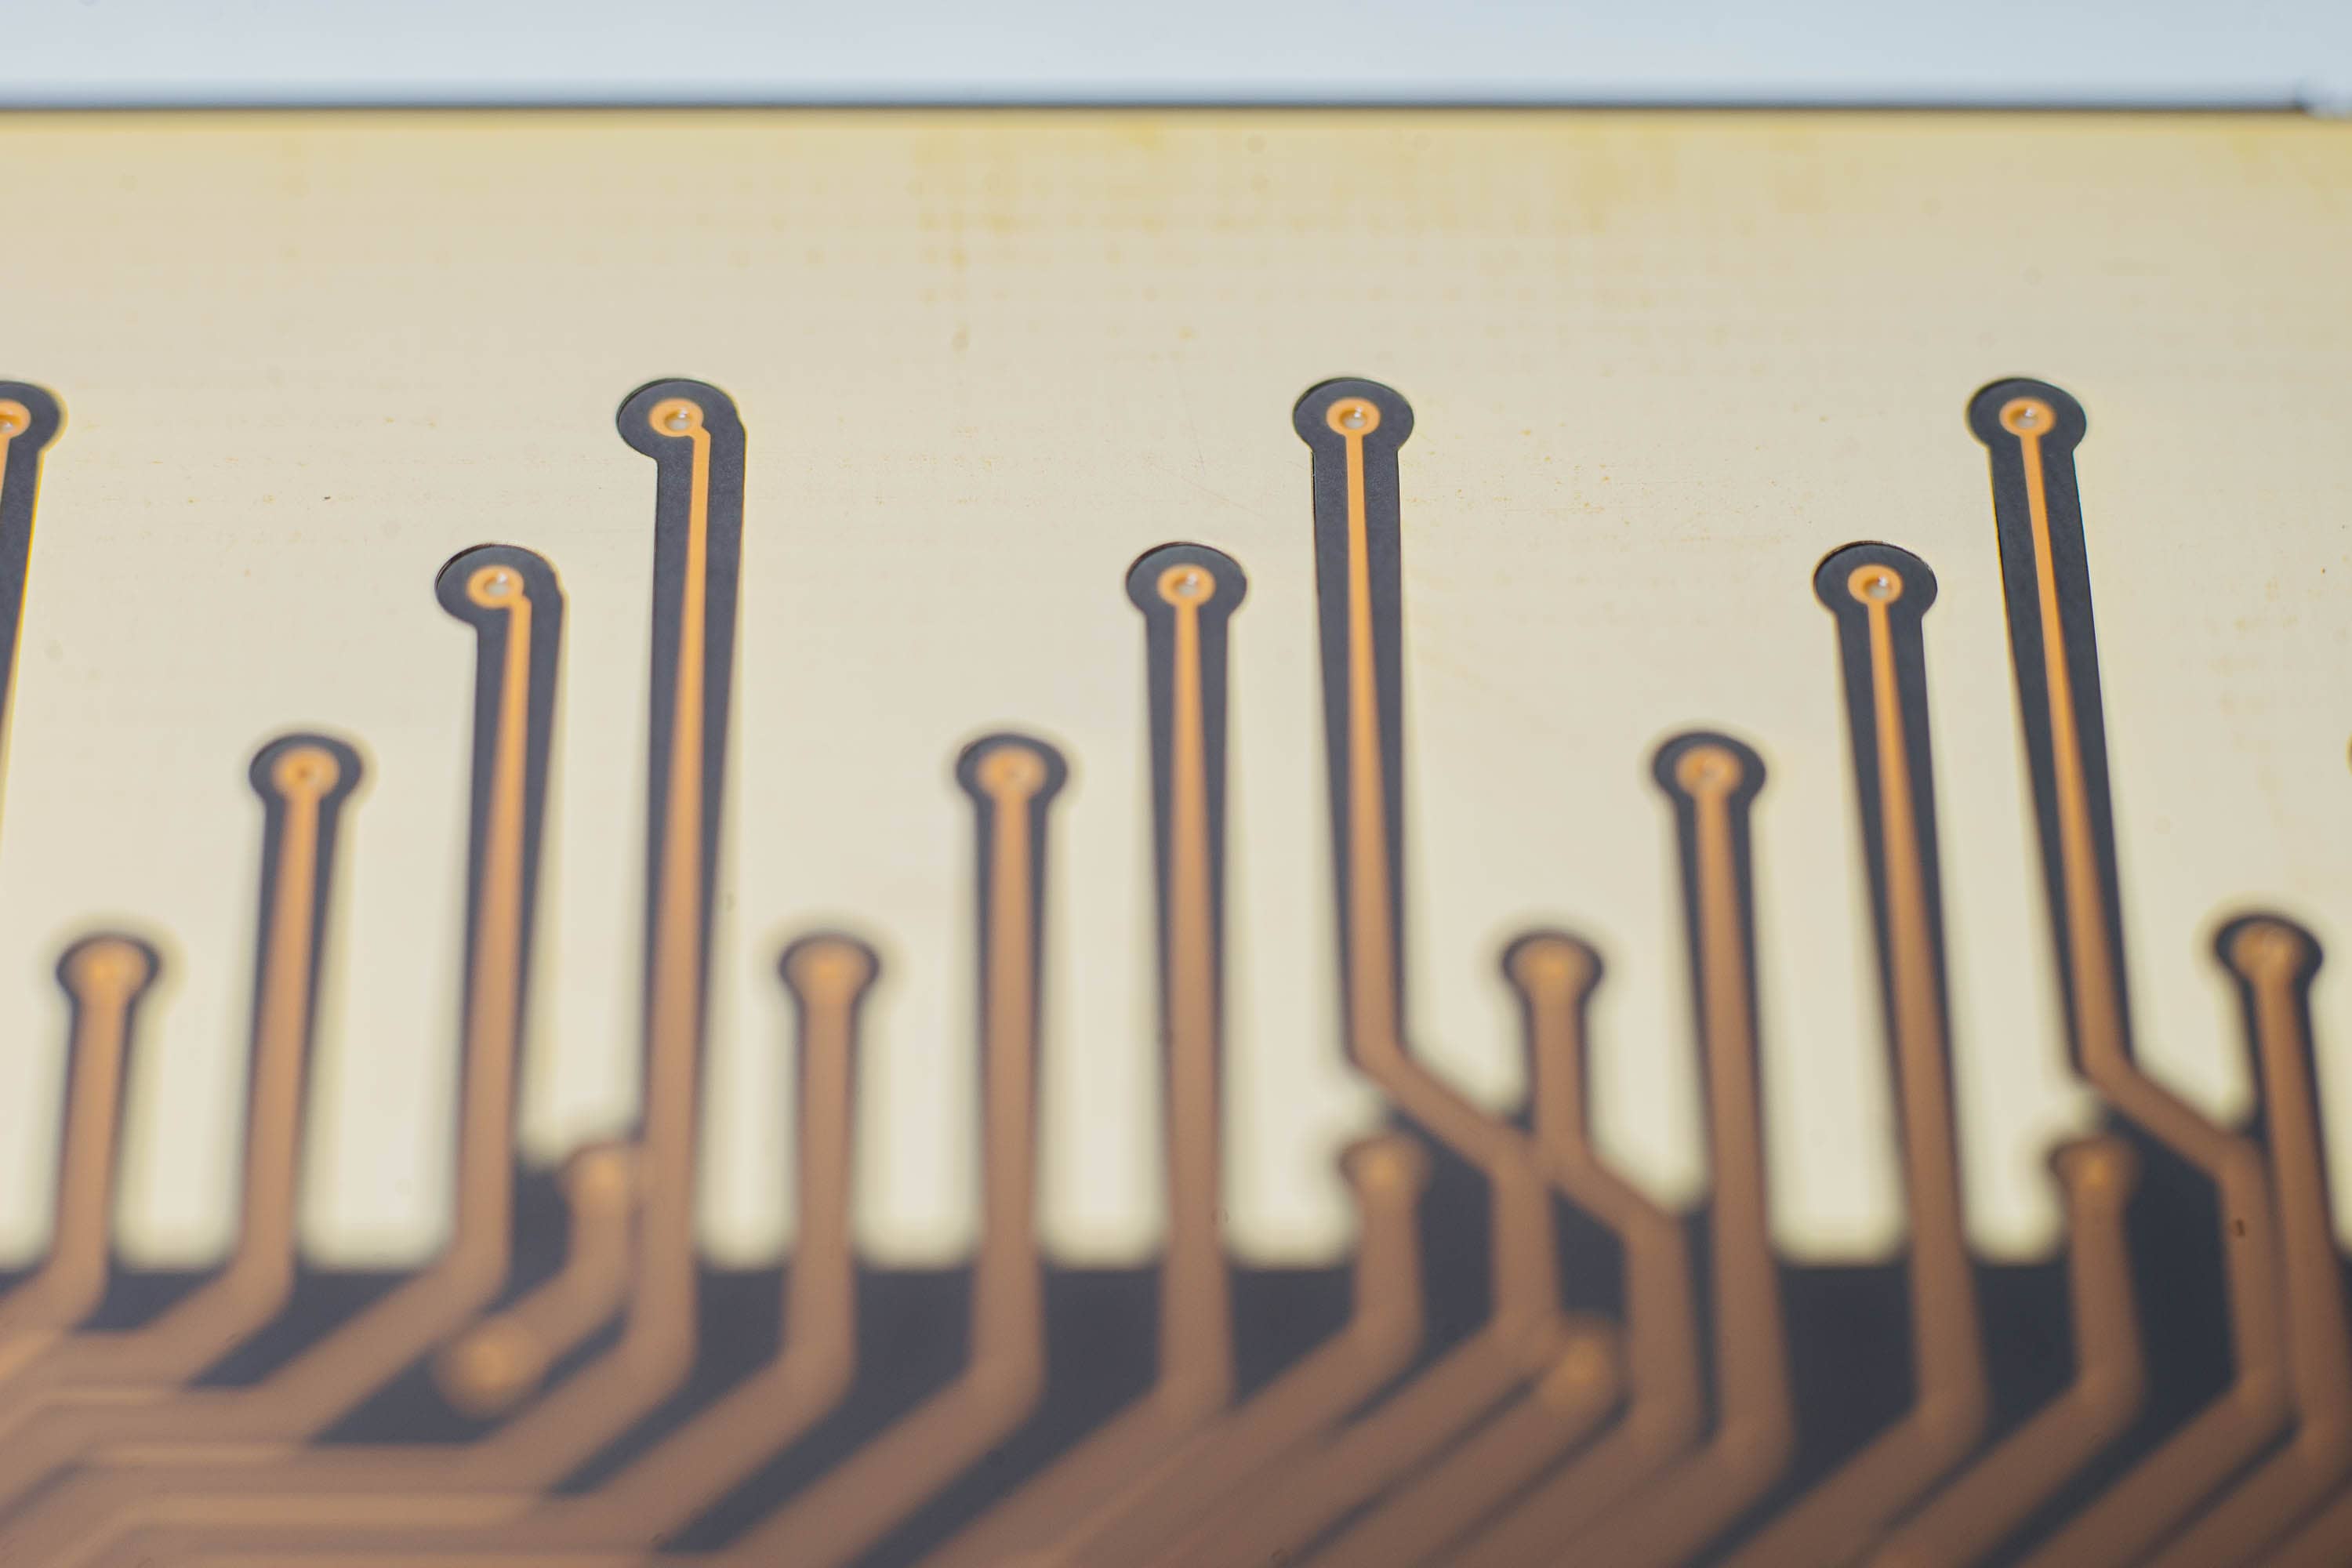
With that, here are a few more macro shots to close out this post.


Related posts on Sneakbox keyboards: