Laser cutting and engraving
Lightburn test file downloads
These are Lightburn test files that I created. They are designed to be easy to use and modify.
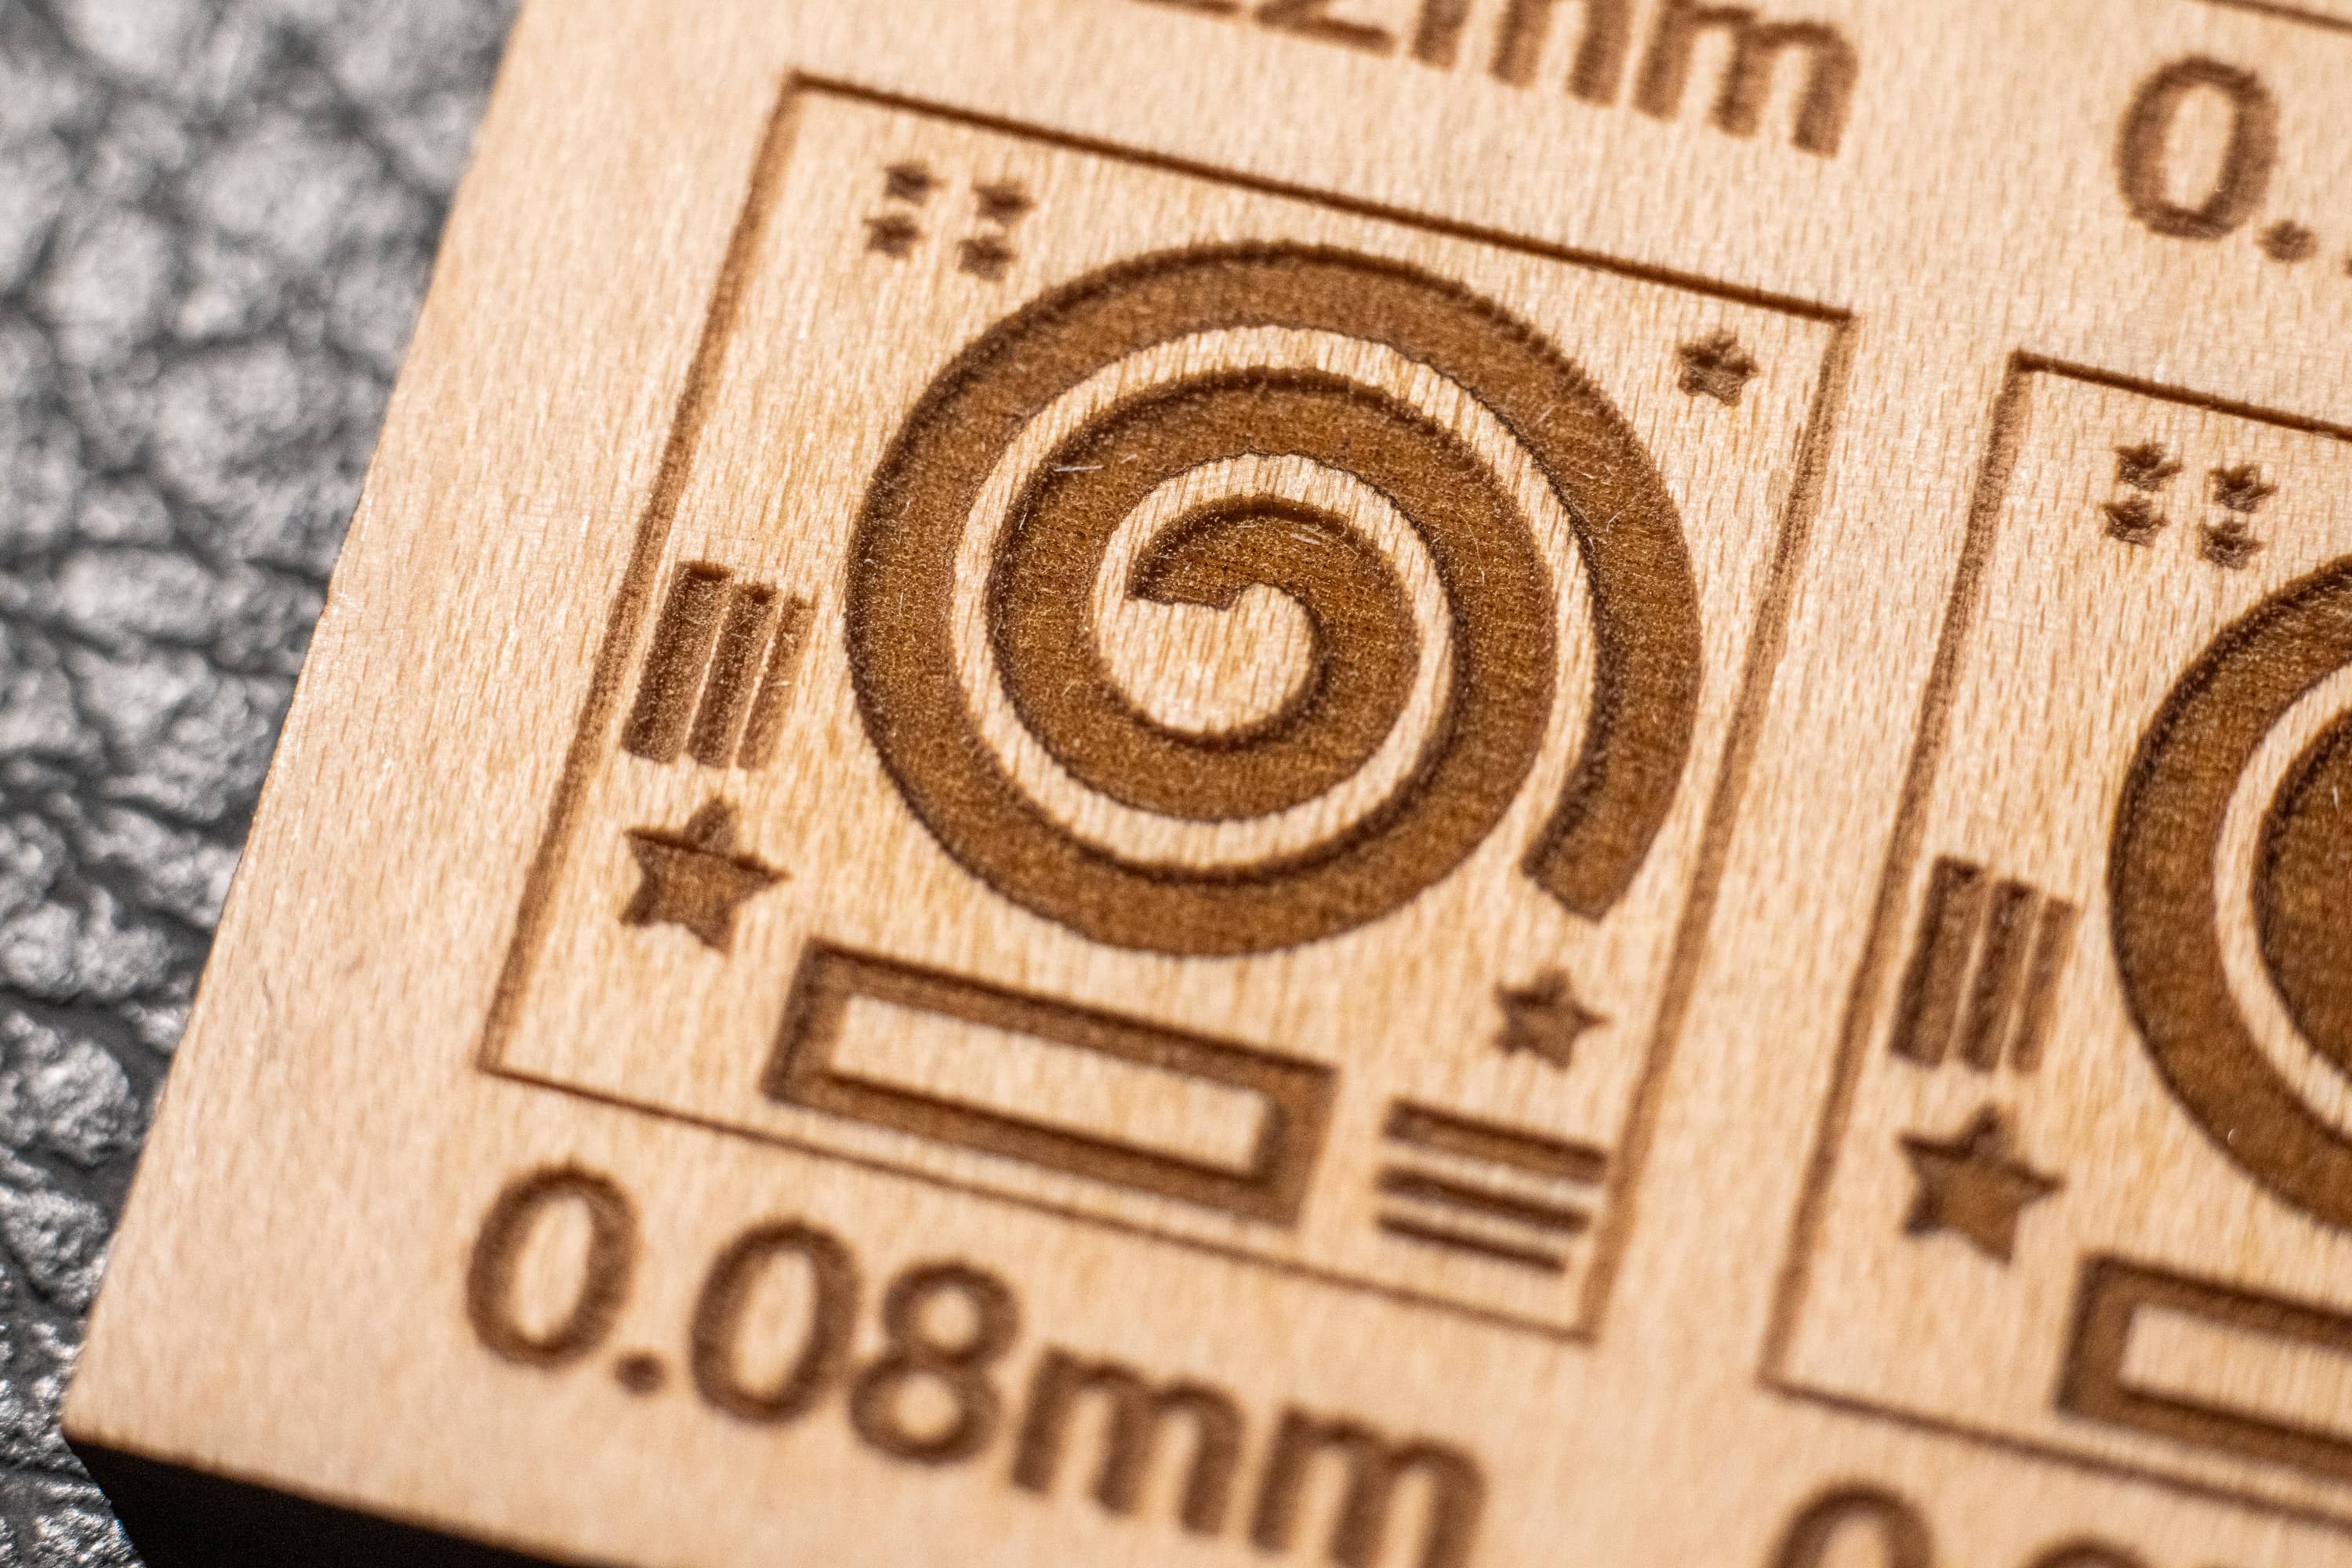
Interval test
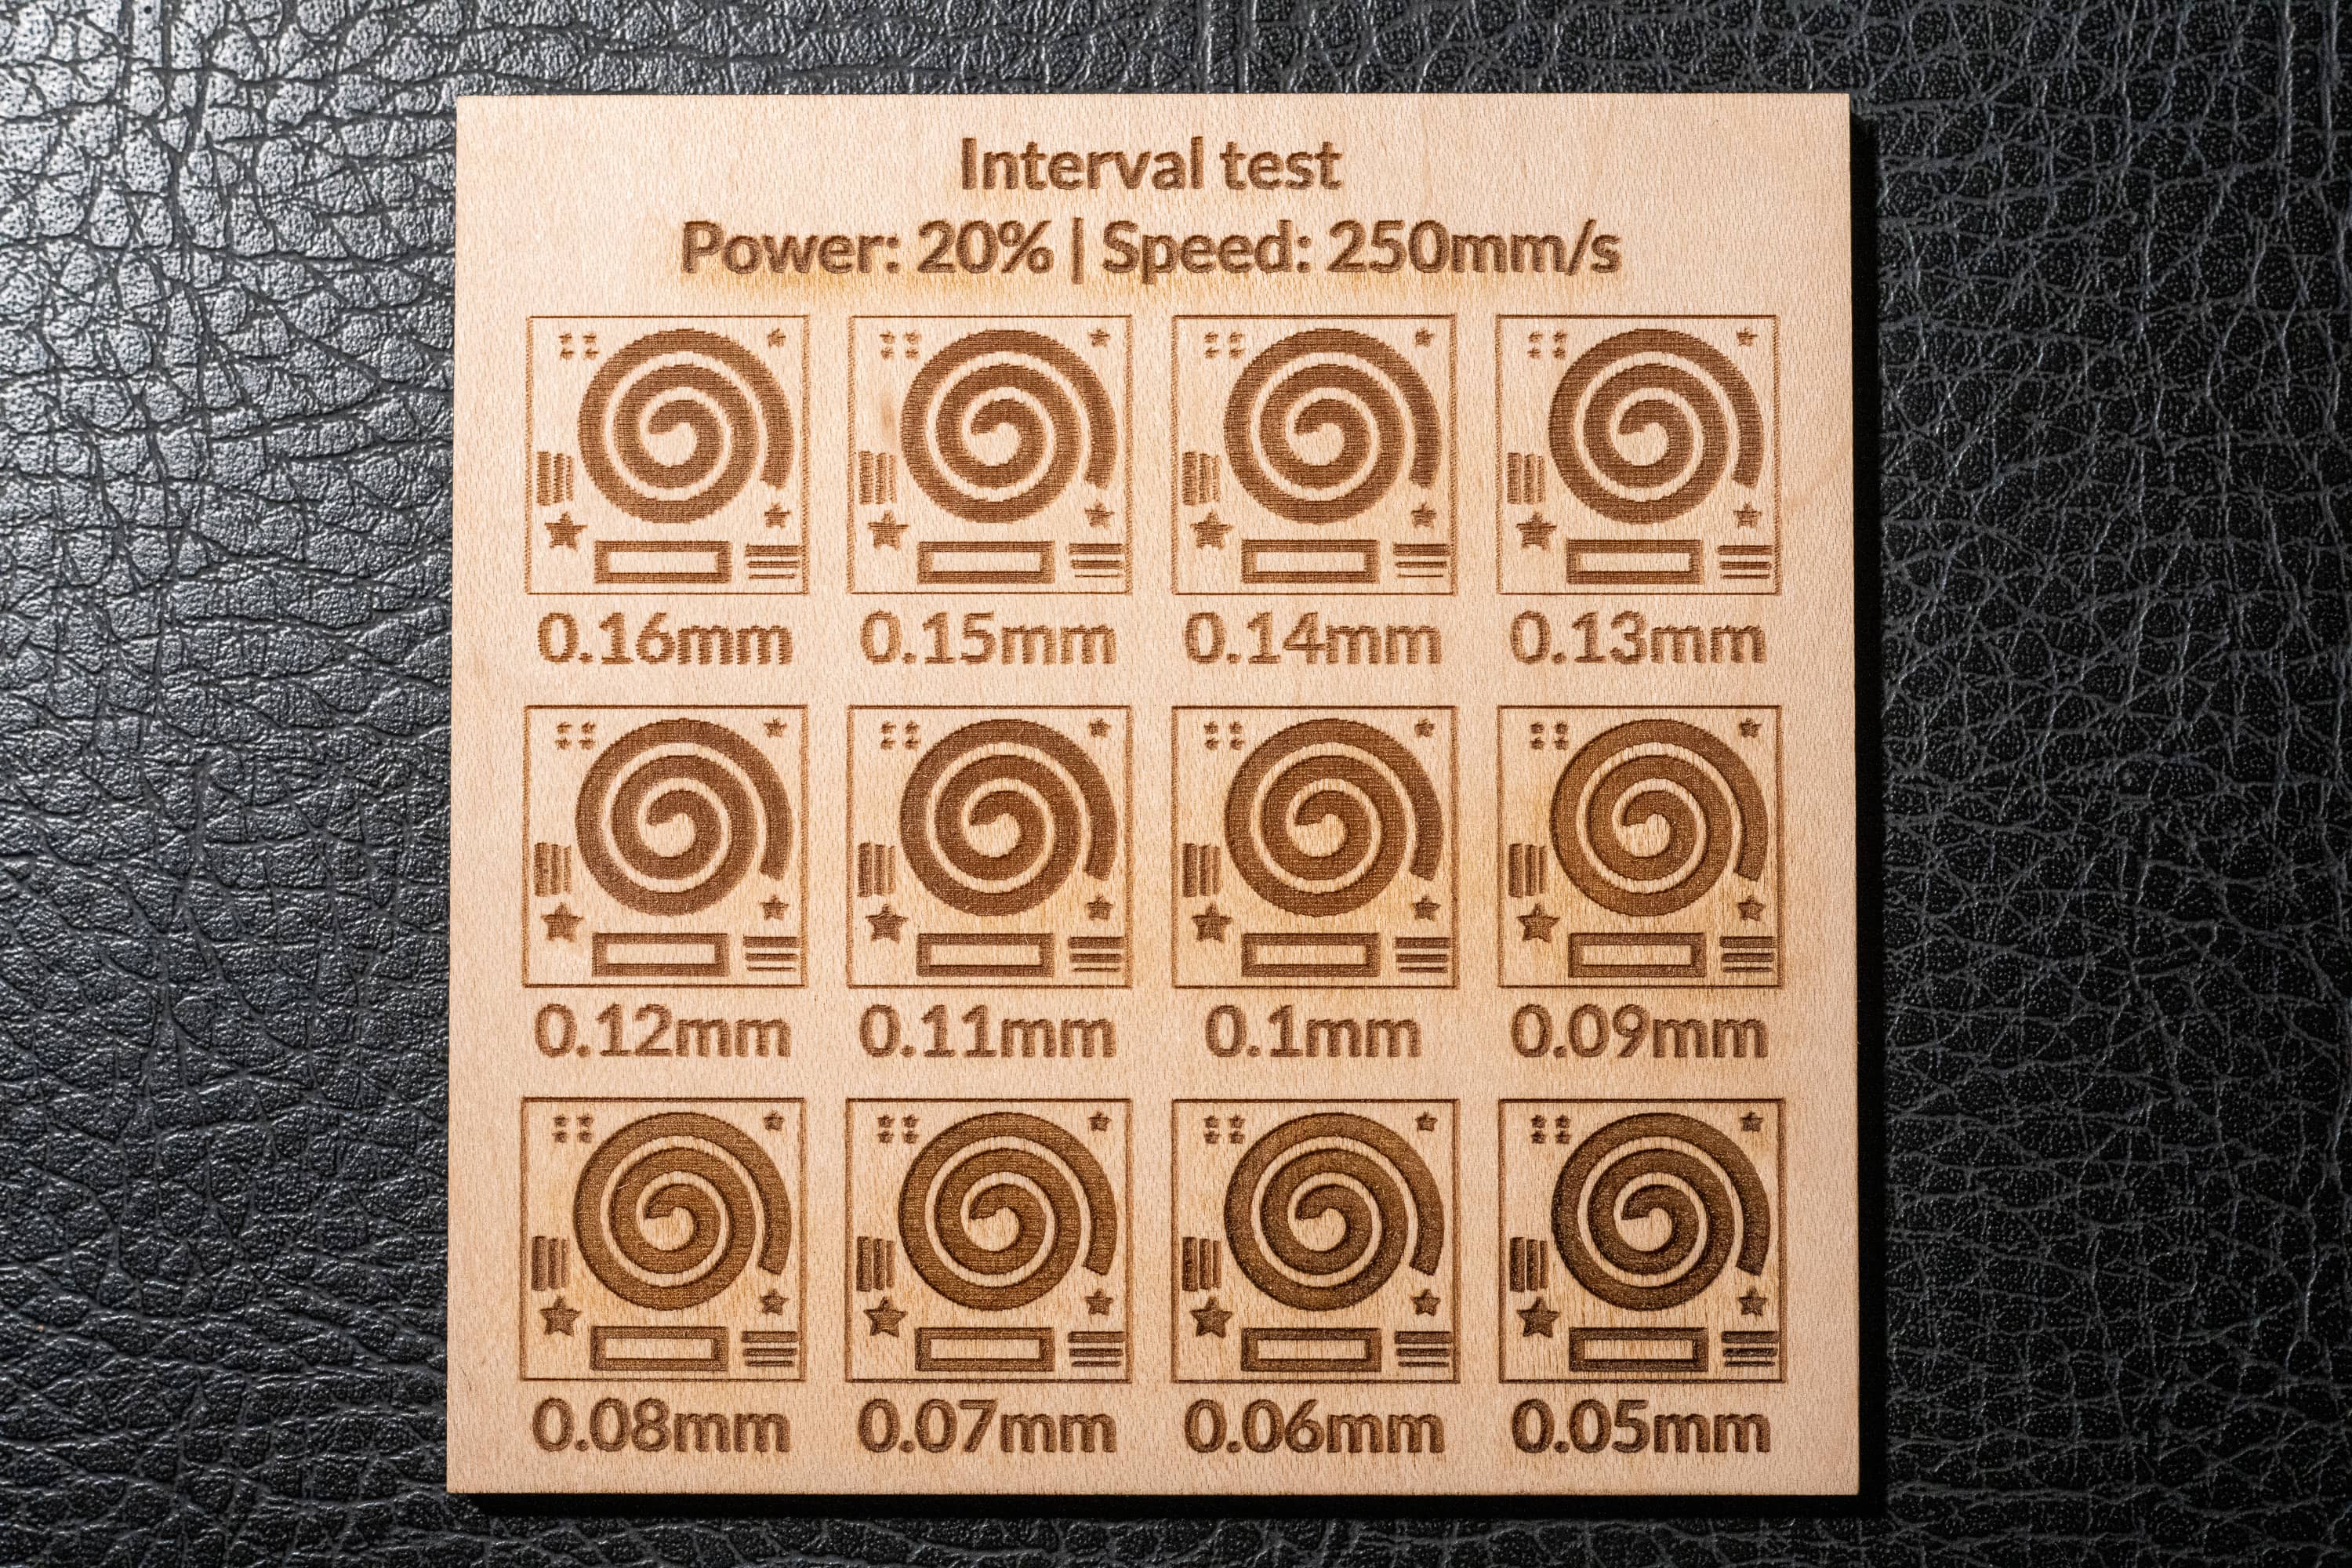
This test is used to compare different line intervals, also known as lines per inch (LPI). The line interval setting changes how close together each pass of the laser is. You can read more about line interval settings on the Lightburn forum.
This test file is licensed under a Creative Commons Attribution-NonCommercial 4.0 International (CC BY-NC 4.0) License. By downloading this test file, you agree to the CC BY-NC 4.0 license. If you use or modify this file, link to this page.
Download the interval test file 1
Power and speed test
This test is used to compare power and speed settings. Each shape uses a dedicated layer to maximize compatibility with different controllers.
This test file is licensed under a Creative Commons Attribution-NonCommercial 4.0 International (CC BY-NC 4.0) License. By downloading this test file, you agree to the CC BY-NC 4.0 license. If you use or modify this file, link to this page.
Download the power and speed test file 1
Lightburn template downloads
Named ornament

This is an ornament I created with space for adding a name. This version uses a support bar beneath the name to make updates very easy. The file includes basic instructions for changing the name.
This test file is licensed under a Creative Commons Attribution 4.0 International (CC BY 4.0) License. By downloading this test file, you agree to the CC BY 4.0 license. If you use or modify this file, link to this page.
Download the named ornament template 1
Pre-requisites:
- This file uses the Pacifico font. Either install the font from https://fonts.google.com/specimen/Pacifico/about or choose a different font.
Instructions:
- Change the name text as desired. If necessary, change the size of the name text.
- Use the Boolean Union tool to combine the name text with the support bar beneath.
- (Optional) For characters like ‘i’, you may want to create a custom shape linking the dot with the rest of the letter. If you don’t mind the missing dot, you can skip this step.
- Adjust your cut/layer settings for your machine.
- Use the Preview tool to validate that everything appears correct.
- Cut!